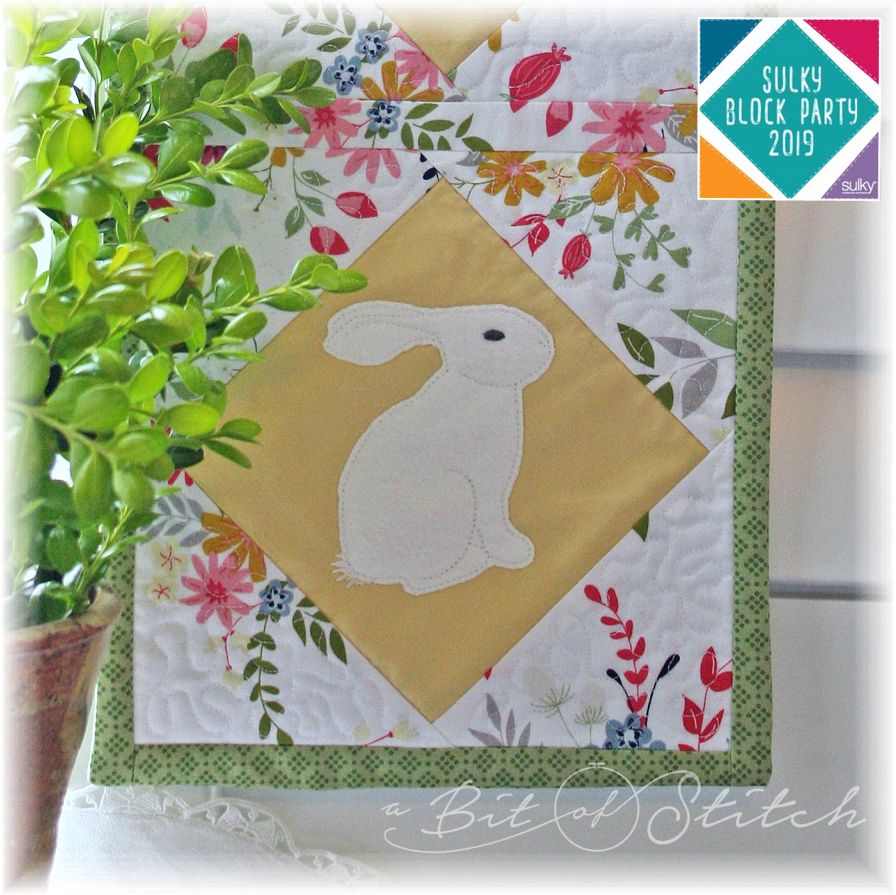
It’s that time of year – Sulky’s Block Party! I’m so delighted to be part of it this year, and especially happy because I get to bring you a made-in-the-hoop machine embroidery version of a quilt block! Follow along with me and see just how easy, fast and fun it is to use your embroidery machine to construct a quilt block.
Here’s what you’ll need:
- The Bunny Block design – click HERE to find it.
- Sheer cut-away stabilizer (enough to fit in your hoop) – click HERE to find Sulky’s Soft ’n Sheer.
- Lightweight quilt batting (8” square) – click HERE to find “Soft Loft Fusible” which is my favorite type of batting to use with in-the-hoop quilt block projects.
- One 5.75” square of fabric for the center block and two 5.5” squares (to be split) for the triangle corners
- Sewing thread for construction and the stippling in the triangle corners
- Embroidery or sewing thread for the bunny motif in a bunny body color, very dark gray or black for the eye, and white or off-white for the tail
- Optional – Fusible web backed appliqué fabric for the bunny body (Double knit, French terry knit, fleece, felt or other fabrics that will not ravel badly are recommended.)
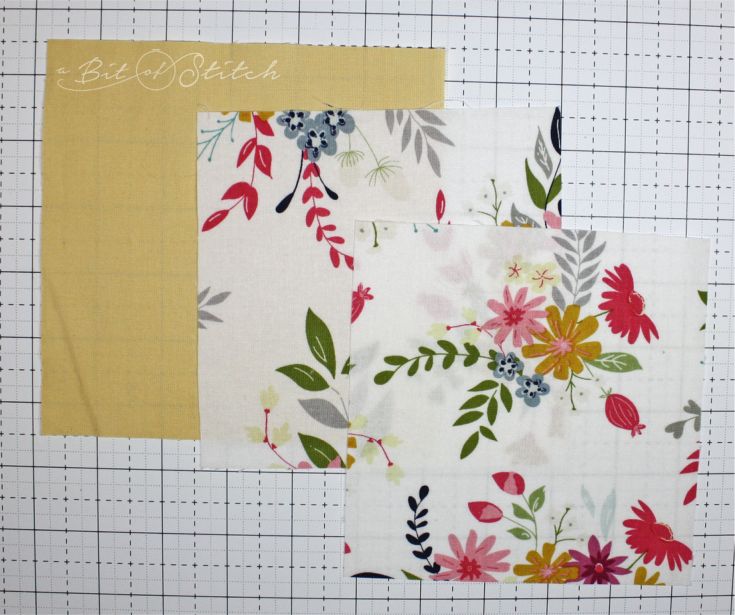
Prepare the fabrics. It is helpful to have nice crisp fabric to work with, so feel free to press well with a bit of spray starch.
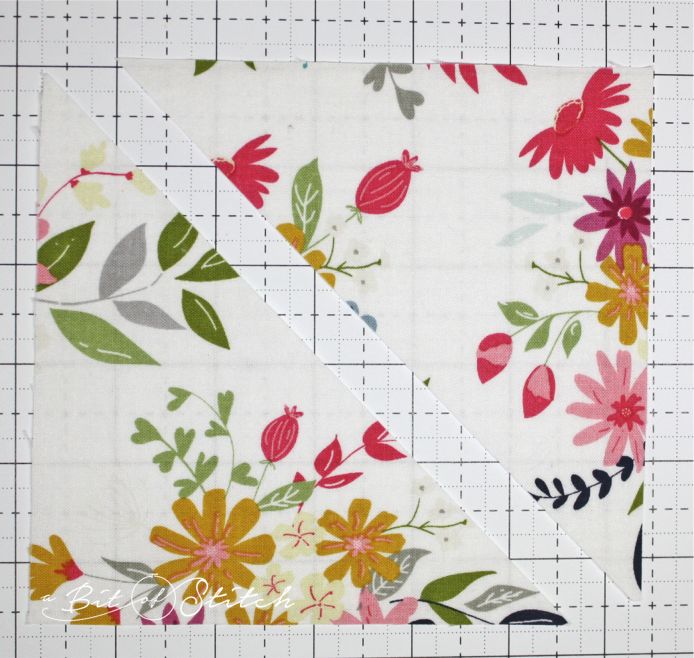
Split the two 5.5” squares in half diagonally to create a total of four triangles.
Place the batting on top of the sheer cut-away stabilizer and hoop. (If you use Soft Loft Fusible, face the fusible side down against the sheer cut-away.) Make sure there are not any ripples, puckers or wrinkles in the batting or stabilizer.
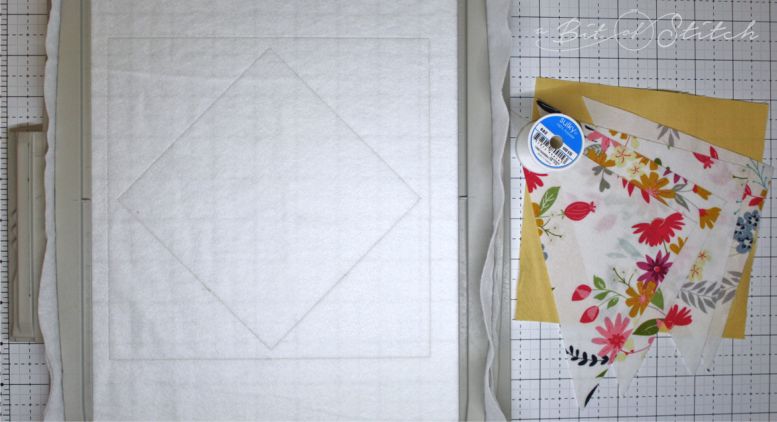
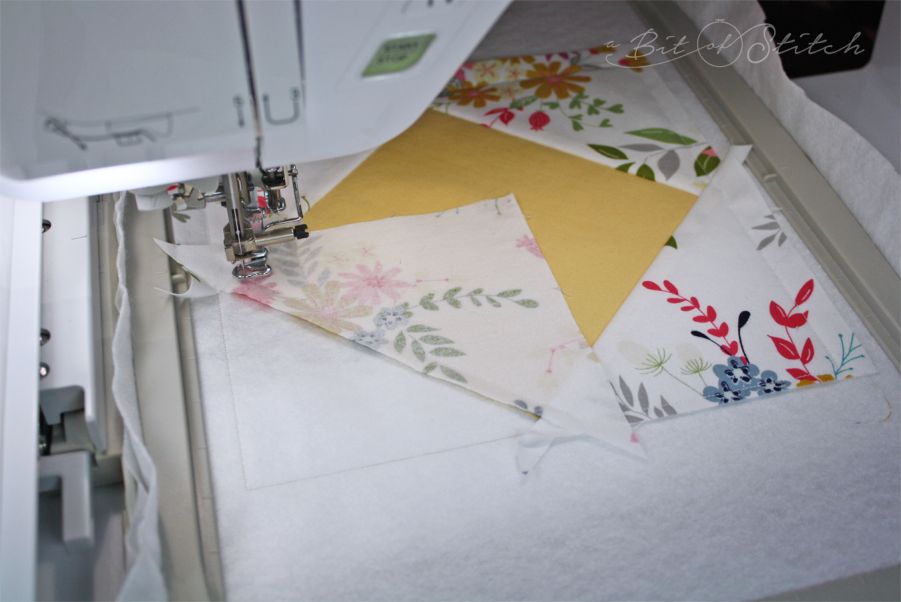
Thread the machine with regular sewing thread in the top. (Note – Some embroidery machines will stitch better with regular sewing thread in the top if you also use it in the bobbin.) Sew the first two stitch sequences, the block outline and the center block outline as shown in the photo above.
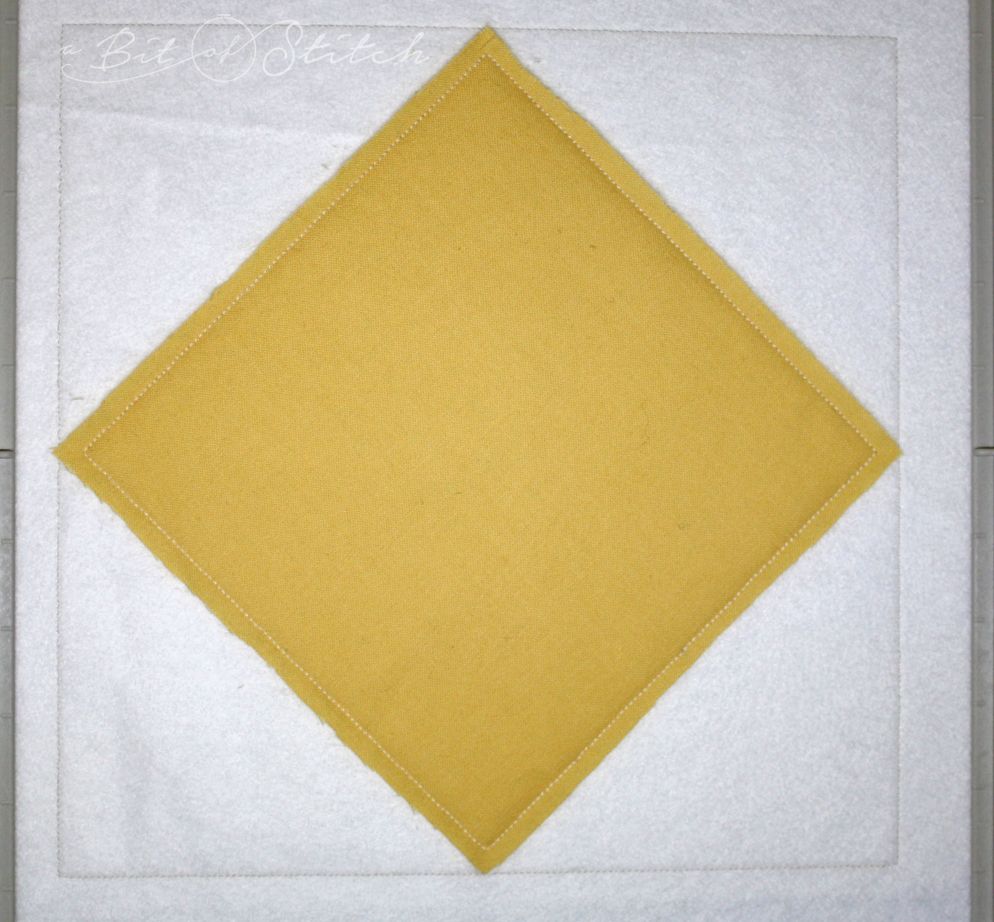
Place the center block fabric over the center block outline stitching, covering it as evenly as possible. The raw edges of the center block fabric should extend about ¼” past the stitching line in all directions. Sew the 3rd stitch sequence, the center block tack-down.
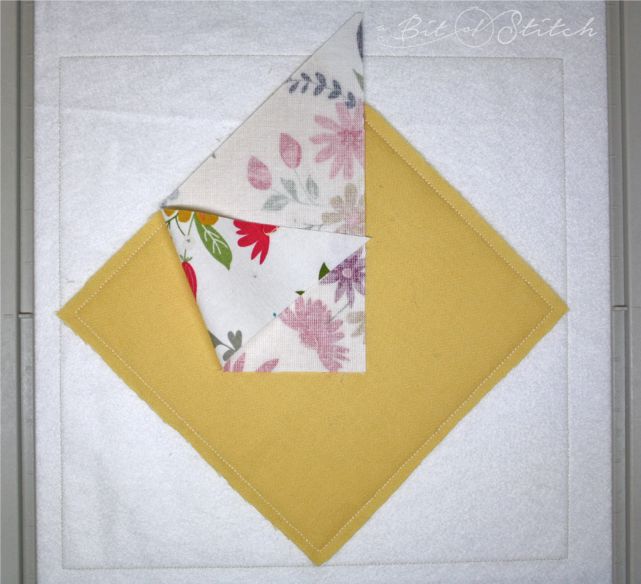
The triangle corners will be placed beginning in the upper left corner and working clockwise. Place one triangle fabric piece wrong side up with the longest side of the triangle aligned with the upper left edge of the center fabric block as shown above. Sew the 4th stitch sequence, the triangle block seam.
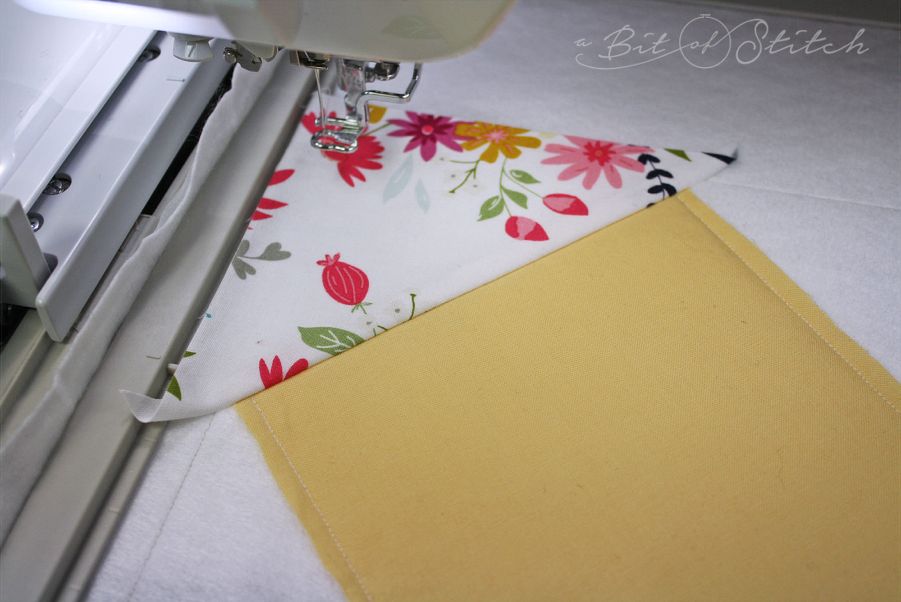
Flip the triangle fabric over the seam stitching, exposing the right side of the fabric. Smooth the fabric over the corner, covering the block outline stitching. Sew the 5th stitch sequence, the triangle block tack-down. Generally, the fabric will cling to the batting, but if you wish to hold the fabric in position while the tack-down stitches, feel free to do so. Just keep your fingers away from the path of the needle!
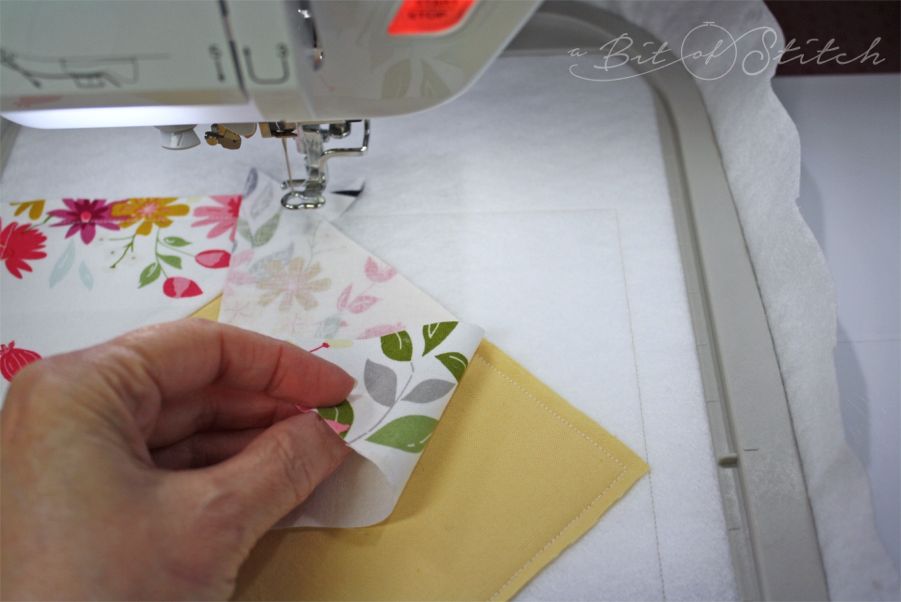
Now you are ready to repeat that same process three more times, adding the top right, lower right and then lower left triangle fabric pieces.
When all four triangle corners have been added, sew the 12th stitch sequence to add the stippling.
The bunny motif is a bean stitch design and looks perfectly fine stitched right on your center block fabric. However, it is fun to add fabric behind bean stitch designs, and any fabric that will not ravel badly and does not have much of a nap will work nicely. I used a piece of French terry knit for my bunny, applying fusible web to the smooth side and using the soft terry side as the right side of the bunny. (Note – fusible web such as Wonder Under or Steam-A-Seam will make the appliqué fabric permanent and keep it from wrinkling or pulling away with wear and washing.)
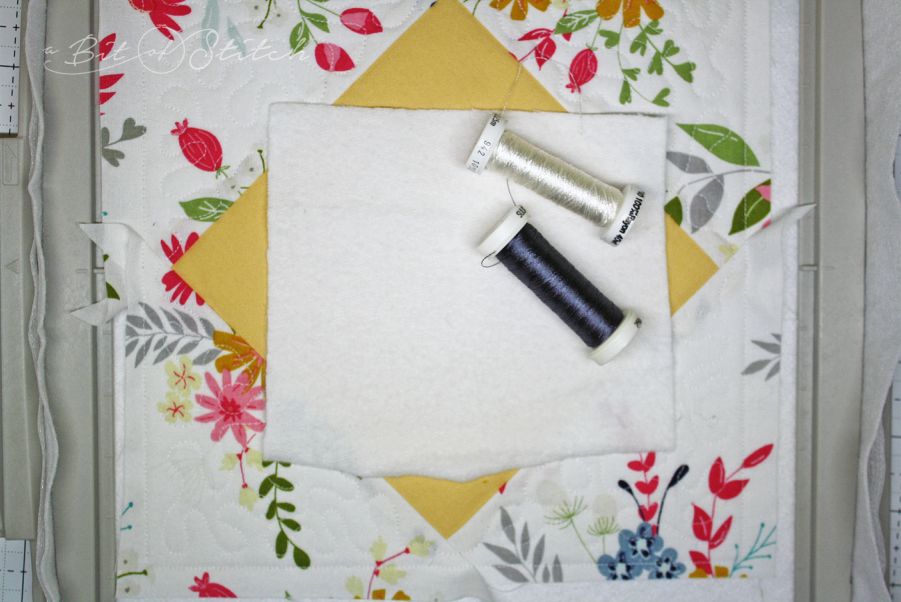
If you decide to add appliqué fabric behind the bunny motif, you’ll need a piece that is almost as big as the center block fabric. Choose a color of thread that matches the fabric but is just a little darker so the stitching will stand out a bit. You’ll need an eye color, body color and tail color. (I used the same color for body and tail.) Feel free to use regular sewing thread again or choose a pretty embroidery thread. Sulky’s rayon has a nice shine that really pops when sewn on matte backgrounds!
Place the appliqué fabric over the center block area and sew the bunny body.
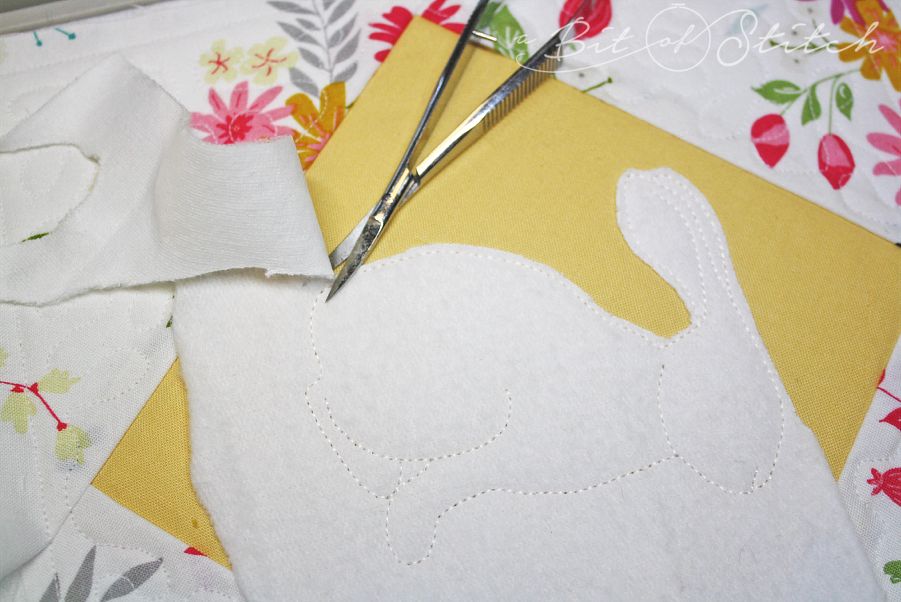
Remove the hoop from the machine – holding it carefully BY the hoop and NOT by the fabric in the hoop – and set it on a hard, flat surface. Lift the excess appliqué fabric and trim it away using your little curved bladed snips. (Click HERE to find the perfect snips for appliqué trimming.) Leave a tiny selvage edge, about 1/16” past the outline stitching.
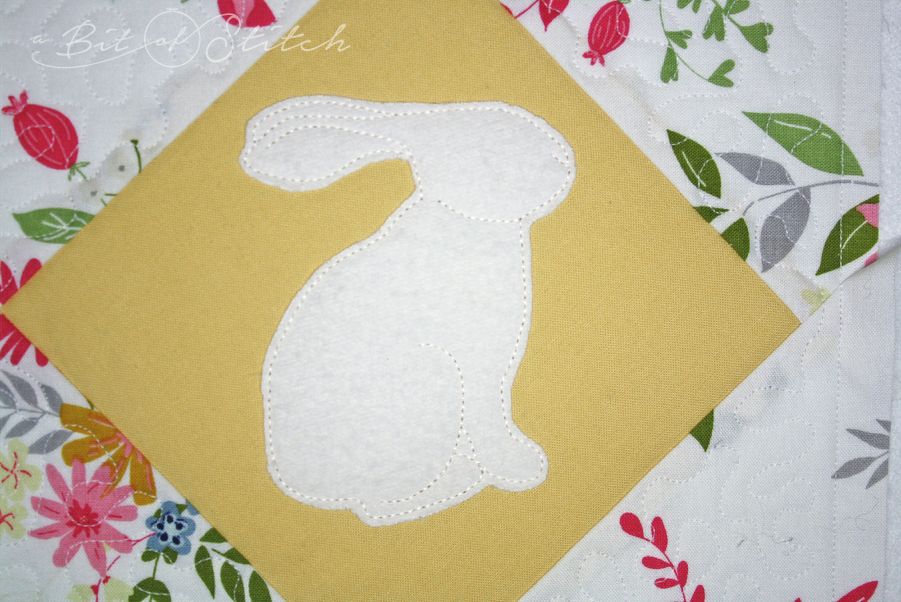
Put the hoop back in the machine and sew the eye and tail, finishing the bunny.
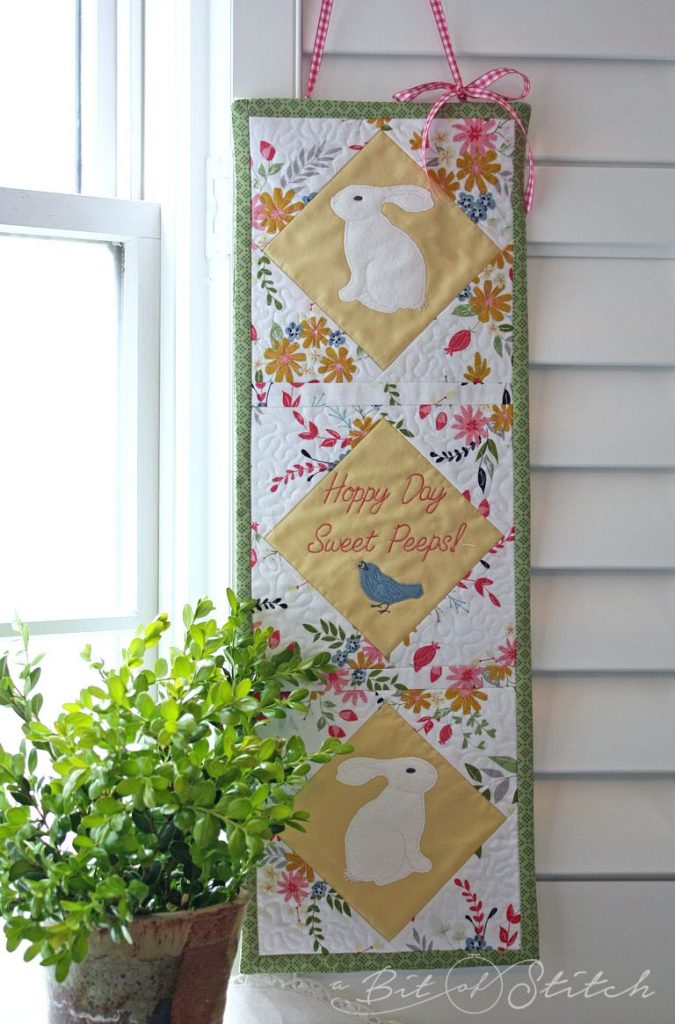
Remove the fabric from the hoop and trim away the excess fabric leaving ¼” selvage past the block outline stitching. Now you are ready to make more blocks which can then be strip-pieced together with 1.25” strips of straight cut sashing. When joining each block with strips of sashing, always sew from the wrong side of the block (not the sashing) so you can easily see the block outline stitching and keep your seam immediately to the inside of it. This will keep the block outline from showing along the sashing.
Just so you know, you can also skip the batting and cut-away stabilizer and piece the block directly onto wash-away stabilizer or a crisp tear-away. When finished, remove the stabilizer according to the manufacturer’s instructions and trim either on the block outline stitching or ¼” away from it. Now you can traditional-piece blocks together to create a larger, un-sashed piece as desired.
If you decided to add fabric behind your bunny motif, fuse the appliqué fabric now; press from the right side using a press cloth. (Silk organza press cloths are the best! Click HERE to find them.)
Edit out the bunny motif in this block design and add your own designs!
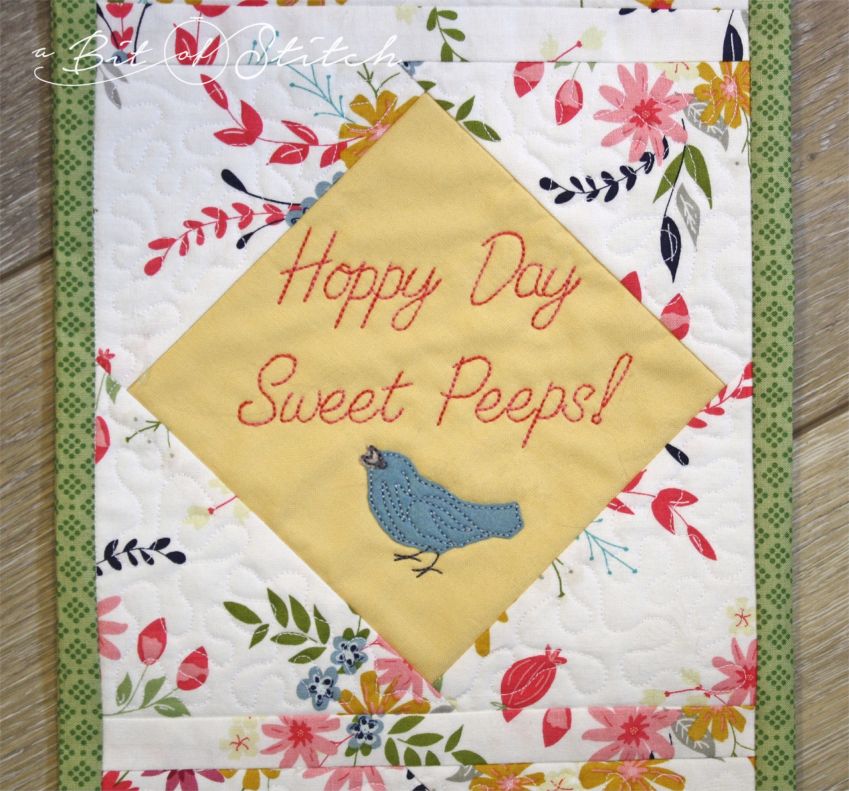
Doesn’t that little bird look right chirpy? He’s from the Wrenly collection, and the “Hoppy Day” saying is from the Wildflower Friends set. Click HERE and HERE to find those designs. For more bean stitched motif designs – perfect for quilt blocks – click HERE for lots of inspiration!
I hope you enjoyed this project! I’ve got lots and lots of FPP blocks you might like to check out! Click HERE to find the “Easy Piece-y” collection.
Happy block making!
Evy
3 replies on “Bunny Block for Sulky’s Block Party”
Love this project Thank You Evy
Thanks and keep sharing such valuable updates through your side.
Embroidery shops in Calgary Alberta
embroidery near calgary alberta
i tried to get the free design but it comes up as $1.99. What am I missing?