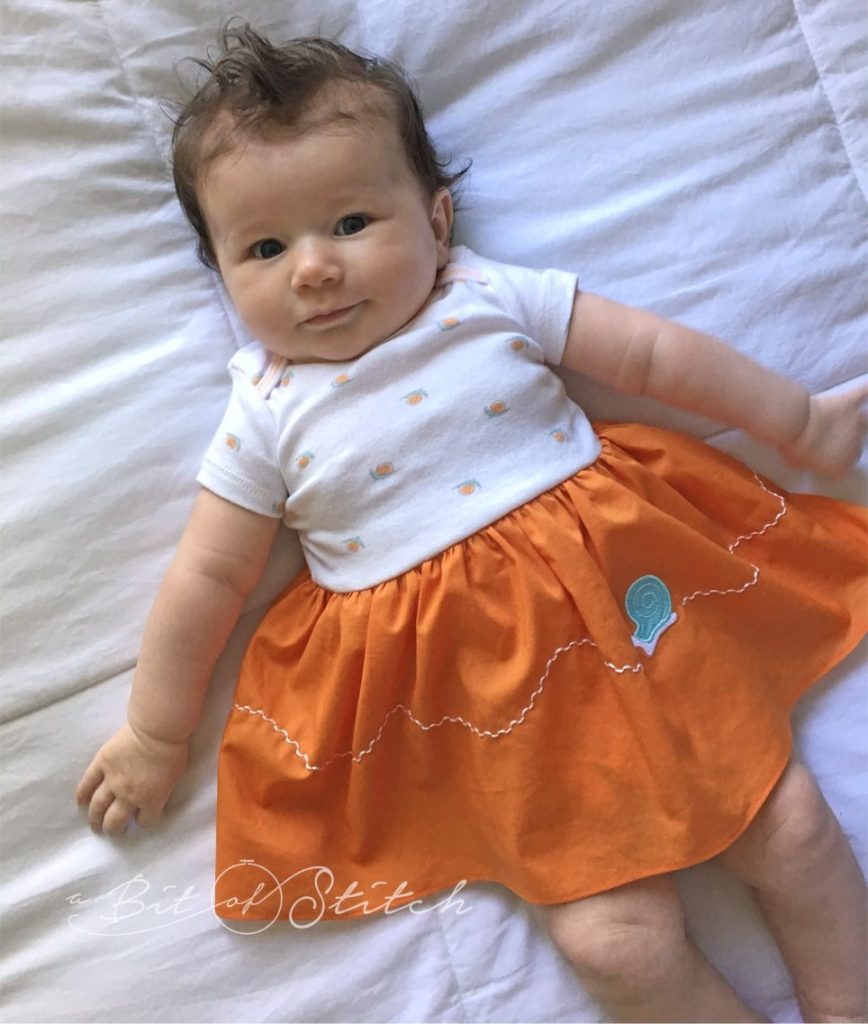
Have you got an almost new onesie your little one has gotten too tall for and you just hate to part with it because it’s so cute or barely worn? Well, my own sweet grand daughter just outstretched a whole set of onesies that were brand new. No worries! I’m turning them into dresses and you can too! Here’s how…
You will need:
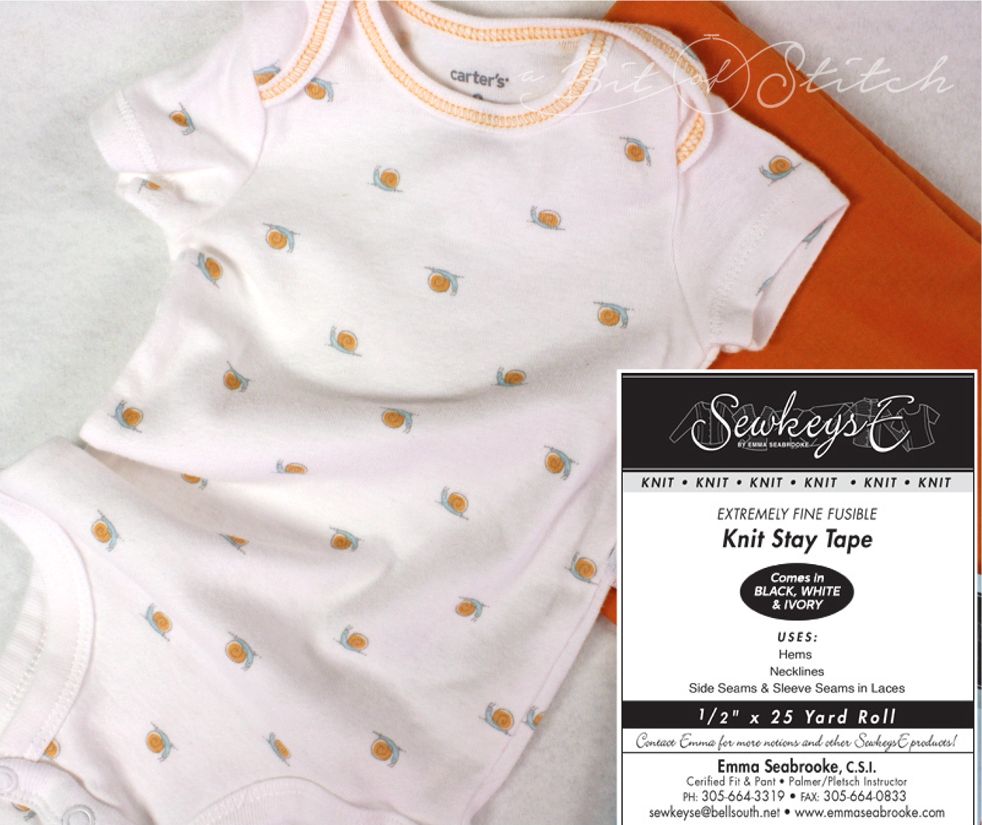
- Onesie (has to still fit in width – across tummy and shoulders; this project works for too-short onesies only!)
- ½” Very Fine Fusible Knit Stay Tape (enough to go around waist of onesie)
- Fine fabric for the skirt – cotton voile, quilt weight cotton, cotton lawn (1/4 yard usually)
- Sewing thread to match fabric
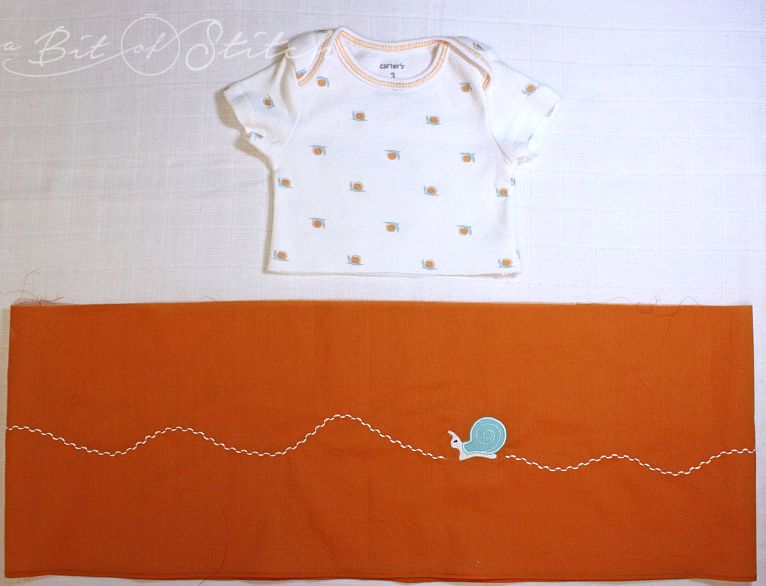
First of all, figure out how long your skirt needs to be. Baby Kate is 3 months old, but she’s a size 6-9 months already. So I cut the skirt fabric piece approximately 9” wide by 28” long. You can adjust that measurement according to your own little sweetie’s size.
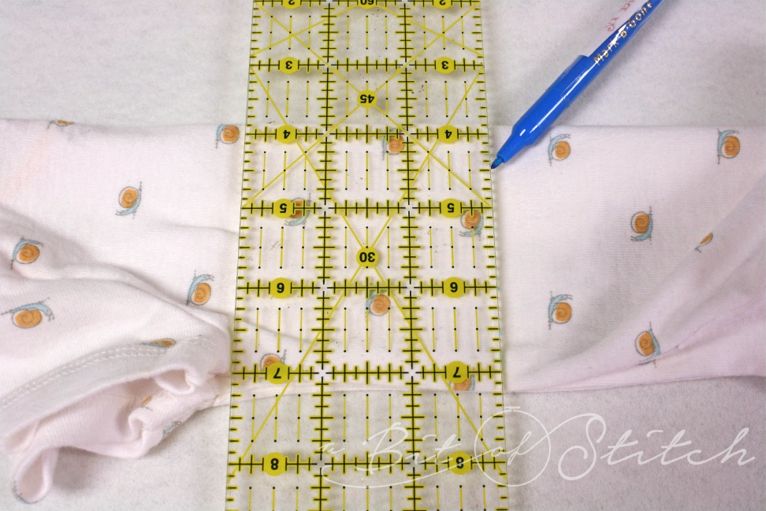
Cut off the onesie, measuring about 3” down from the bottom of the armholes. (For larger than 3-6 month sizes it might need to be longer.) Iron the ½” fusible knit stay tape to the lower raw edge of the newly cut-off onesie top on the wrong side of the fabric. Align the tape with the raw edge and be careful not to stretch the onesie as you iron the tape on.
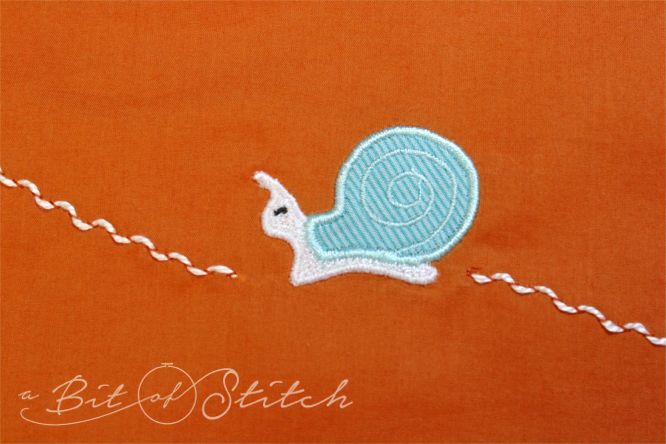
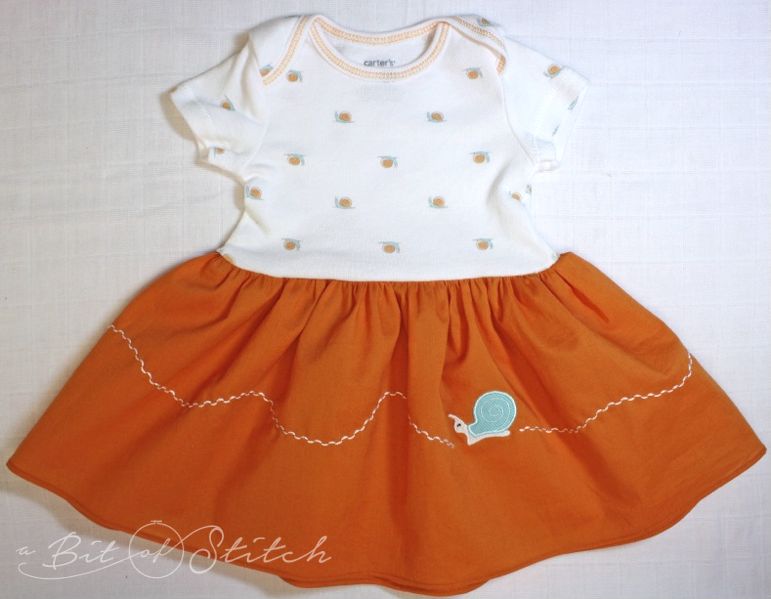
If you wish to add any decorative detailing to the skirt, do that before you begin while the fabric is still flat and un-gathered. I put a wee snail on baby Kate’s voile skirt with a trail of flip-stitched yarn on my Baby Lock Sashiko machine for added interest. So fun!
Sew up the skirt seam, short ends together and hem one long edge. I made a French seam in my little skirt so the raw edges would be completely enclosed. But you could either zigzag stitch or serge your skirt’s seam selvage instead. I chose to do a narrow rolled hem using my Baby Lock machine’s narrow hem foot. Works great! (You can see that foot in action in a video on my Instagram page!)
Where do we view babies the most? Front side and back, right? Usually a skirt seam would go in center back, but because this outfit is for a baby, I put my skirt seam on one side, aligned with the onesie side seam on the right.
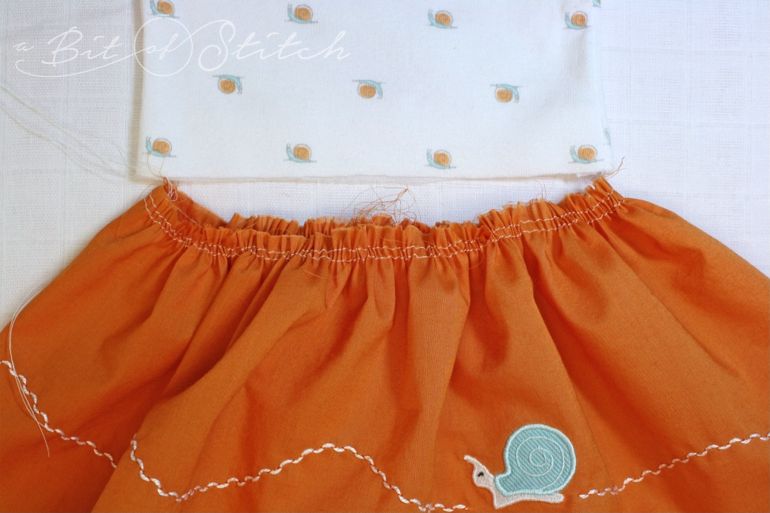
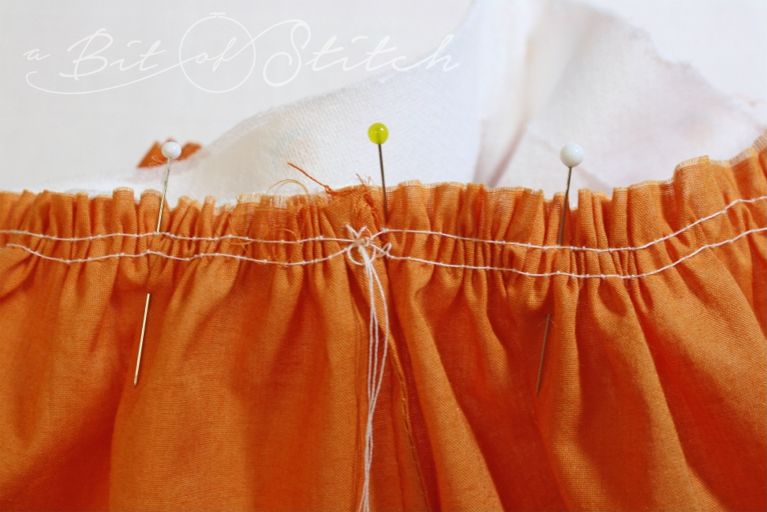
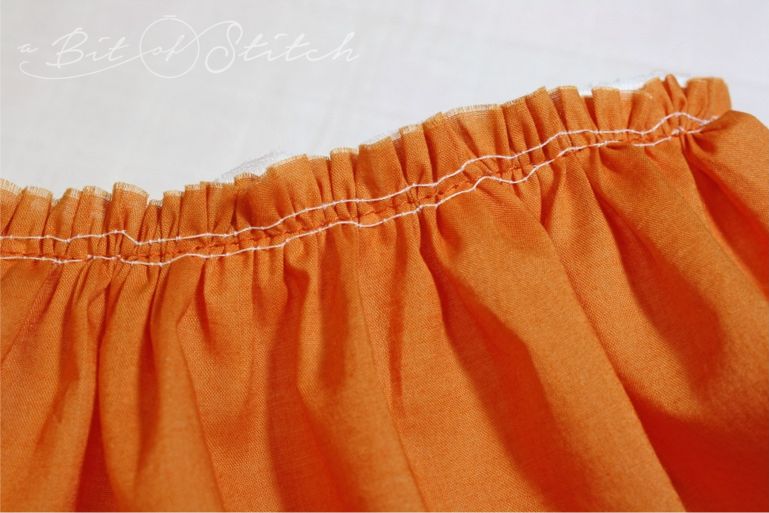
Gather up the top raw edge of the skirt. For best gathering results sew two rows of long running stitches – one about ¼” down from the top edge and another ½” below that one.
Knot the top threads together and then pull up the bobbin thread tails. Those knots in the top threads will keep your gathers gathered at both ends!
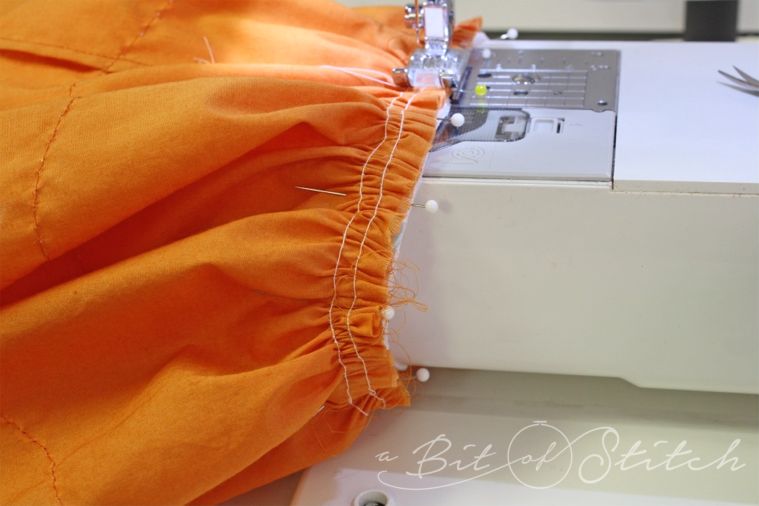
Does you machine have a free arm? This is the perfect time to use it! My Baby Lock Ellegante has a bed that is removable, exposing just the arm of the machine which has a space beneath. This allows you to get the entire arm inside a project and for this onesie dress, THAT makes things so much easier. Sew right below the top gathered line of stitches on the skirt. Your seam allowance should be about 3/8” or slightly more.
When finished remove the gathering threads. Hopefully you didn’t sew over any and they will pull right out!
Finish the raw edges either by serging or zigzag stitching. If you serge, cut off just a little to leave a ¼” selvage. If you zigzag stitch you might want to trim before you do so you leave just ¼” selvage. Most of the stay tape will be trimmed away during the stitching, trimming process. That’s okay, it’s purpose was to keep the knit shirt from stretching too much while sewing. Another note – Some folks like to use a very slight zigzag stitch when sewing on knits, or use a “for-knit” stitch your machine may have. That helps keep stitches from popping when the seams are stretched while worn. Finished! Cute, eh?
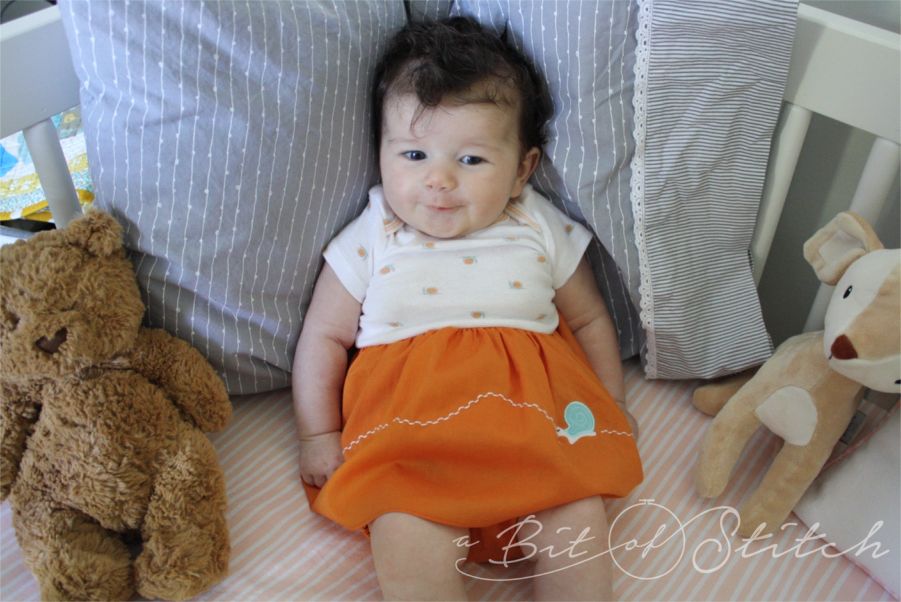
And even cuter on a wee baby girl!
Fast and easy, right? Now go make one or two (or three) for your little pretty!
Thanks for reading!
Evy
2 replies on “Success! A Onesie Dress!”
AWE … she is so PRECIOUS with her new outfit!!! Well done …FIESTA O:)
She is a little doll! You must be having so much fun Evy!!! 🙂