I love vintage style sewing details, don’t you? Especially when a cool little tool lets me create a very “hand-done” look with my speedy sewing machine! Let me show you how much fun I’ve been having with Baby Lock’s Bridging Plate Set.
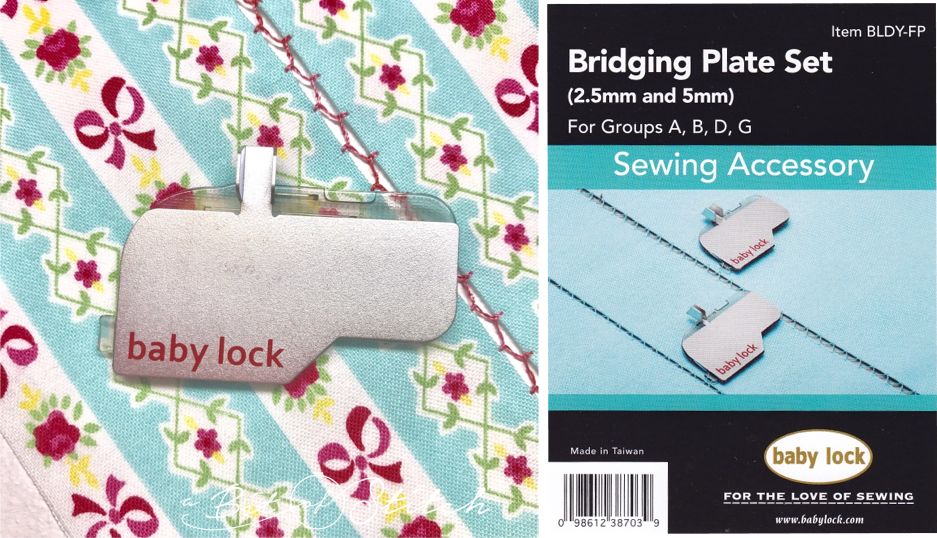
This awesome accessory is actually a bobbin cover plate. To install it you simply take out the standard bobbin cover and pop in the Bridging Plate cover. The set includes two plates – one for a 2.5mm width and one for a 5mm width. I found that when using heavier thread and a nice, firm quilt weight cotton, the pretty stitching showed up best with the widest width. (You can be sure I will be experimenting with the narrow width and some fine cotton heirloom lace, though!)
You’ll need a clear open toe foot or a foot with a wide opening and clear front like the Baby Lock “N” foot. Choose a simple motif stitch that will catch the fabric prettily on both sides. I chose the fagoting cross stitch motif set at the widest possible width (7mm) and longest possible length (4mm) with Sulky’s premium 30 Wt. Cotton Blendables thread. A size 14 needle worked for me, but a size 16 top stitching needle would also be good.
Trims such as ribbon, twill tape, or anything flat and generally sturdy can be joined together with the Bridging Plate. Or you can prepare fabric for joining by cutting even strips on the straight grain and pressing them well with spray starch to crisp them up and make them easy to handle. You could create fabric tubes, turned right side out with the seam allowance pressed open and centered inside of it, but I decided to make the job even easier. I just zigzag cut the edges of my fabric strips, folded them under evenly and secured them with fusible tape on the wrong side.
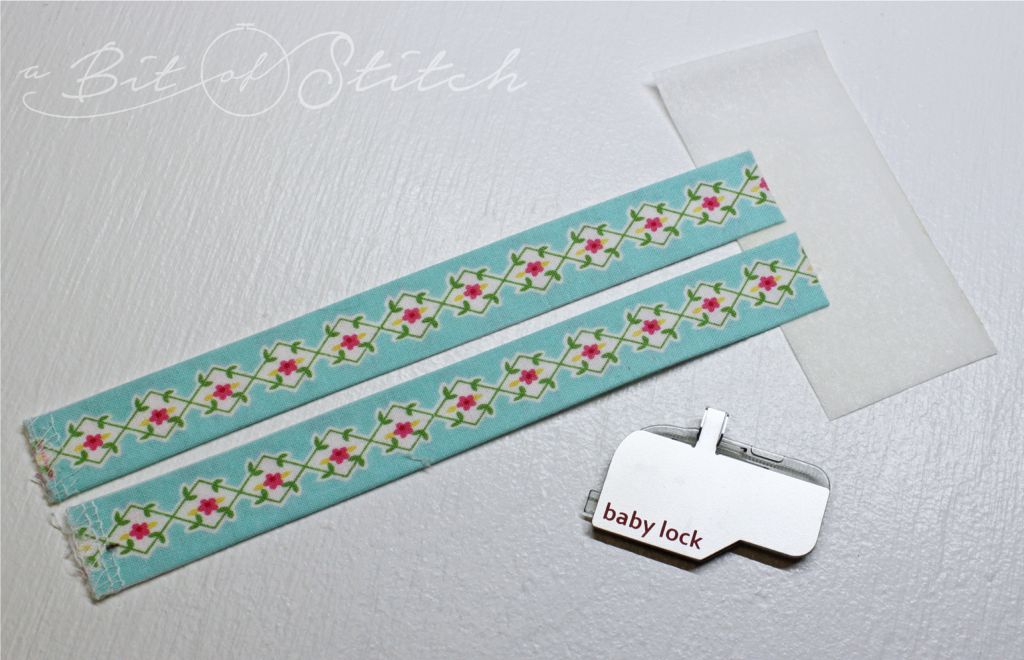
One good discovery was that fusing the ends of my fabric strips to a piece of iron-on tear-away stabilizer would help me keep them even as I started sewing. I used the raised edges of the bridge on the plate to figure out exactly how far apart the strips should be, and then I ironed the ends of the strips to the stabilizer. When I went to the machine to begin sewing, I just placed the stabilizer behind the bridge, under the foot, and began stitching on the stabilizer. No thread nesting and nice, evenly lined up strips. Click HERE to watch a video and see this in action!
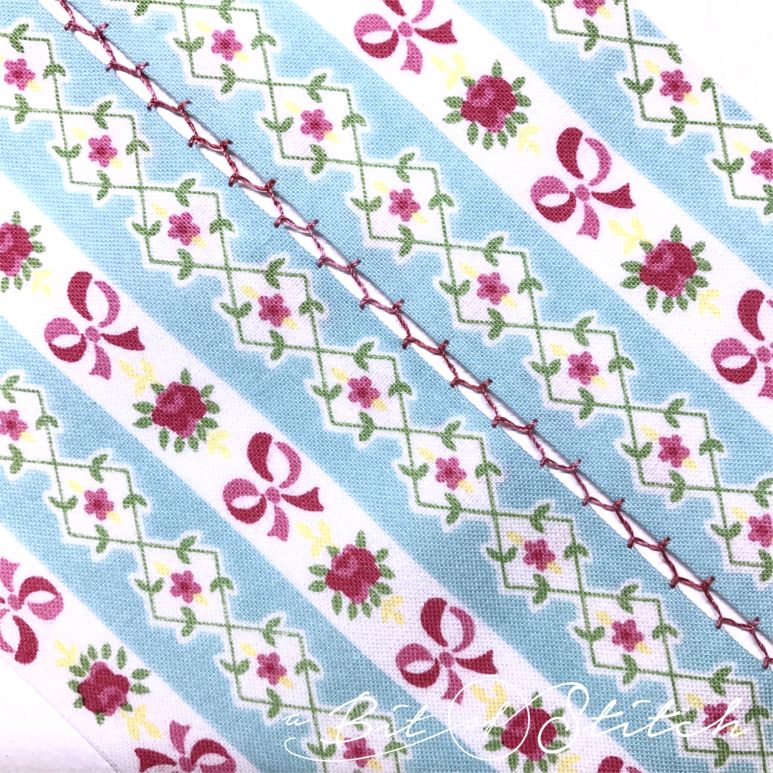
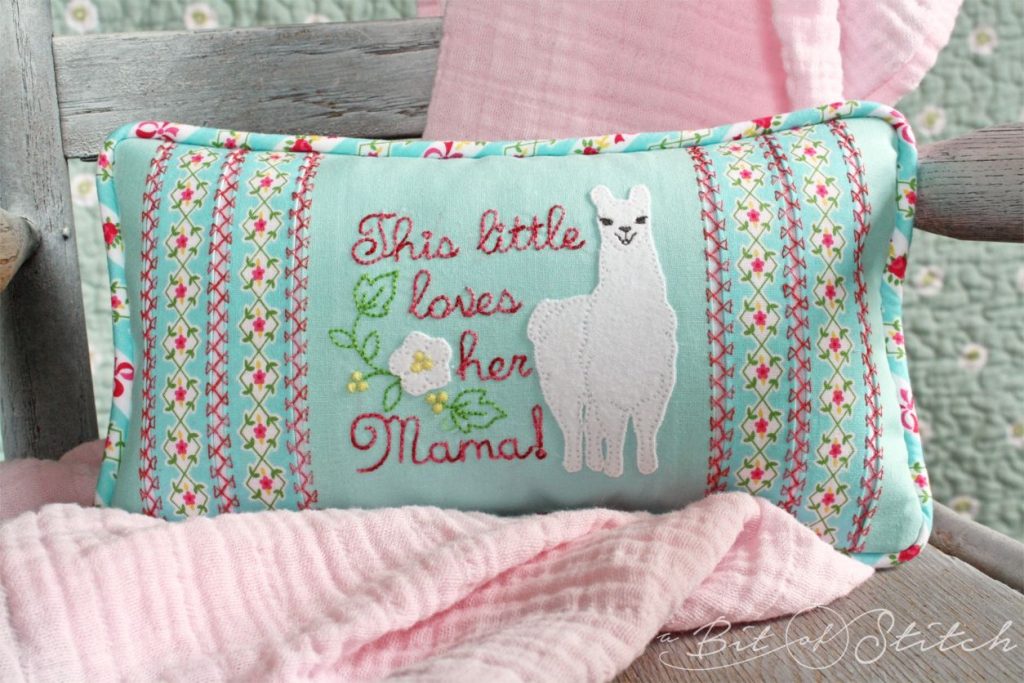
I love this floral stripe fabric designed by Lindsay Wilkes for Riley Blake Fabrics. (Click here to visit Lindsay’s website and blog.) I’ve been saving my scraps of this particular print for just the right project and this was it!
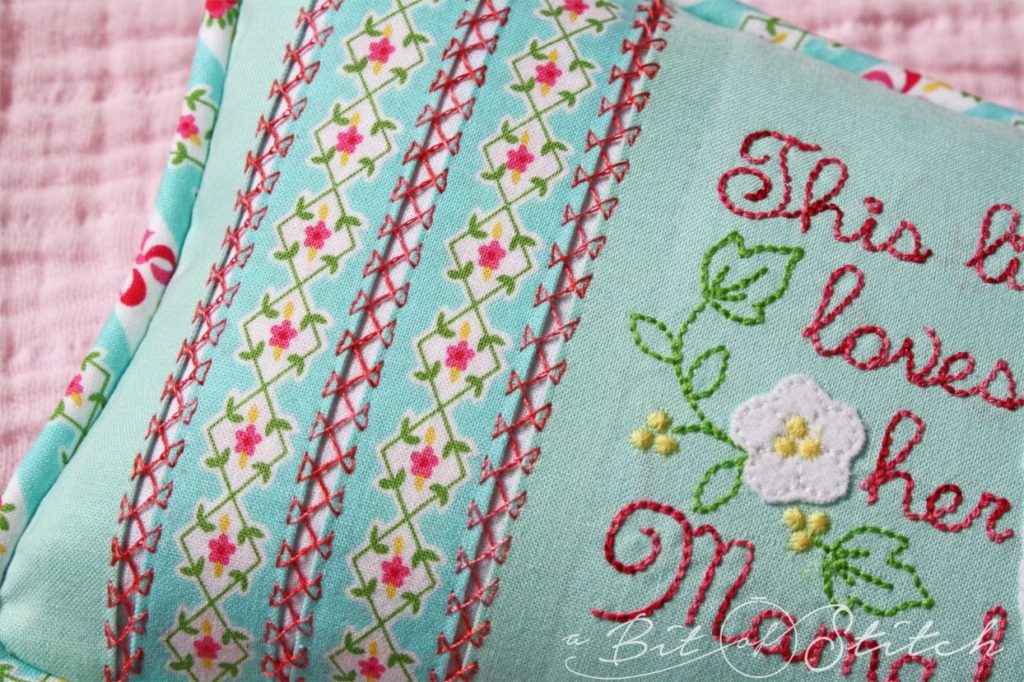
This little decorative pillow was a fun project to try out my bridging skills with, but I can’t wait to create insertions for garments. Baby Kate needs a dress with some beautiful bridgework, and I need a blouse or jacket with some of this fancy down the front, don’t you think?
I hope you enjoyed this post, now go get a Bridging Plate set and stitch up some pretties for yourself!
Evy
P.S. The embroidery design shown on my little baby pillow is now included in the “For the Love of Llama” machine embroidery design set. Click HERE to find it!
2 replies on “Beautiful Bridges!”
Wow. How much faster than doing it by hand!
Awesome 👏🏼