I had the pleasure of meeting the dynamic duo behind the awesome Riley Blake Fabrics line last year and I was blown away with their down-to-earth niceness. Since I have been a Riley Blake fan since their beginning it was so cool to meet them and to find out they really are as special as their fabric line. Plus, I got to get sneak peeks of the glorious new fabric that was coming soon, woo-hoo!
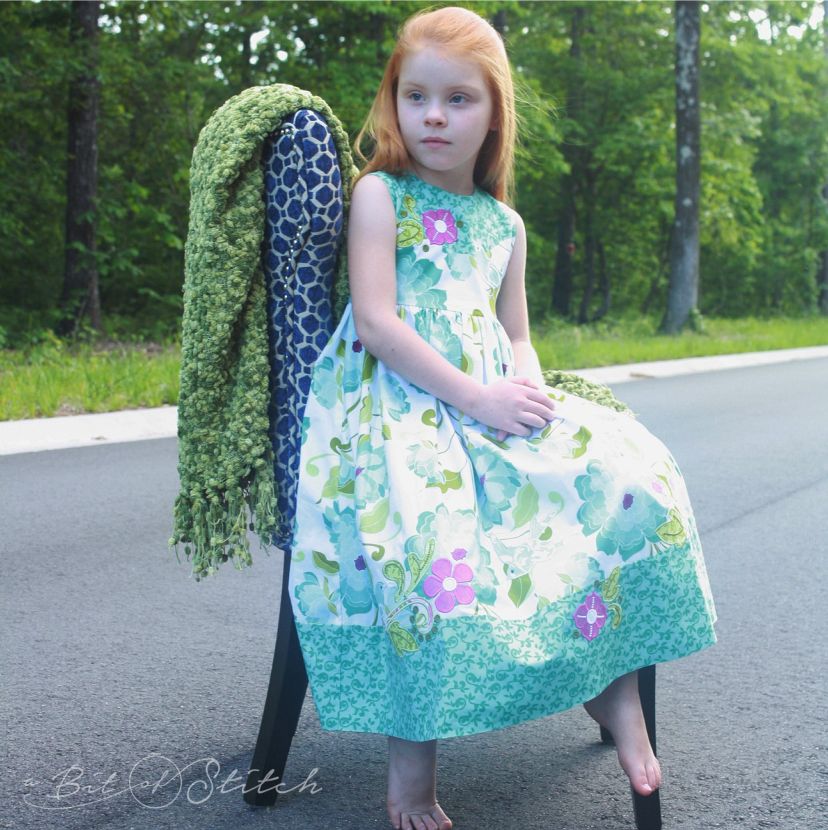
One of my long time favorite fabric designers, Lila Tueller, designed the Halle Rose collection for Riley Blake. I love big bold prints that are feminine yet spunky and this collection bursts with that. I couldn’t wait to get my hands on some! You see, I knew this sweet little red-headed child…
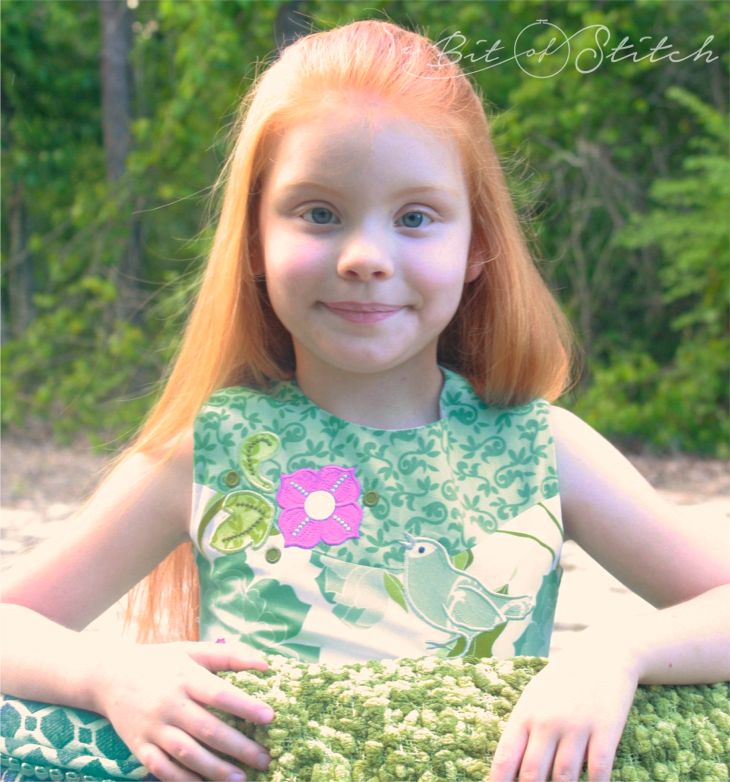
And she *needed* dress to model!
I used my Rosie’s Dress pattern which is easily adaptable to a multitude of different sized wee bodies. I love the coordinating Halle Rose prints and that soft teal is just the right color for this little miss! The curved bodice is the perfect place to showcase machine appliqué embroidery designs too.
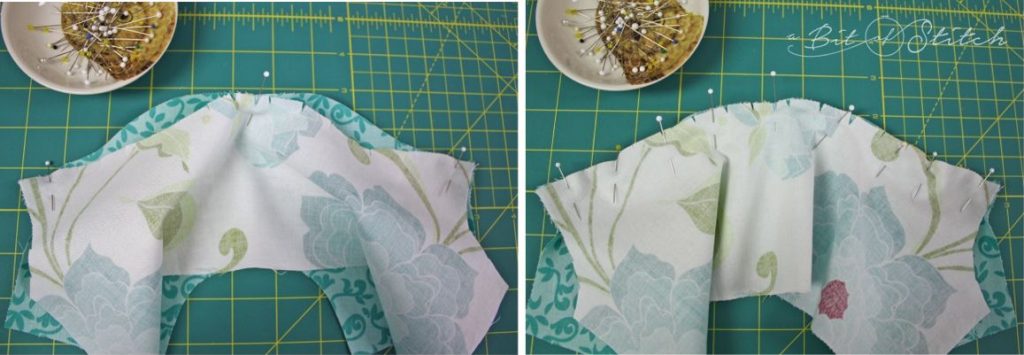
Don’t be intimated by sewing curves, it’s rather easy if you remember to clip the concave curve first.
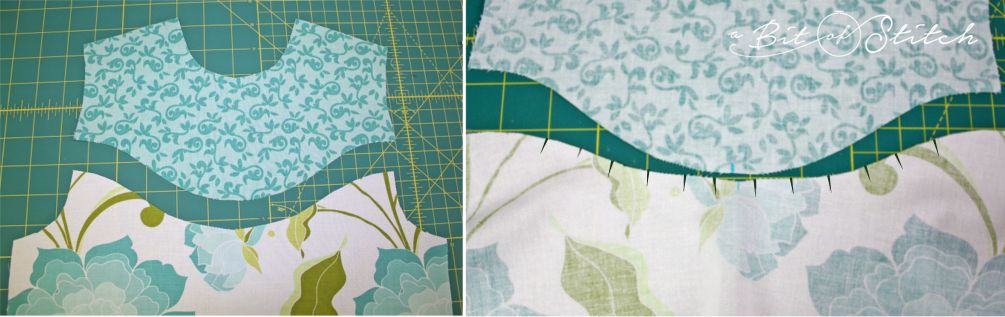
That way you can flatten it into a line that can easily be pinned to the convex curve. You’ll notice I marked my center points and pinned those first.
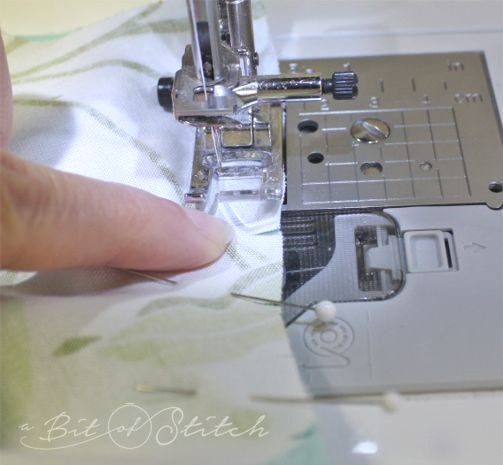
When you are sewing the two pieces together keep your finger gently pressed on the fabric right in front of the needle. Don’t hinder the fabric, just feel it as it feeds. You’ll be able to tell if the bottom layer tries to pleat or wrinkle up as you go. Sew slowly and keep an even seam allowance. I love the “J” foot that comes with my Baby Lock sewing machine. When the needle is in the left position and I align the right side of the foot with the edge of the fabric it makes a perfect ½” seam. Since this pattern calls for ½” seams that makes it super easy!
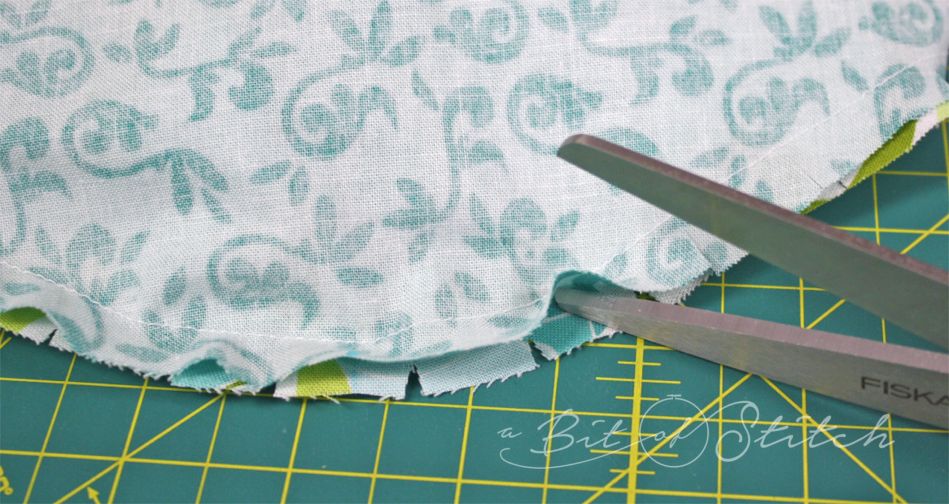
Clip the convex curve after stitching the seam.
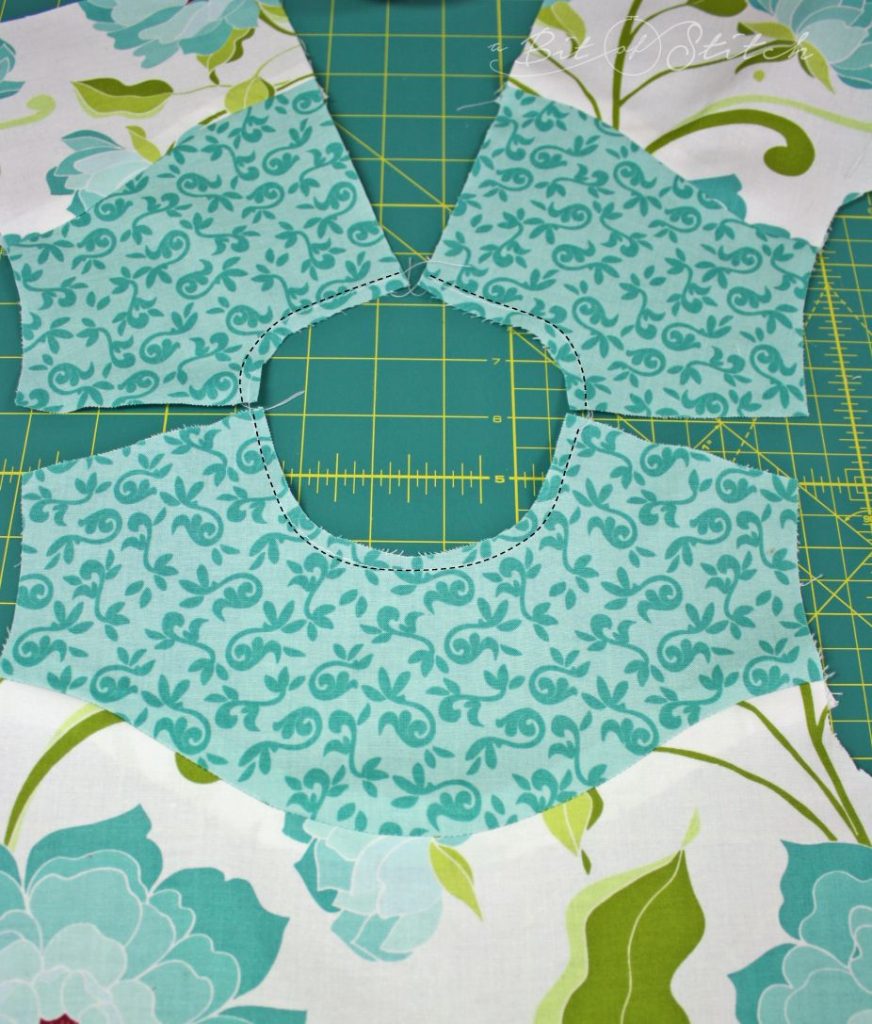
The seams will press open neatly now. Be sure to stay stitch any other curves that you won’t be sewing right away like necklines or arm holes. Since I was going to be doing a lot of appliqué, this was important. Stay stitching kept those areas from being stressed out of shape with my handling.
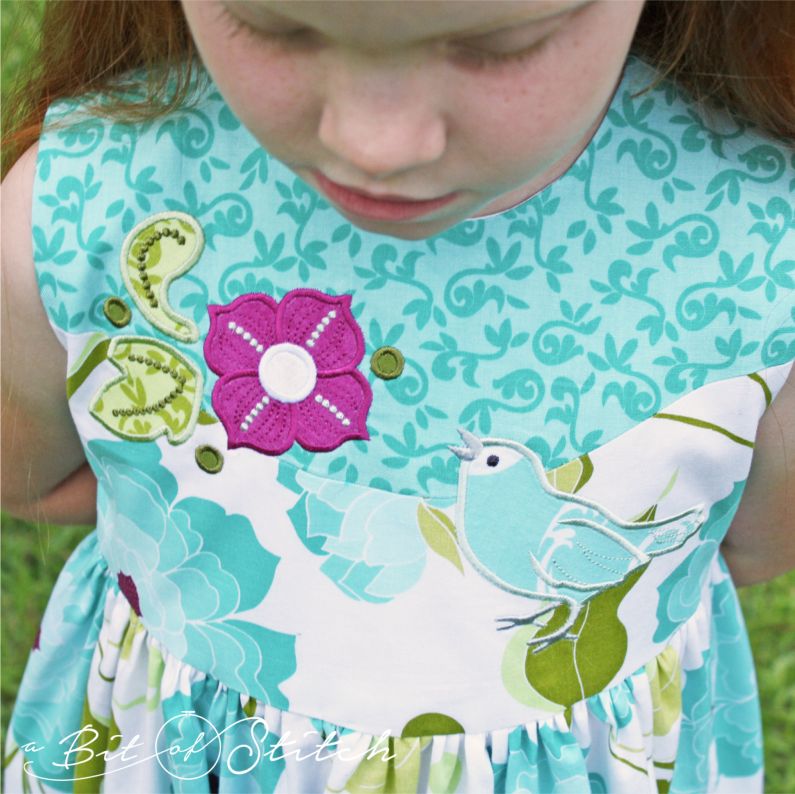
Machine appliqué is so cool on big bold prints. They become part of the dress – not just “hello, I’m an appliqué,” but “Well hey there, sweet thing, fancy meeting you here!”
The birds, flowers and scrolling stem appliques are from my Peeps & Posies design collection. I think they suited this print perfectly!
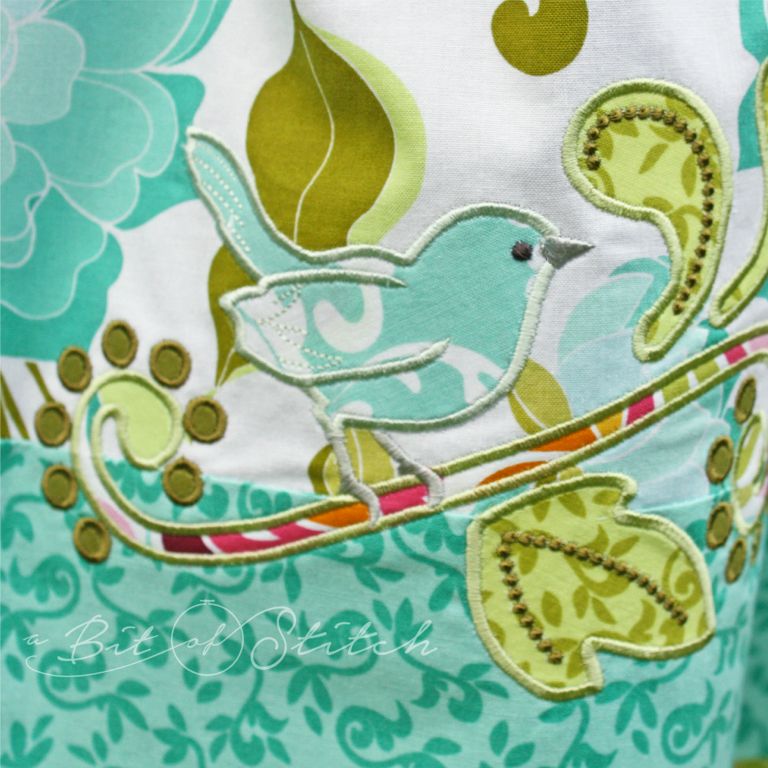
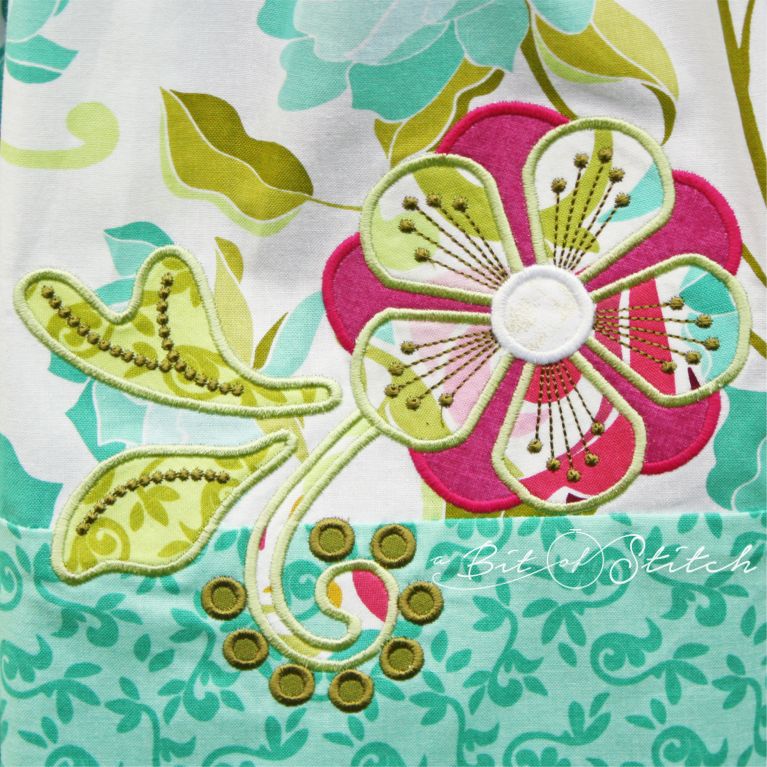
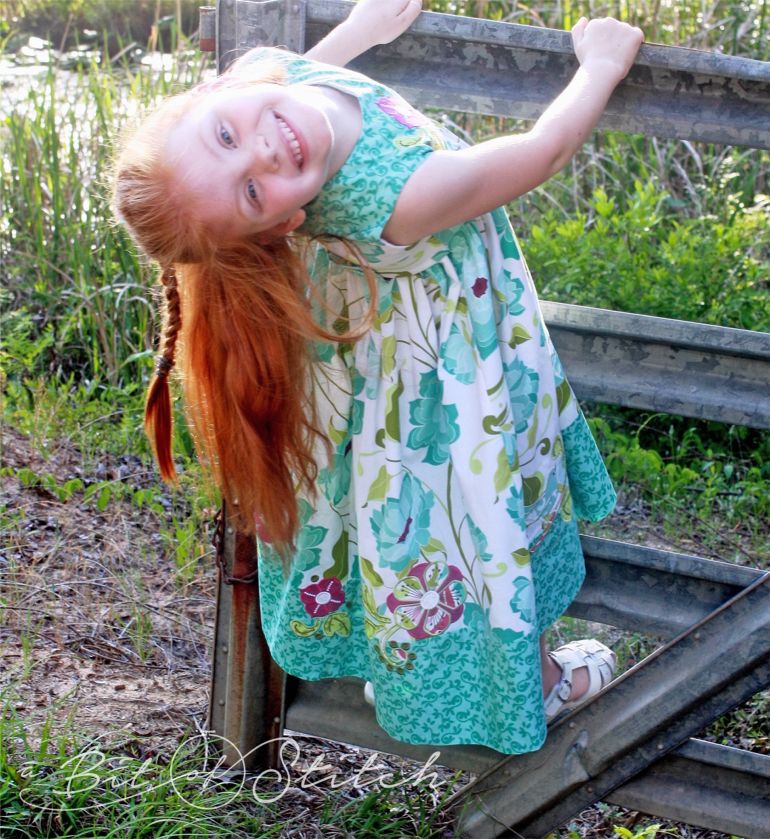
It was fun to let the designs overlap into the border of the dress, not only on the bodice, but also on the skirt. I used coordinating Halle Rose prints for the applique material too.
There’s nothing better than stitching up fabric that makes one smile the whole time you are sewing, don’t you think? I can’t wait to see what’s next in the Riley Blake fabric line; I know I’ll “need” it, ha!
Check back soon! In the next blog post I’ll be telling you how to make those appliqué designs POP even when applying lighter colored fabrics over darker and sharply contrasting areas. It involves scissors, but no running with them, I promise.
See you soon!
Evy
Photos by Amber Purcell
Sign up for email notifications and don’t miss the next blog post! 🙂
2 replies on “Riley Blake Halle Rose Dress”
Beautiful: where do I find the pattern you used for this dress and what is the smallest dress size?
Thank you! The pattern is my Rosie’s Dress pattern. There are three sizes, the smallest (size 1) is for a bust measurement of 24.5” and a nape-to-hem length of 21″.