Does the thought of embroidering continuous designs all lined up perfectly make you borderline crazy? I know. Hooping is perhaps one of the hardest parts of embroidery. There are about a million hoop aid things etc. floating around in the great embroidery ’sphere, and some of them are quite awesome. However you probably have everything you need to create beautiful borders and perfectly placed arrangements of designs at your fingertips already.
You have a hoop, check. You have a hoop grid. That’s the clear plastic sheet that is printed with a grid and fits into the inner hoop. (Or as I like to call it, my personal paradise fan – those of you of a certain age will appreciate THAT, ha!) Got it? Check. You have a printer attached to your computer? Check. The only thing you might not have, but can easily get, is the software you need to print paper templates of your designs. Actually, you may already have embroidery software that can do that and you just don’t know it can. Ask your dealer. They can tell you if your software will allow you to print actual sized templates and how to use it. If you don’t have software that will do that, there are many software selections variously priced to choose from. (Write me and I’ll be glad to tell you more about some good programs I use, I won’t use up your time here listing them all.) Also, some designers are more than happy to provide you with PDF design templates that you can print of any designs they sell. Just ask! (FYI – the PDF templates of these feather designs are included with the designs.)
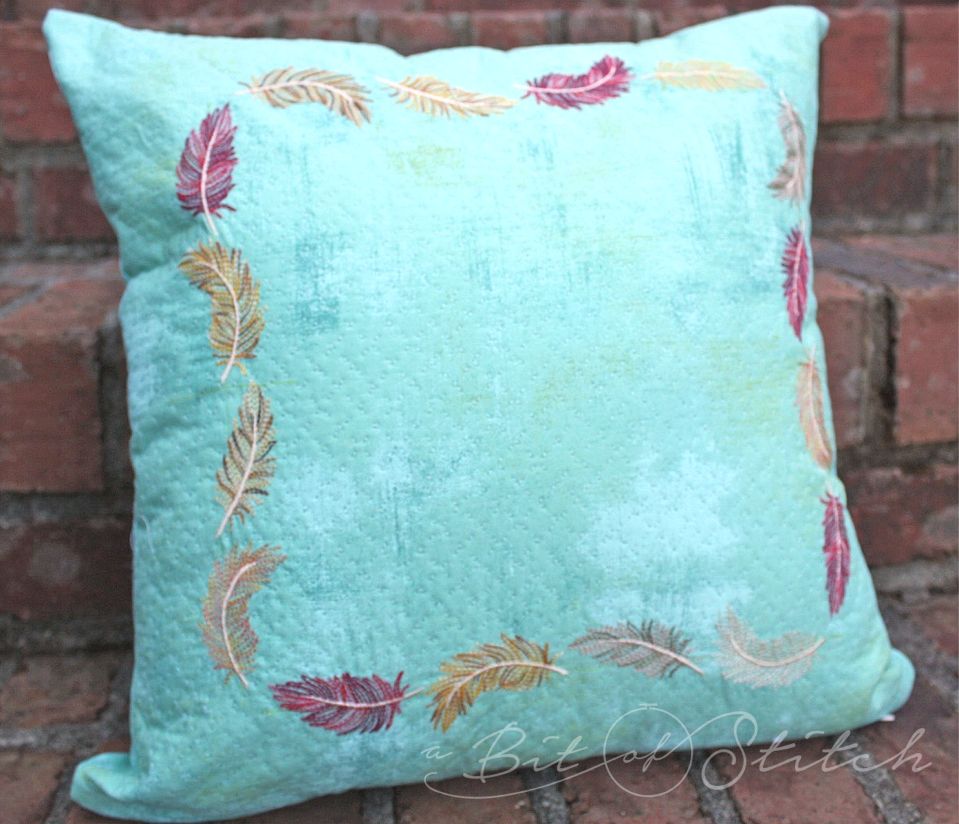
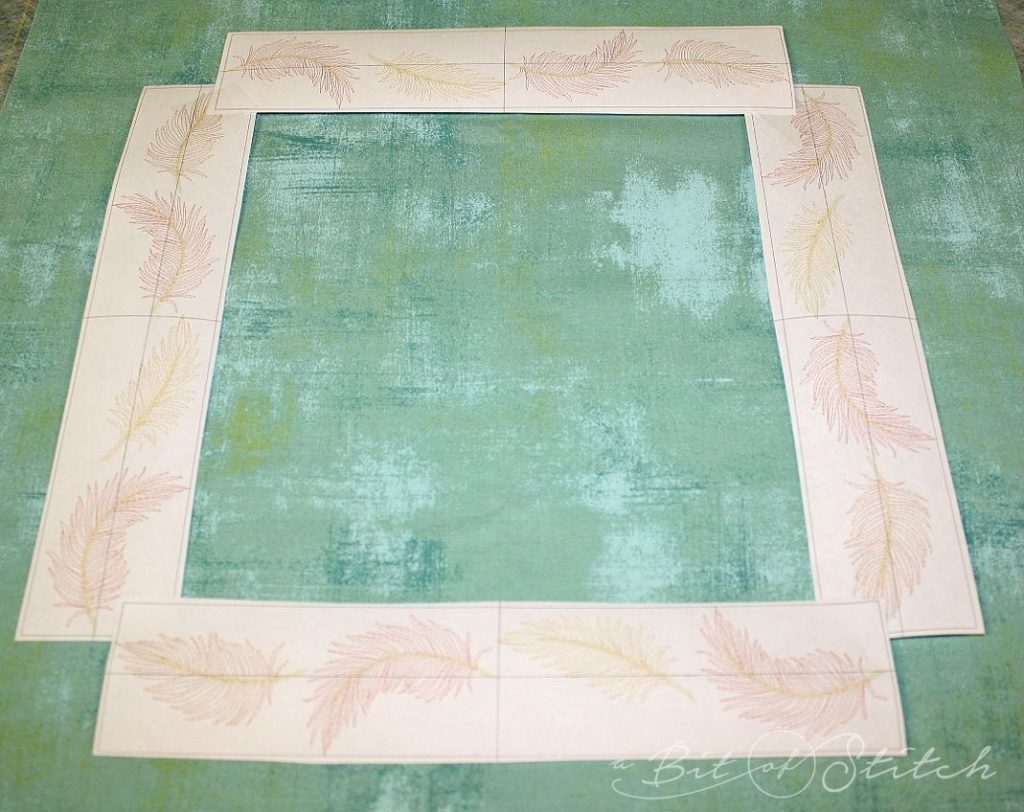
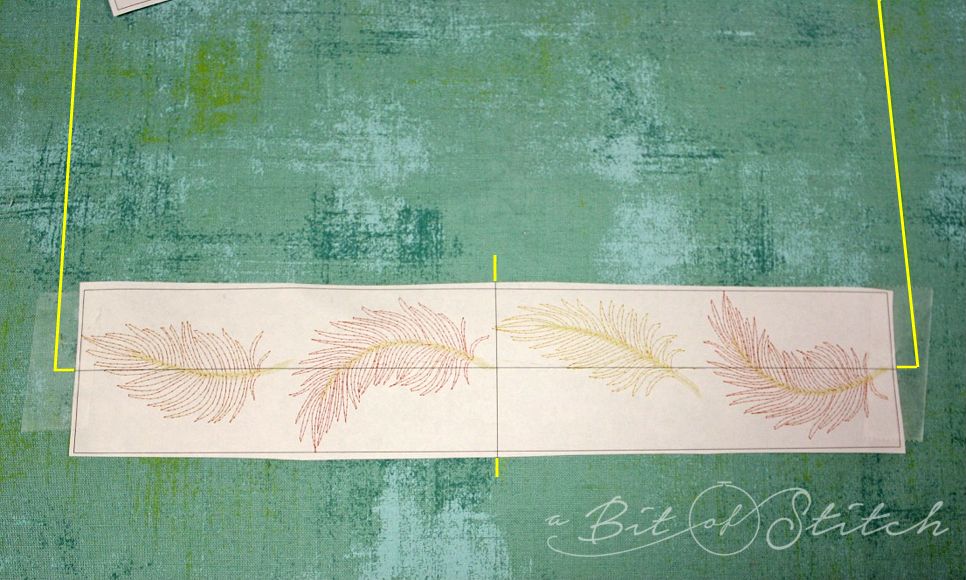
Start with something simple like this feather border pillow. This is a great project to begin on as the layout is easy and uncomplicated. I’m sure you have designs in your stash that you can use to create something similar. Pick out your designs and print enough paper templates to cover your entire border design area. It took four 6×10 feather border design templates to make the center box embroidery on my sample pillow. The templates should print out with centering lines crossed in the middle of each design. If not, there should be marks on the edges of the designs from which you can draw the horizontal and vertical lines.
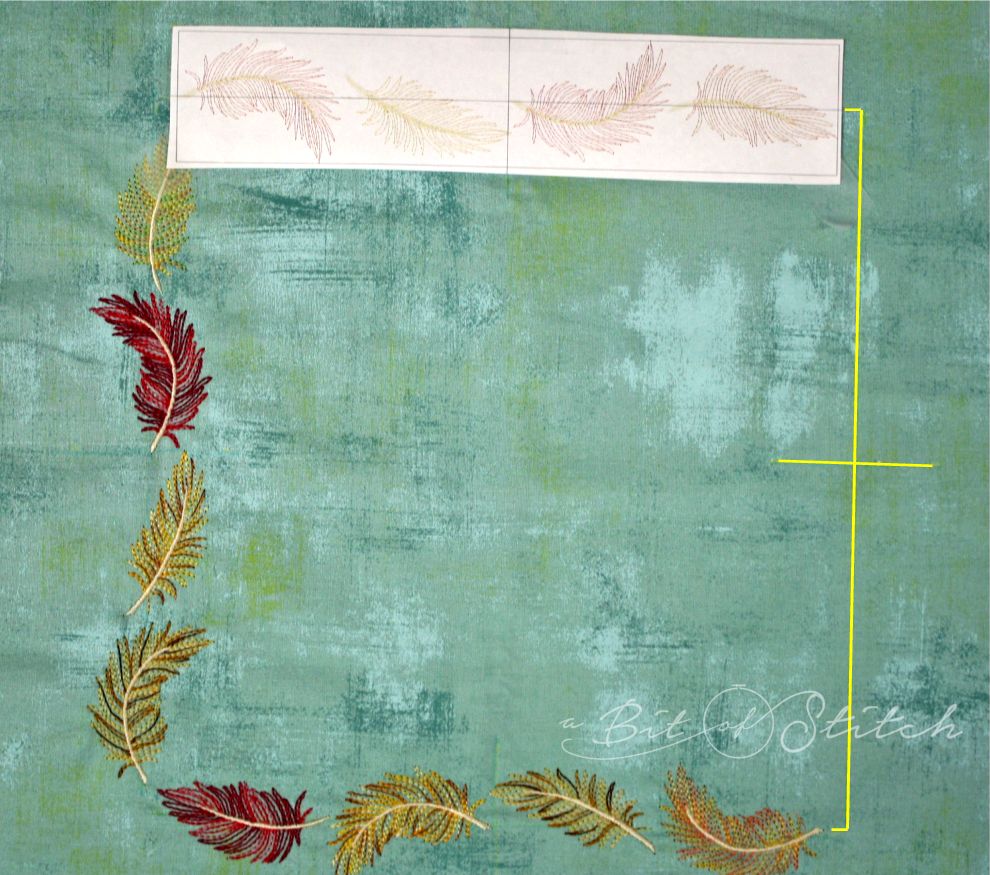
Stabilize the fabric before you begin. I simply stabilized the entire pillow top using iron on tear-away. Iron-on stabilizer also keeps you from stretching the fabric as you fiddle with hooping. Audition the templates on your project fabric.
Mark the centering lines for each template on the fabric.
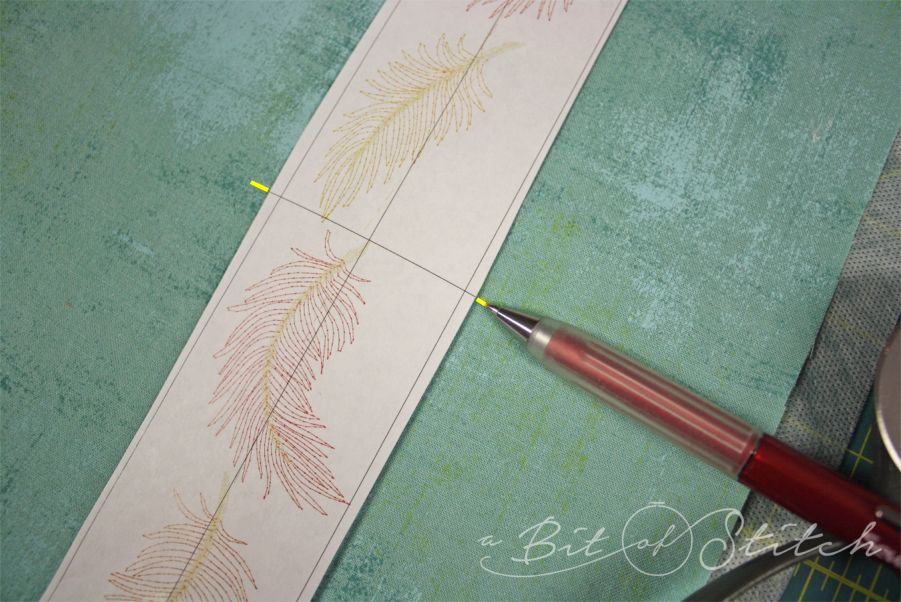
I ended up with a box marking the vertical position lines intersected with the horizontal position lines. If your templates are of different designs or are turned a certain way, then place them in a safe, quiet spot on your work surface in the position and order they should go once you remove them to finish drawing the lines.
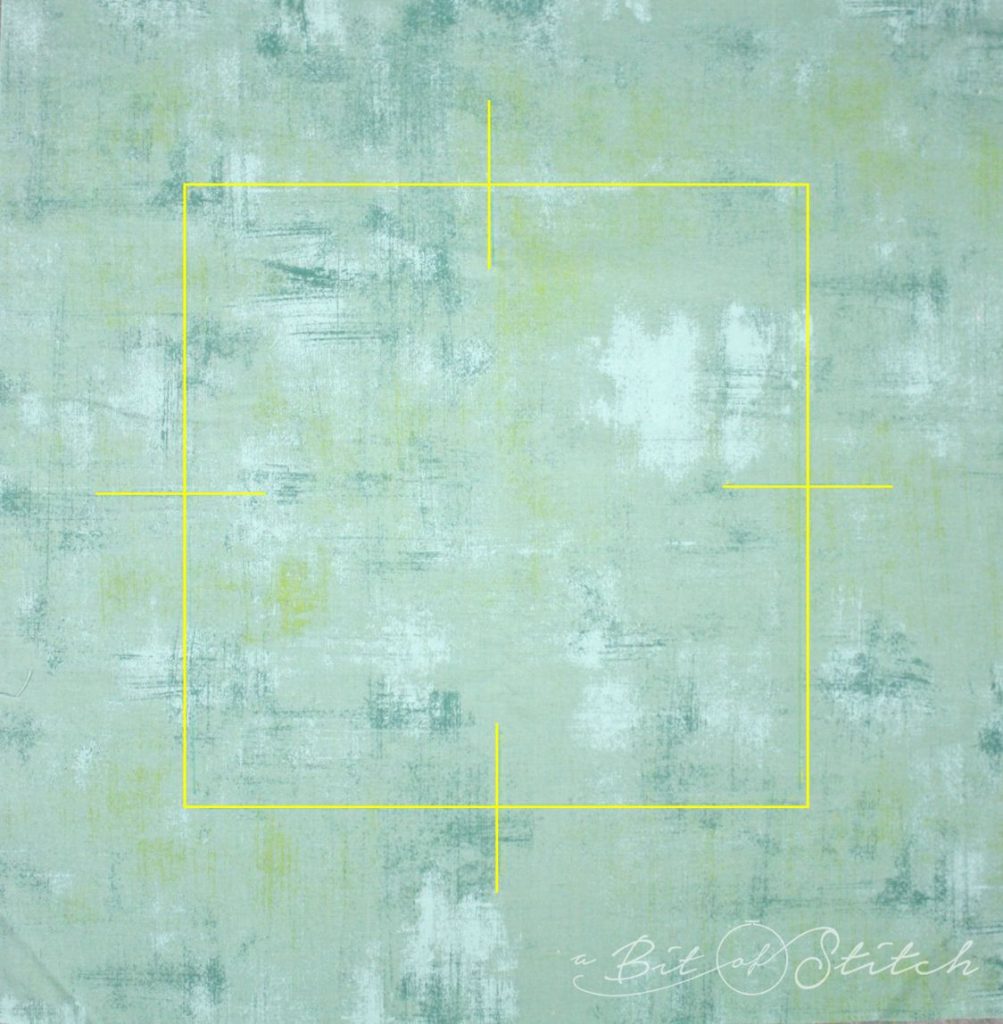
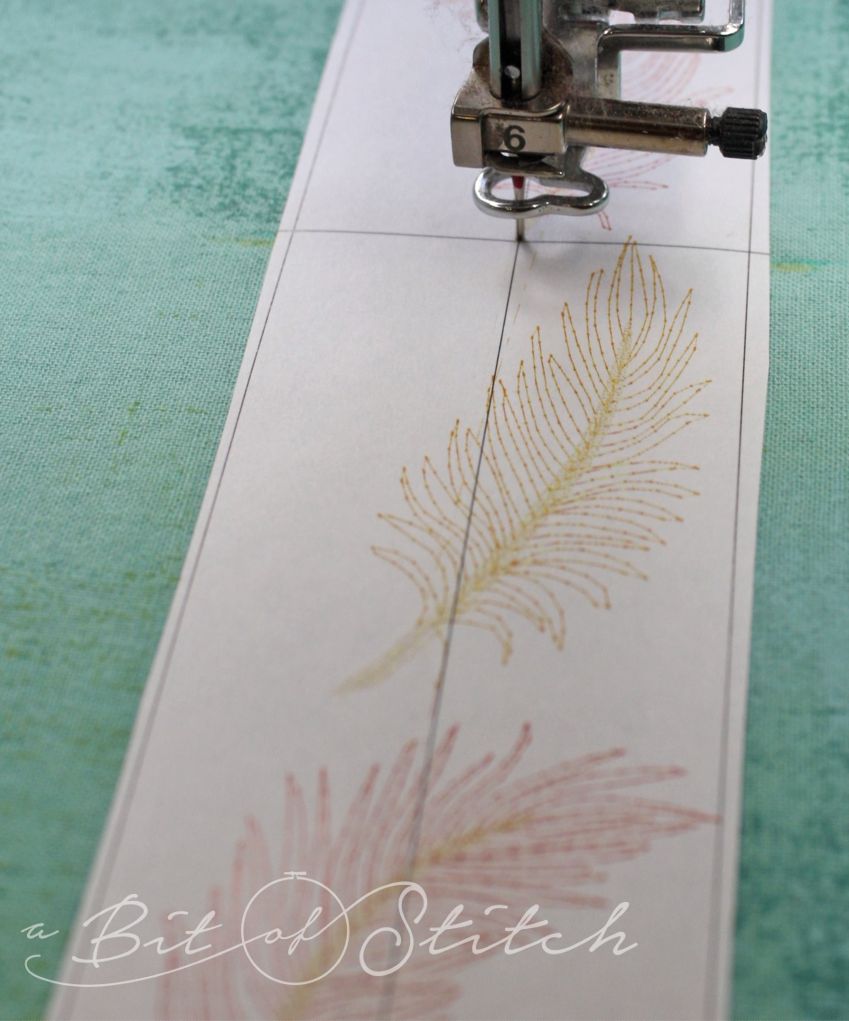
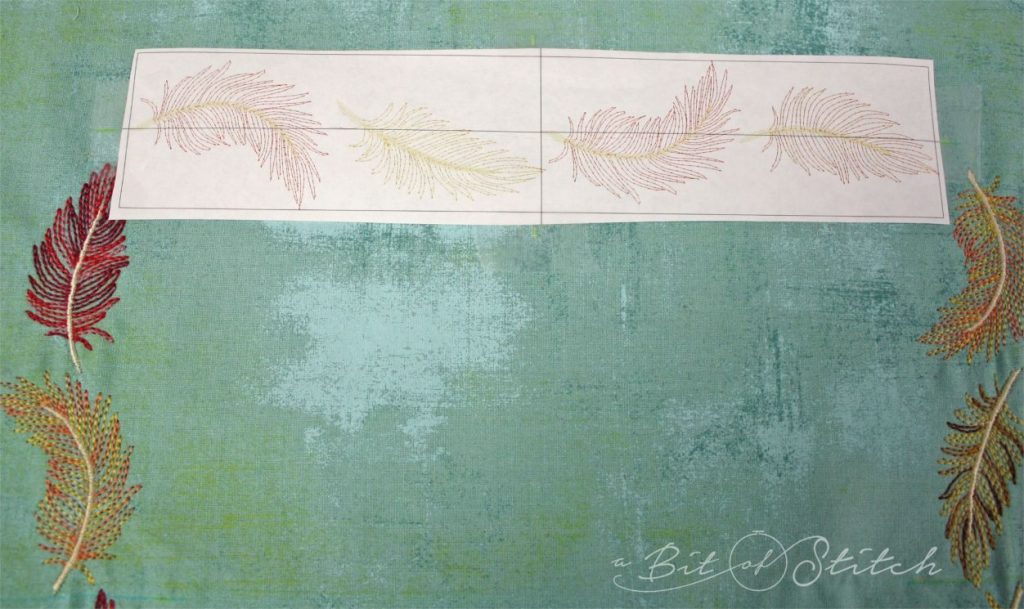
Stick the first design template back on the fabric using either a light coat of temporary spray adhesive or cellophane tape. Line up the placement lines on the paper template with the placement lines you drew on the fabric.
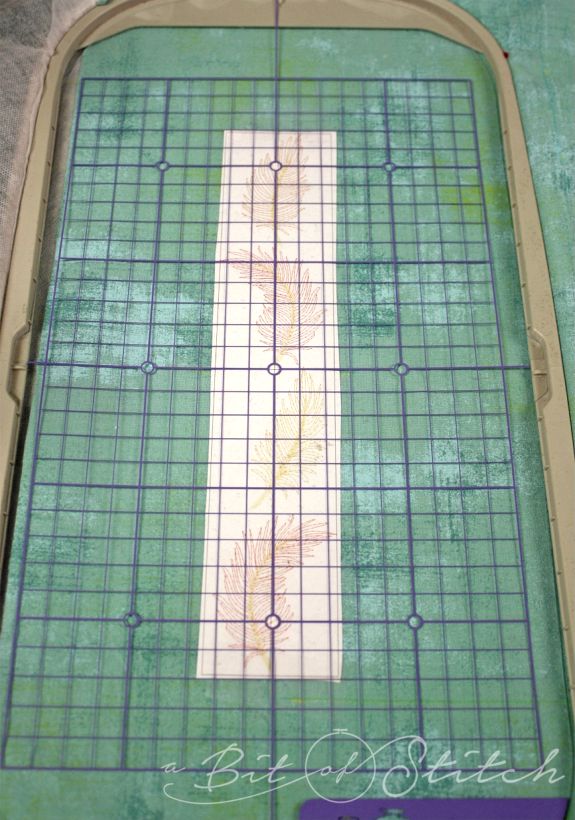
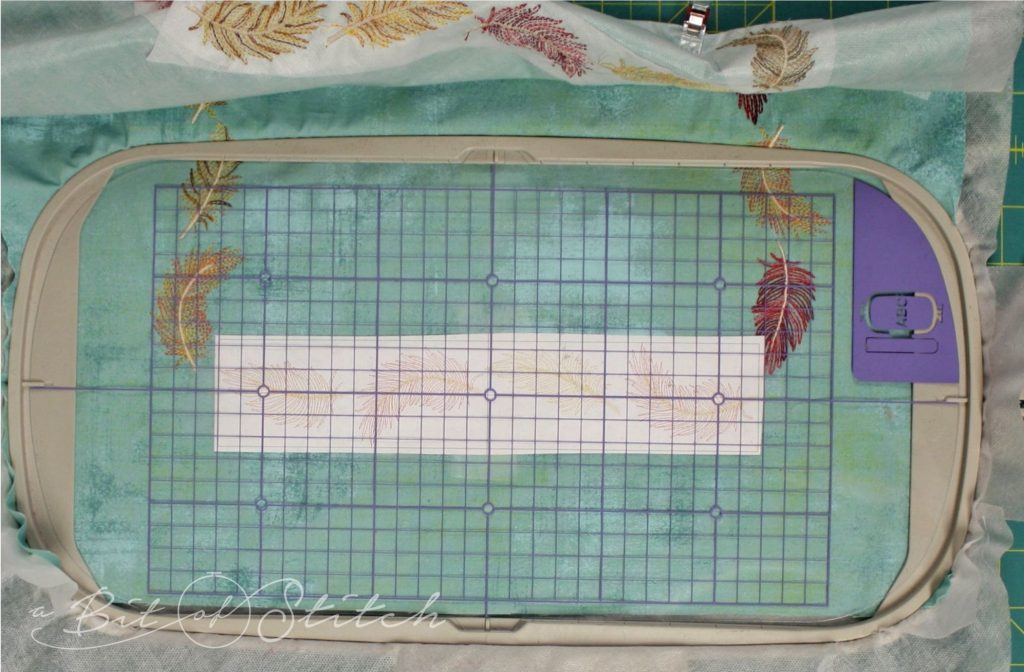
Place the hoop grid inside the inner hoop. Make sure it is correctly positioned! Baby Lock hoop grids have a very helpful “ABC” on the bottom right corner – if you can read it, it’s in right. Place the bottom part of the hoop on your work table, hoop screw loosened. Line up the inner hoop and grid on top of the fabric aligning the grid with the crossed placement lines on the printed template. Hold the hoop (with grid) and the fabric all together as you carefully move them into the outer hoop. Check to be sure nothing has shifted. Once you are happy with the placement, tighten the hoop screw and remove the plastic grid but not the paper template. Put the hoop in the machine and load the design.
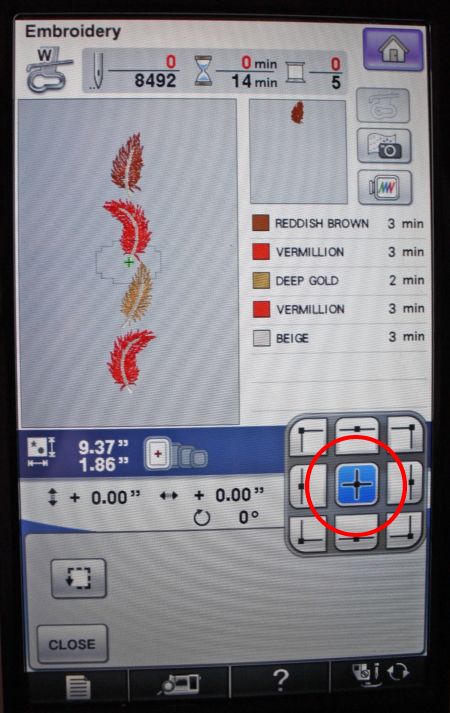
Most embroidery machines have an onboard design placement tool that will allow you to find the corners and center of an imported design. Here is the “trial key” that my Baby Lock machine has on the home embroidery screen. (I absolutely LOVE this awesome little key!)
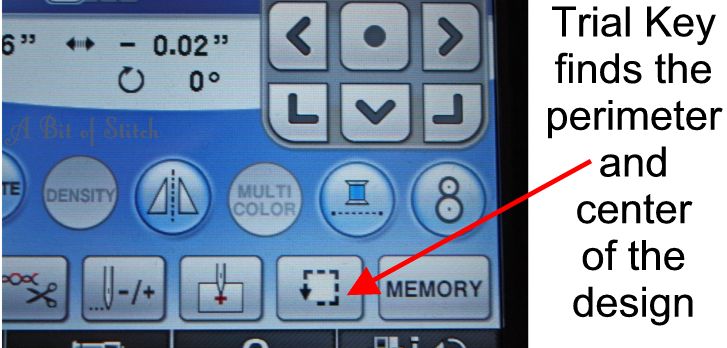
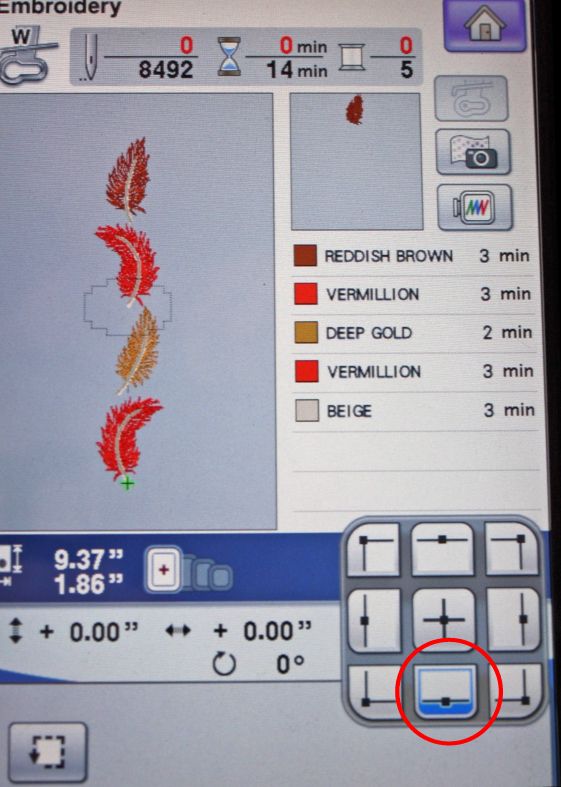
Once you click that key it brings you to a screen that will show you the design perimeter choices, like this:
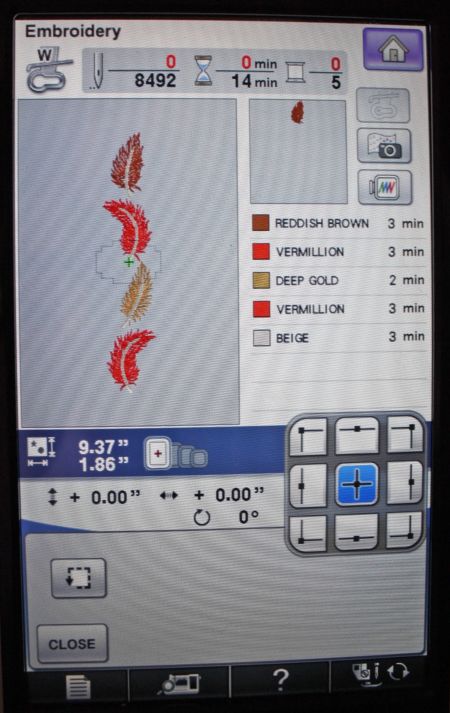
Default is the center position. Press the needle down button. If you got everything lined up correctly the needle should hit the bull’s eye like this:
(Best to do this with an un-threaded needle.) What if the needle is off? That’s easy. Close out of the trial key window and locate your design positioning keys. On my Baby Lock machine that’s on the very first window, or embroidery home screen, and looks like this:
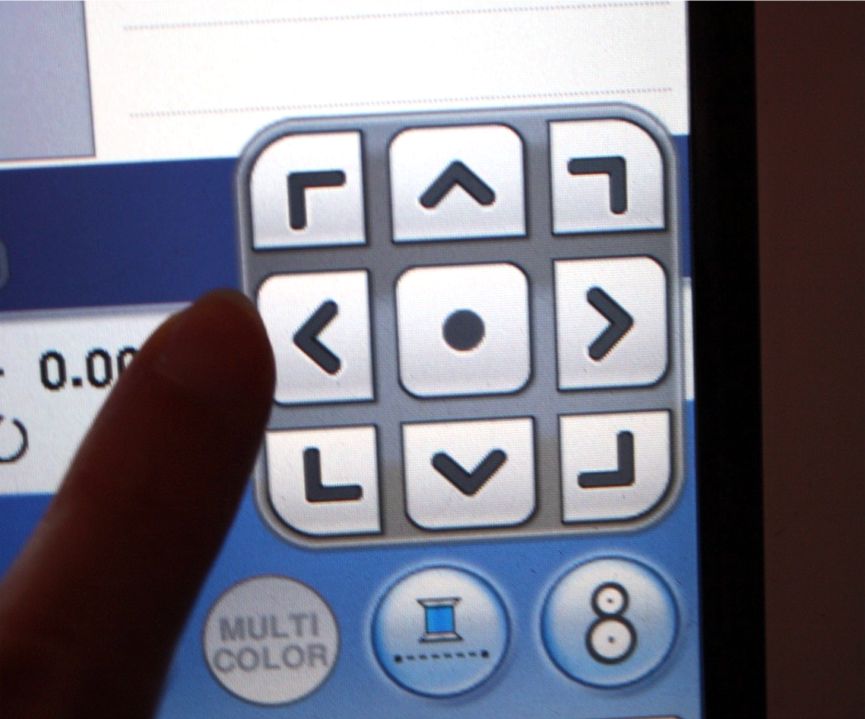
You can touch the arrows to move the design up, down, right or left as needed and as allowed by how much room you have to maneuver in the hoop. If you just need a click or two you should be able to move the design without re-hooping. Once you have moved the design check the placement again by going back to the trial key function and drop the needle in the center again to see. When you are satisfied with the placement remove the paper template and embroider the design.
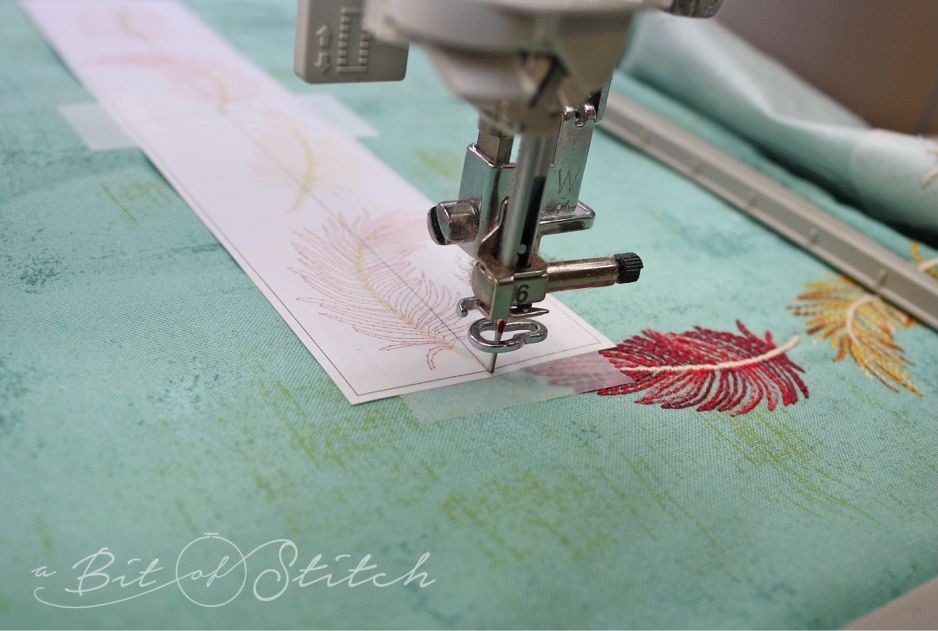
Choose the next template and hoop the fabric exactly as you did for the first using the printed paper template and hoop grid to correctly align the design in the hoop. Once again, check your work by using the trial key to find the center and in this case also the bottom center of the design.
Drop the needle and check that position.
You’ll want to return the machine to the center position once you have finished checking that bottom point.
Finish that design and move on to the next,
And the next,
Roll up and secure the fabric with Wonder Clips or pins to keep it from being trapped under the hoop. (Oh woe is me when that happens!) As you know, when working on big things that tend to flop around it’s best to stay right there with your machine. Go get a cup of tea and sit and watch her stitch!
See how easy that was? Happy bordering to you too!
Evy
One reply on “Borderline Crazy!”
Thank you for the great lesson! It was a great refresher for me especially since I have a Brother. Both the Babylock and Brother are so user friendly. I would recommend either of these machines as they love to please!