
Counting my blessings, one stitch at a time, and being SEW thankful for each and every one of them! This little wall hanging project is gracing my studio and helping me remember to seek the good, gather it in, and give thanks for every bit. Make one for your sewing space!
Here’s what you will need:
- Sew Thankful BL Machine embroidery design (NOTE – this design is included in the Sew Thankful design set by A Bit of Stitch; it is also available through Baby Lock as a single design in a free download HERE.)
- Baby Lock’s Ultra Soft Fusible (or A Bit of Stitch’s Soft Loft Fusible)
- Baby Lock’s No-Show Mesh cut-away (or A Bit of Stitch’s Sheer Cut-Away Stabilizer)
- quilt weight cotton fabric for the center embroidered block (enough to hoop)
- 1/2 yard quilt weight cotton fabric for the backing and faux binding
- assorted scraps or fat quarters of various printed quilt weight cotton fabrics
- machine embroidery thread or decorative quilting thread
- sewing thread
- 6″ length of 1/2″ wide twill tape
- skinny wooden dowel (12″ long)
- fusible web tape (to close the opening in the quilt backing)
- sheer white organdy and silk organza in a color of your choice for the design underlay (optional)
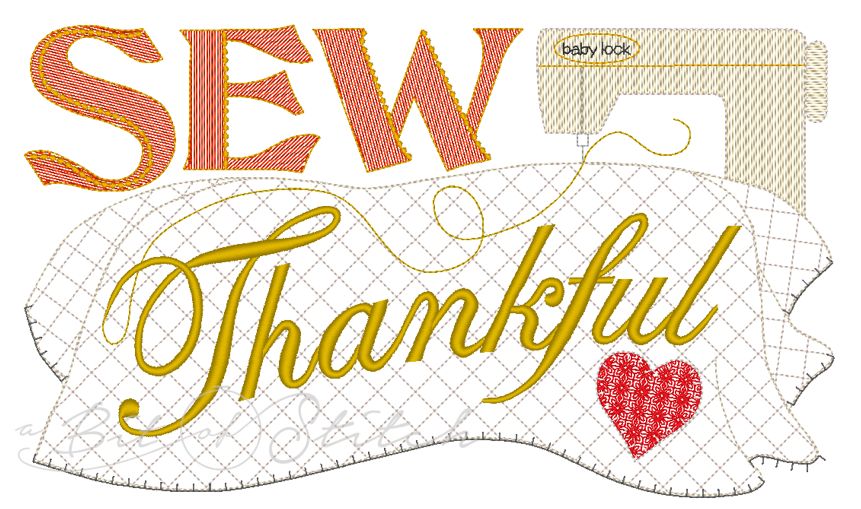
This design is included in the “Sew Thankful” design set found HERE at A Bit of Stitch. The single design is also available as a free download HERE through Baby Lock!
For this wall hanging, you’ll need to create three blocks – one center embroidered block and two scrappy quilted blocks for the top and bottom. The Sew Thankful design set contains in-the-hoop block designs for each of these blocks, but you can also follow the instructions in the “Frame Tutorial for BL IQ Designer” and “Quilt Block Tutorial for BL IQ Designer” PDFs included in the the Baby Lock download to use your machine’s IQ Designer tools to create a frame for the “Sew Thankful” design and framed, quilted blocks from fabrics you have pieced together.
Let’s get started!
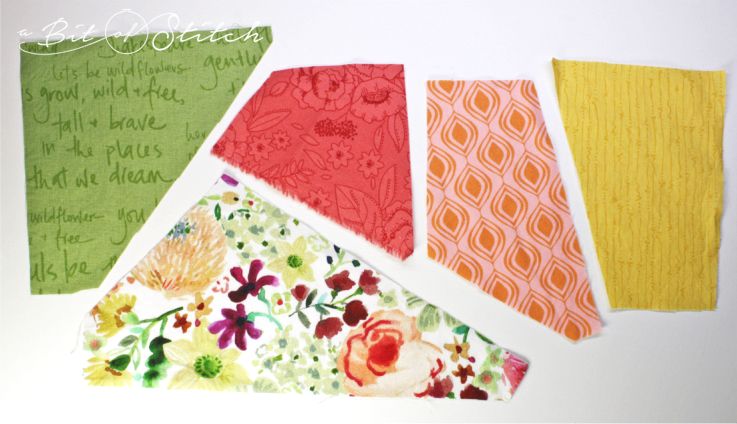
Use the printed quilt weight cotton scraps to create two blocks of scrappy pieced fabrics; each block needs to be large enough to hoop in the 8×12 hoop. Follow the instructions in the “Quilt Block Tutorial for BL IQ Designer” PDF included in the Baby Lock download to make them into quilted blocks using IQ Designer tools. (OR create two scrappy quilted and embellished blocks using the in-the-hoop block designs from the Sew Thankful set found HERE.)
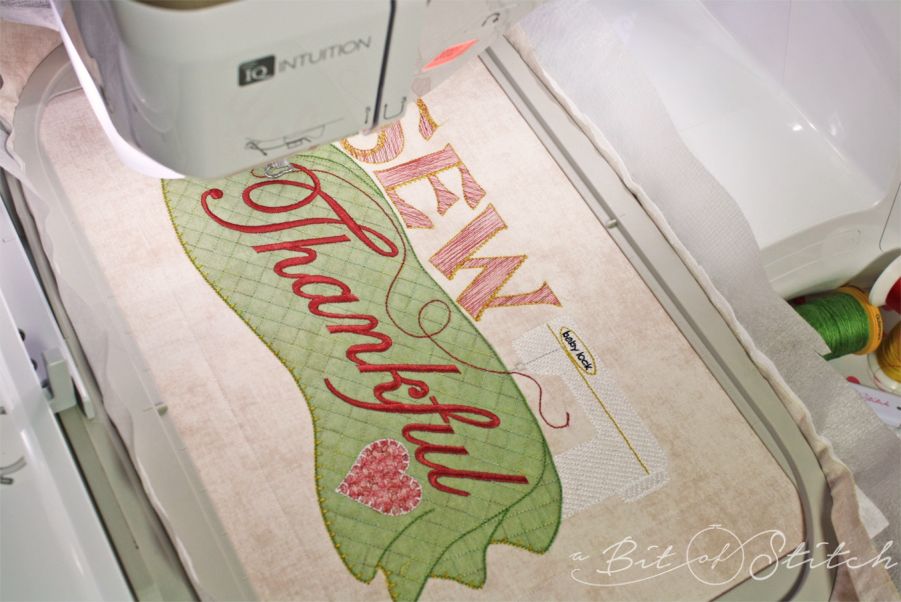
Next, embroider the center “Sew Thankful” design on project fabric that has been backed with one layer of Ultra Soft Fusible or Soft Loft Fusible. Place the backed fabric on top of one layer of No-Show Mesh Cut-Away or Sheer Cut-Away Stabilizer and hoop. If you are adding a block outline to the design, remember that you will need a bigger hoop than the design requires – in this case, use your 8×12 hoop!
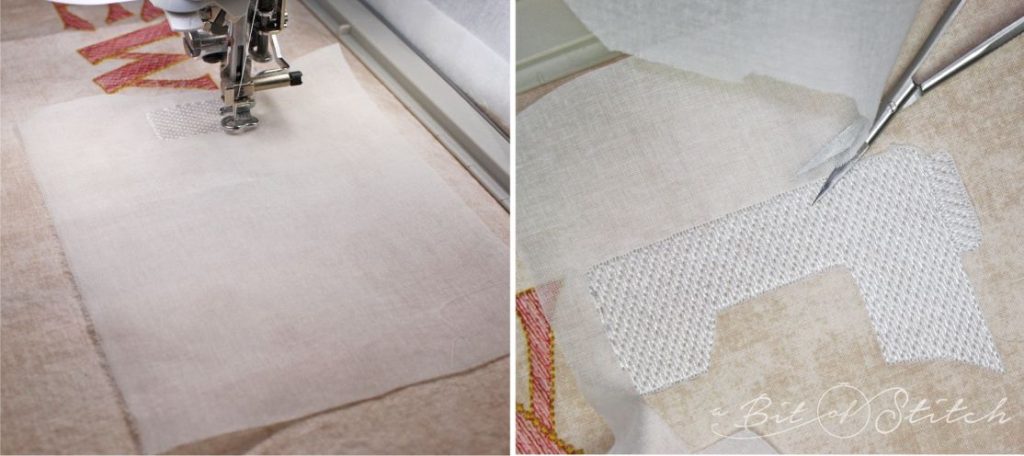
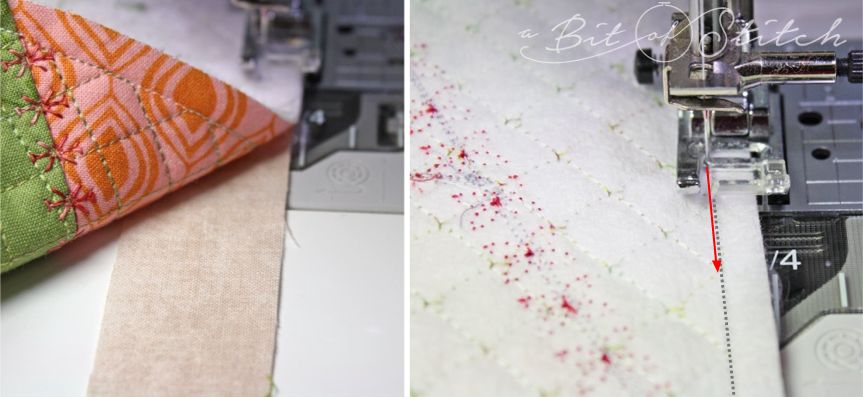
It’s fun to add fabric behind bean stitch designs and light fill stitch designs! This helps “shade” the project fabric and create more definition for interesting effects. Be sure to use a fabric that will not fray easily! For this design I added a piece of crisp, white organdy fabric behind the Baby Lock machine. That is easily done by placing the fabric over the area the design will stitch, embroidering the first stitch sequence of the machine (the machine body), and then trimming away the excess fabric before continuing with the embroidery. See how nicely that white machine pops – even on a light brown background!

I also decided to cover the background fabric behind the quilt portion of the design, this time using a piece of silk organza. Silk organza does not fray badly and is sheer enough to give a bit of color without being heavy. After laying the silk organza in place, I stitched the first two sequences of the quilt portion of the design (the quilting and the quilt outline) and then trimmed away the excess silk before continuing. You may wish to cut out the inside of the little heart, too, so that the heart embroidery would show best there.
Remember: When trimming things in the hoop, always place the hoop on a hard, flat surface before you begin. (THESE little snips make the perfect trimming tool!) Also, be sure to hold the hoop by the hoop – NOT by the fabric in the hoop – in order to avoid accidentally dislodging the hooped fabric.
I am a fan of all the threads! Aren’t you? For this project I used a combination of shiny embroidery threads (for the machine and the “Thankful” lettering) and variegated quilting threads (for the rest of the design). Madeira’s Cotona thread comes in lovely variegated shades, as does Superior Threads’ King Tut line.
Trim all three blocks, leaving a ¼” selvage edge past the block outline stitching. (If you wish to use these instructions to make a fast wall hanging of different dimensions using other designs, simply trim your blocks to the same width and whatever height you wish them to be.)
Using the same fabric you used for the background of the center embroidered block, cut two strips of fabric 1-1/8” wide by 12” long. Join the scrappy blocks to the top and bottom of the center block with these two strips, as shown above. Sew from the wrong side of the blocks so you can see the block outline stitching; sew immediately INSIDE of the block outline stitching. Press and then trim away the excess strip fabric.

Cut four 1-1/4” wide strips of the same fabric you will use for the backing. Sew the strips to the right, left, top, and bottom sides of the quilted front in the same manner – sewing from the wrong side, immediately inside of the block outline stitching. Press the seam allowances open. These four pieces will become part of the faux binding.
Cut a piece of backing fabric that is 1” wider than the quilted front (including the faux binding) and 2” taller. Fold the backing fabric in half, short end to short end, and split along the fold. Then sew the two pieces back together again with a 1/2″ seam allowance, leaving an opening of about 3” to 4” in the center. On ONE SIDE of the seam allowance, clip the seam allowance selvage edge just past each end of the opening to create a flap. Press the flap over the other side of the seam allowance as shown above on the right.
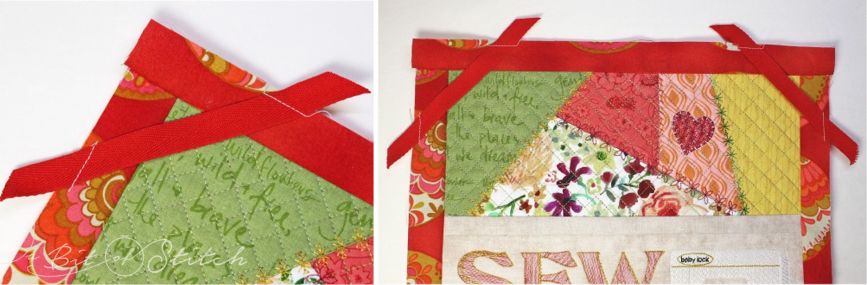
Create fast and easy hanging tabs by placing two 3″-long pieces of twill tape across the upper corners of the quilted front before you sew the backing fabric on. Tack the pieces of twill tape in place at the edges of the faux binding as shown.
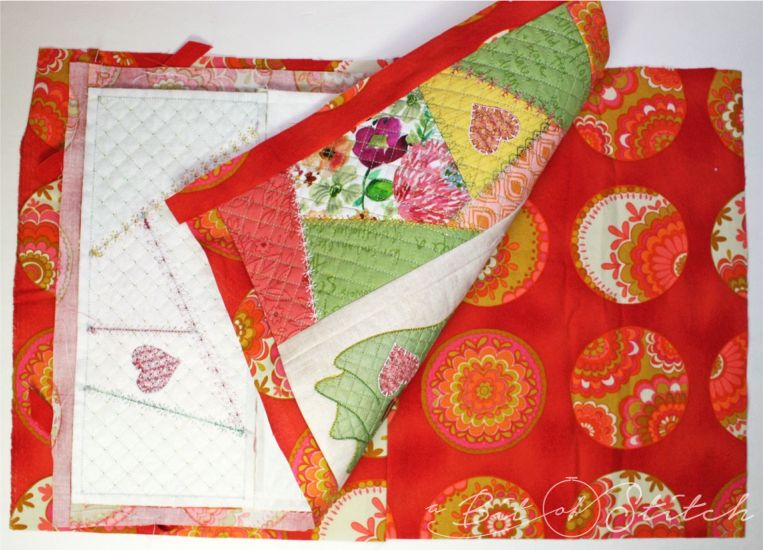
Place the quilted front and backing fabric right sides together and pin.

Sew along each side of the wall hanging approximately 1/4” away from the edge of the quilted blocks, as shown above. Baby Lock owners: Use your J foot, put the needle in the left position, and bump the left side of the foot against the raw edge of the quilted blocks. Easy guide!

No need to turn corners! Just sew straight off the edge in each direction. Before turning the wall hanging right side out, clip the corners and trim the selvage edges to 1/4”. Turn right side out and use your point turner tool to carefully poke out the corners. Close the opening in the center of the backing with a bit of fusible web tape.
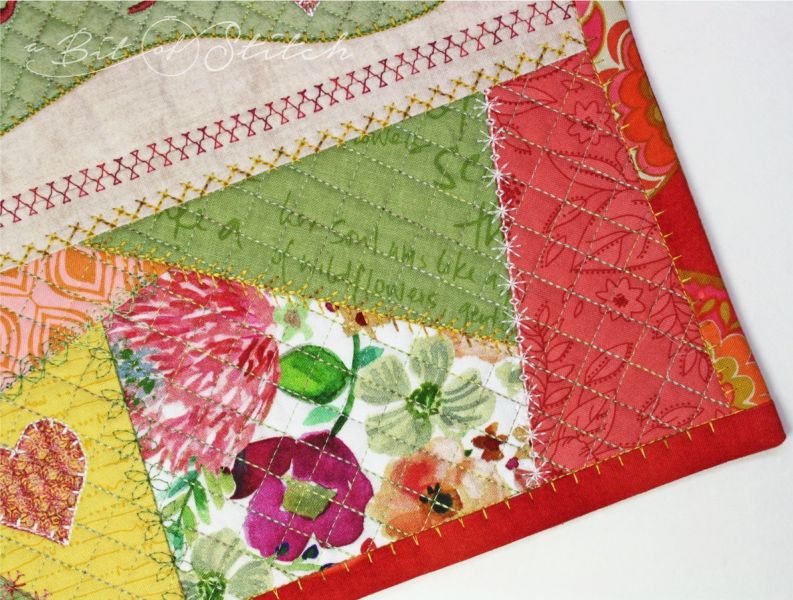
Using your onboard motif designs, sew pretty decorative stitching across the joining strips on the front of your wall hanging to add extra interest. Then stitch in the ditch with either a straight stitch or a toothed stitch all around the outside where the faux binding meets the quilted blocks.
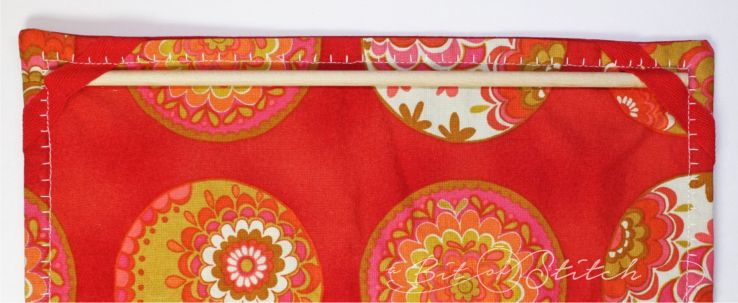
Cut a skinny wooden dowel to fit across the back of the wall hanging. Insert the ends of the dowel into the twill tape tabs. The dowel will perch on a thumbtack or pushpin all by itself, but you may wish to add a ribbon hanging loop and be extra fancy!

All done! I hope you enjoyed this project! 😀
Evy