Let’s finish it up! Up to this point you have pieced, appliqued, quilted and joined together the lining and tote bag pieces with the straps. Right? Okay, now we’re going to subdue those fat seams, box the corners and make a sturdy bag bottom insert.
I love byAnnie’s Soft and Stable. LOVE, love it! But just like any other firm stabilizer, it does make for some bulky seams. In most of my projects I take care of that by trimming away the selvage in the seam allowances (and Soft and Stable trims really nicely, neat and quick) but for this one I couldn’t because quilted right up through the seam allowances. That was necessary because I wanted to use my Baby Lock Sashiko machine to quilt my tote, of course. 🙂 So instead I pressed the seams open and top stitched along the seams on both sides.
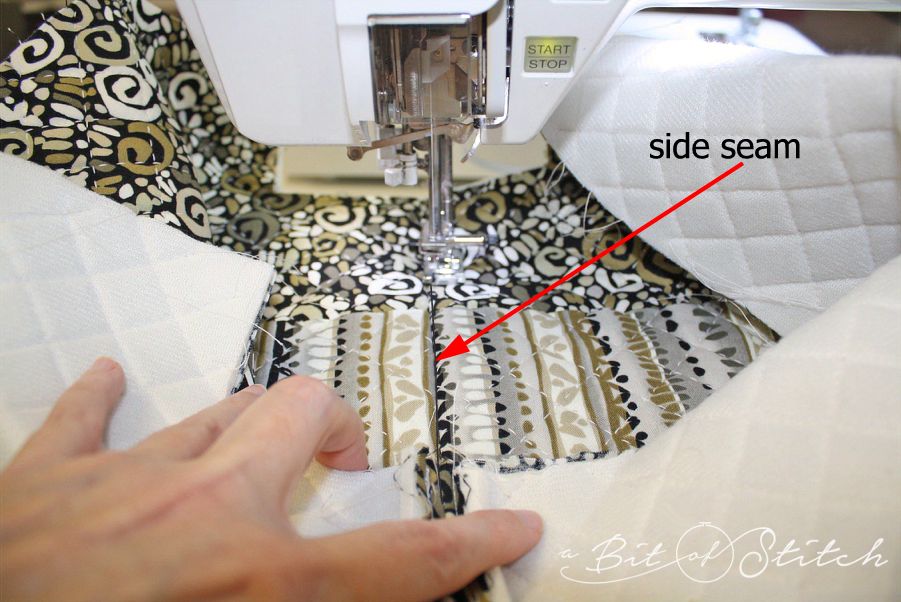
Because the bag is still open along the bottom the side seams are pretty easy to press open and stitch. This is when you really appreciate working with Soft and Stable. It’s easy to subdue and doesn’t hurt your hands while wrangling it!
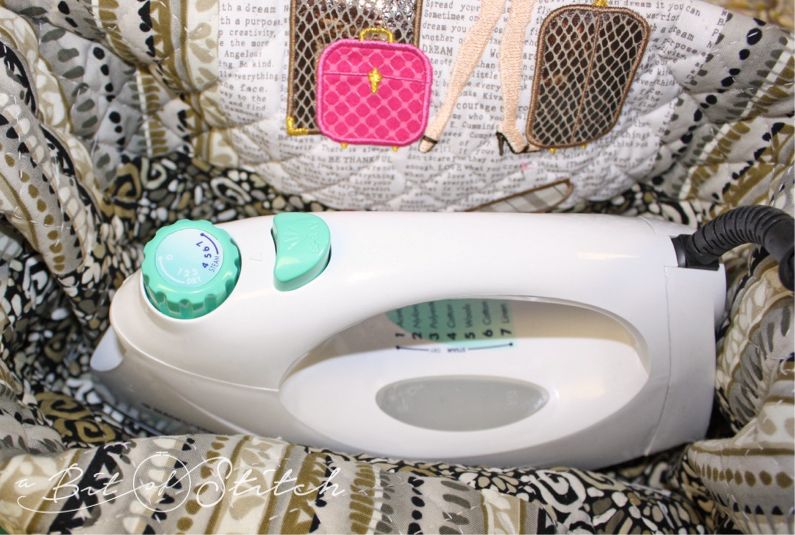
Once you have top stitched both side seams sew up the bottom seam – just the straight part, not the boxes. The easiest way I found to press this seam open was from the right side, inside of the bag. I slipped my fingers underneath and splayed the seams open on my ironing board and put the iron in the bag to give it a good shot of steam.
Now you will REALLY, REALLY appreciate Soft and Stable. Squash the bag as flat as you can and work it under the presser foot so you can top stitch along both sides of the seam across the bottom. Sew from the right side of the bag but make sure the seam stays open on the underside. Don’t take it out from under the presser foot to go down the other side, just move back to the beginning and go again. (It’s the bottom of the bag. A man on a galloping horse will not notice if the top stitching is exactly ¼” from the seam or not, right?)
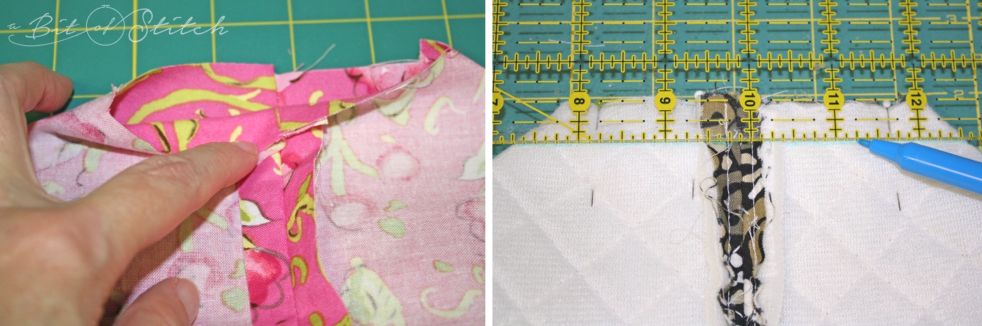
Next, let’s box the corners. Sew up the lining’s bottom seam leaving a 6” opening in the center. Stay stitch the selvage edges of the opening.
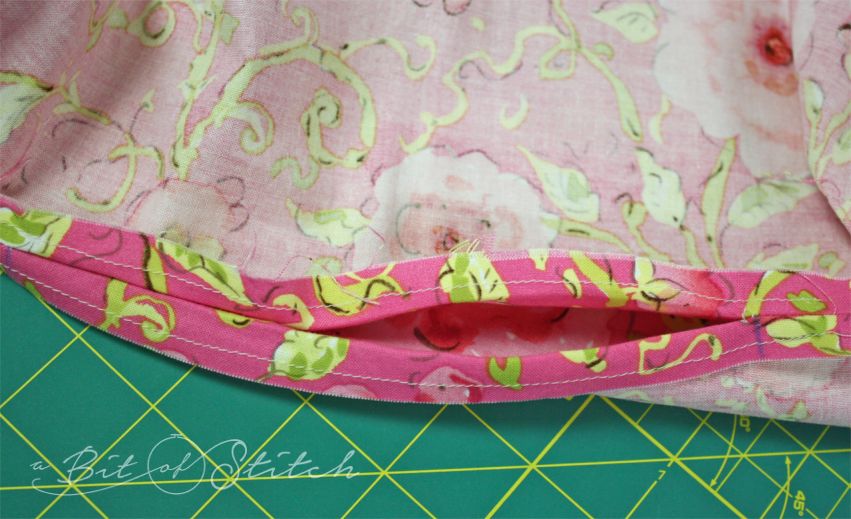
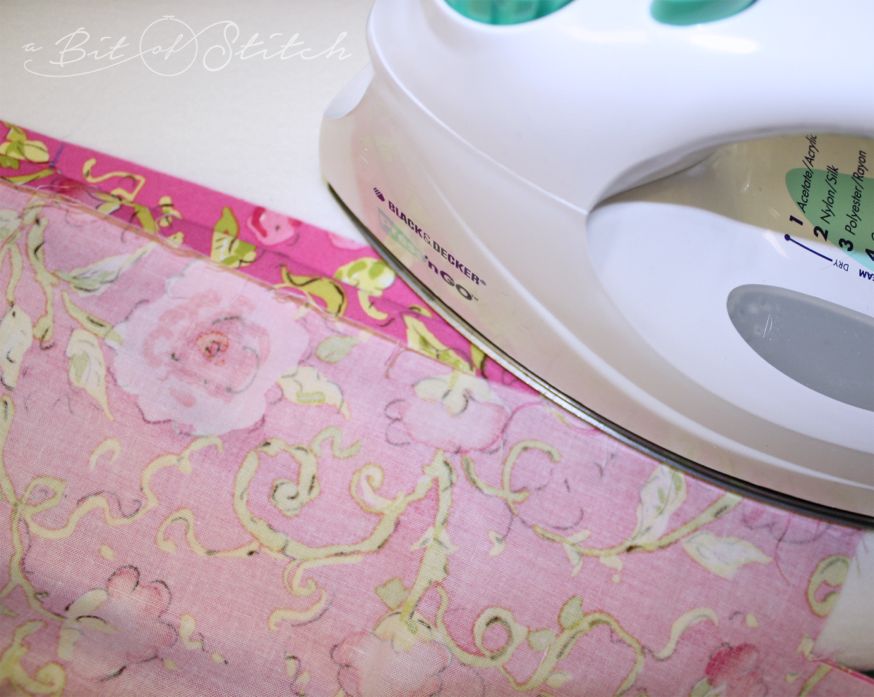
Press the seam open, first one side and then the other including the open part.
Line up the bottom seam and the side seams with each other and align the open box ends with each other as shown below. Measure down ½” and draw a line. Sew across the drawn line. Be sure to back tack. Do this for all four corners.
Check your work. Make sure nothing is caught where it shouldn’t be then sew up the opening in the bottom of the bag. You can do this quickly by machine, just overlap the opening parts a bit and go for it. Or if you’d rather, use fabric glue and glue the opening shut while you also glue it to the bottom of the bag inside.
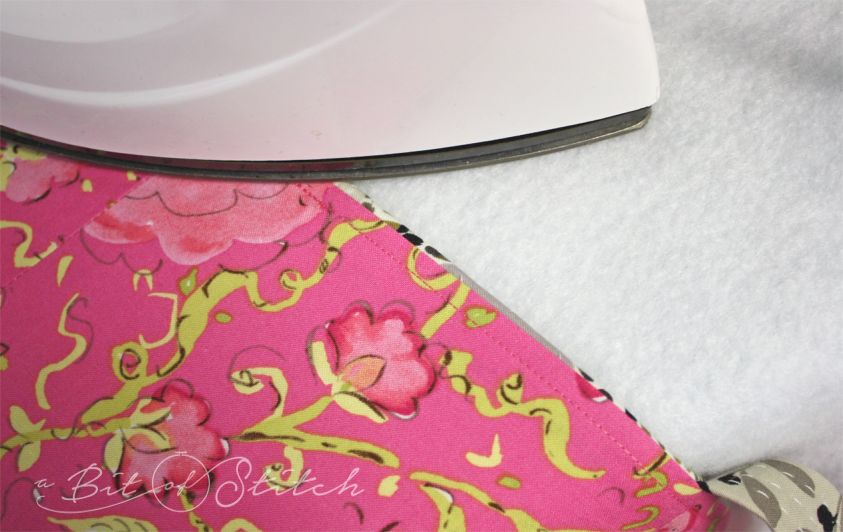
Press along the top edge of the bag from the lining side. Give it a good blast of steam and a good press. The lining should roll down past the edge just a bit so it won’t show from the right side of the bag.
Turn the bag right side out. Carefully stitch in-the-ditch along the side seams through all layers (bag and lining) from the top down about 2”. This will keep the lining in its place. I like to change my bobbin thread to match the lining and of course, use a thread in the top that blends in with the bag.
Cut a piece of cardboard 12 ½” x 5”. Cut a piece of lining fabric about ¾” or so larger all around than the cardboard. Cut a piece of felt (you can pink the edges if you want) slightly smaller than the cardboard.
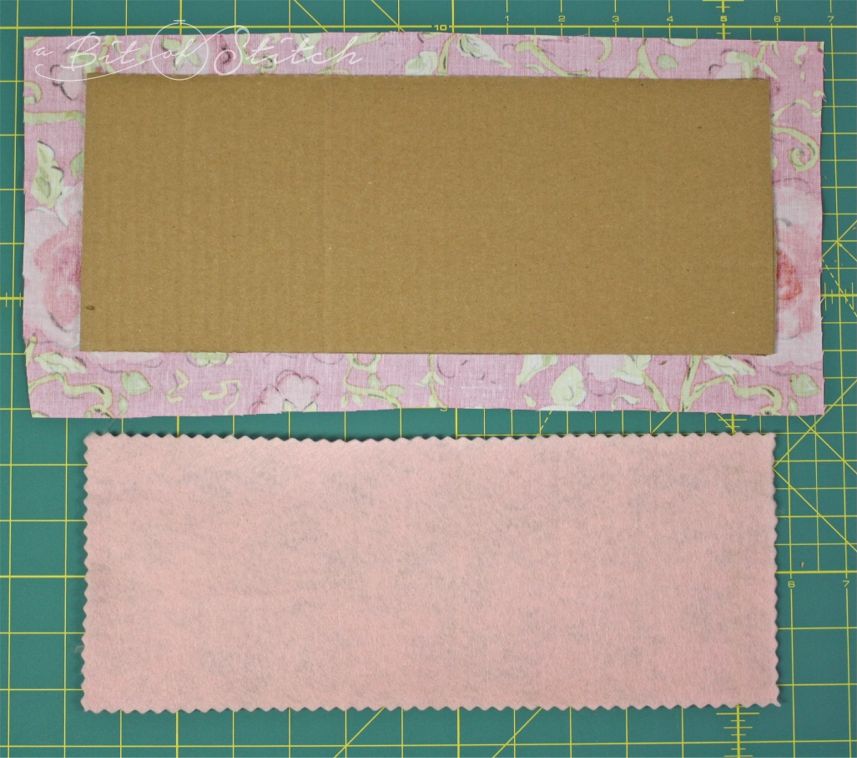
Spread glue around the perimeter of the cardboard using a glue stick. I like permanent glue sticks, don’t you? The really nice thing about them is that the glue stays sticky while you work but doesn’t dry too fast, so you can fix any bloopers if you need to. Place the cardboard glued side up in the center of the wrong side of the lining block. Wrap the fabric around the edges of the cardboard and stick it to it.
Go outside, spread out a bit of paper, scrap fabric or whatever, place your felt piece on it and spray one side with permanent spray adhesive like Super 77 Multipurpose Adhesive. (Don’t forget to hold the bottle upside down and spray away from you until nothing comes out to clear the nozzle for next time.) Stick the felt to the cardboard. Let it dry before you pop it in the bottom of your tote.
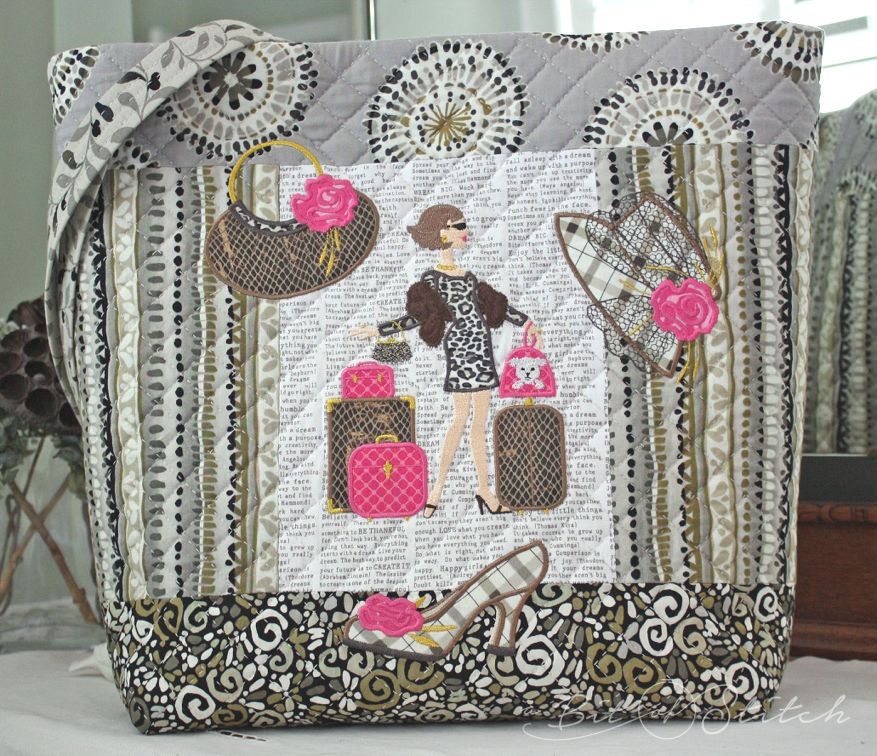
Woo-hoo! You have a pretty new tote! Now where are you gonna go? To Malibu? 😀
I hope you enjoyed this project. It’s been fun stitching with you! More fun blog projects to come… are you signed up for email notices? If not, do it now!
Happy Stitching,
Evy
One reply on “Malibu Tote (Part 3)”
I’m going to church, and shopping, super cute.