I’ve got scraps, have you got scraps? Uh-huh, I bet you do… and I bet you wonder why you’re saving them too, just like me! Turns out I was saving them for my granddaughter!
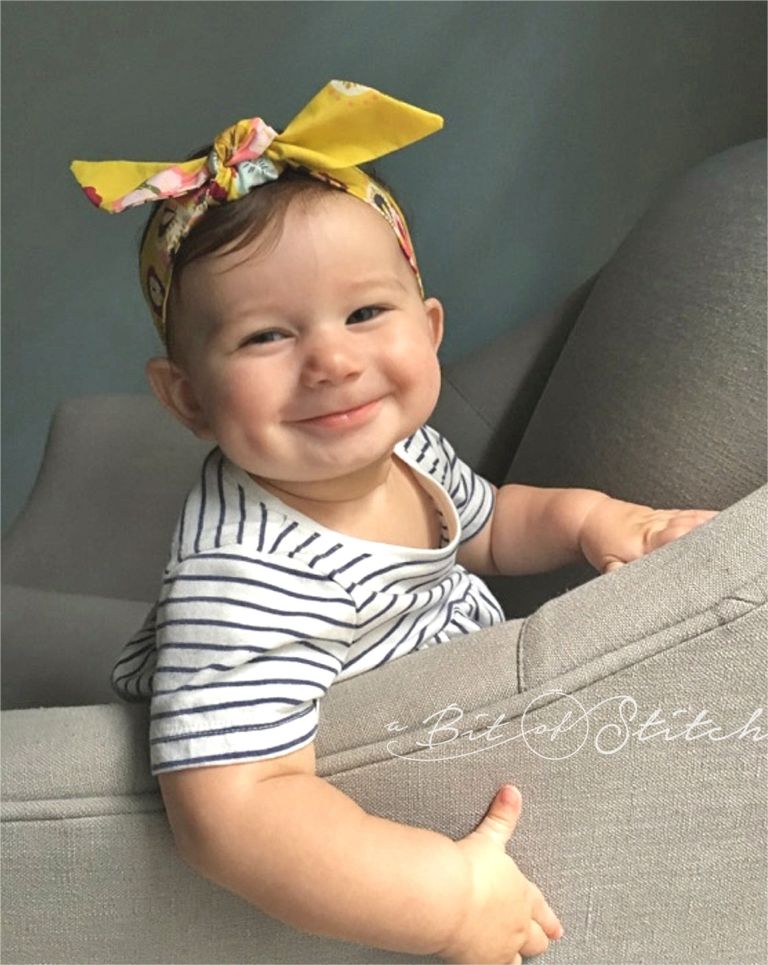
During a recent visit I whipped up a fabric headband for Baby Kate just for the fun of it. She looked SO DARN CUTE in it that I had to make a few more! With each band I polished up my technique a bit until I think I can make these in my sleep. Sure hope Baby Kate enjoys wearing headbands for a good long time, ’cause I’ve got lots more scraps!
Want to bust some of your scraps into headbands? You can make one to fit you too… maybe without the knot, ha!
First, measure your head or your baby’s head – as in, where around the skull you need the band to lie. Baby Kate’s head measurement was almost 18”, so I cut these three pieces of fabric:
- 16.5” x 4” (this is the main part of the band; the length – noted here in bold – should be at least 2” less than your head measurement)
- 8” x 3” (this is the cover for the elastic)
- 13” x 3” (this is the bow tie)
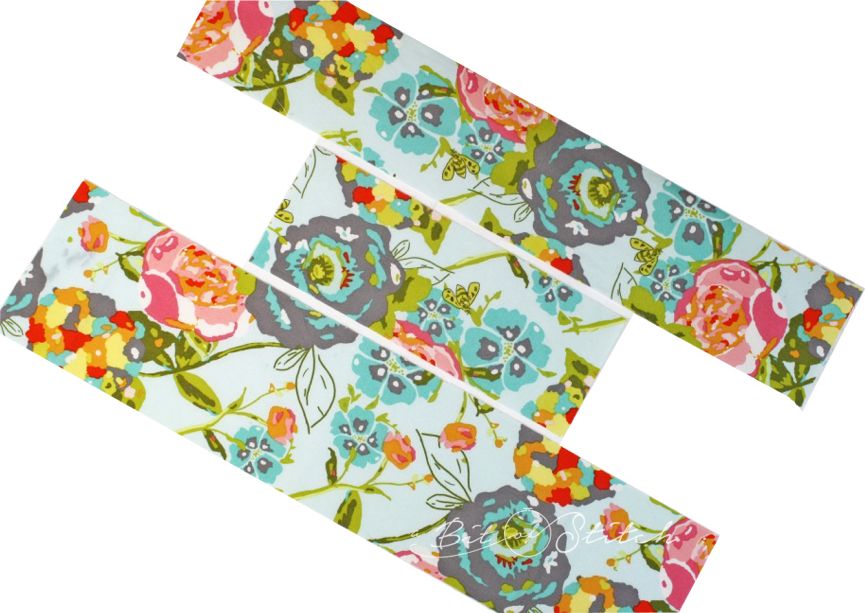
Plus you’ll need at least 4” of 3/4” wide elastic and matching sewing thread.
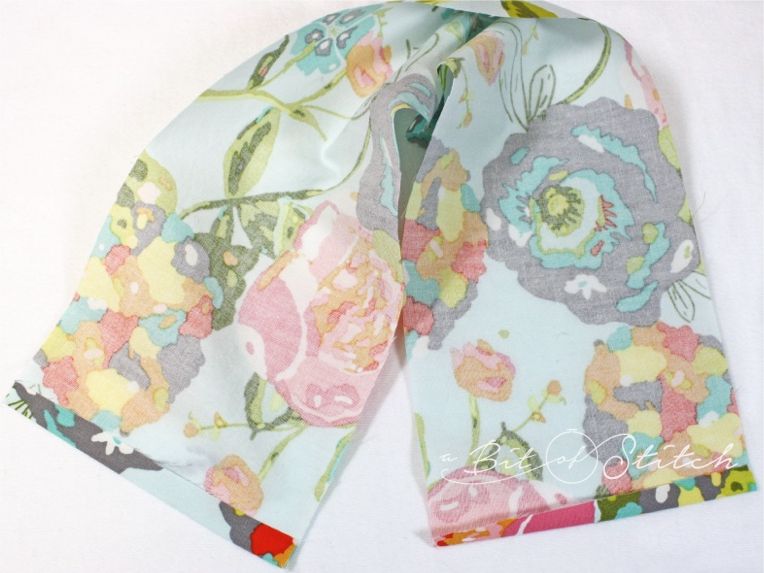
Press under about ¼” on each short end of the biggest fabric piece. Next, fold the fabric length-wise, right sides together, and sew with a ½” seam allowance.
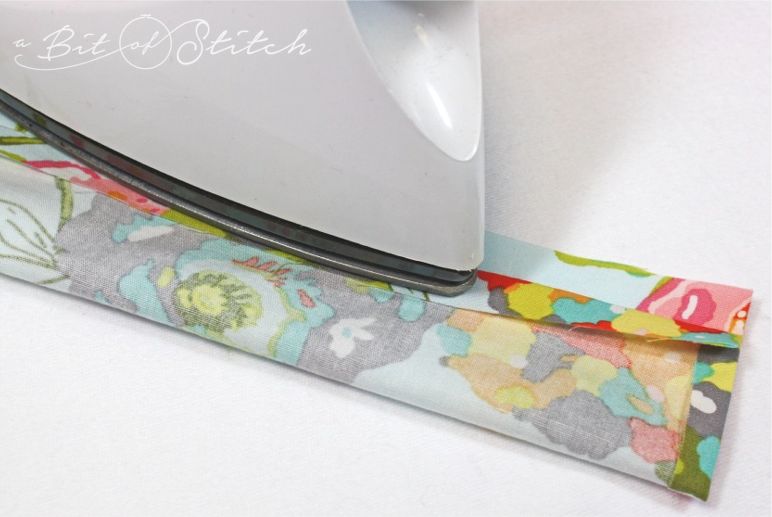
Press the seam allowance open by placing the tube flat on your ironing board with the seam opened flat opposite of the fold. Press one side, then flip the tube over, open the seam up that way and press again. Take care NOT to press the entire tube. You don’t want to put a crease in the center as you want the seam to end up being in the middle of the underneath when finished. Pressing first one way and then the other will allow the seam to open nice and flat when the tube is turned.
I use a pencil or wooden dowel to turn my tubular projects right side out. Just fold one end down, poke the dowel into the fold and either pull or push the fabric over the dowel to turn it. (There are fancier turning tools available but this works for me!)
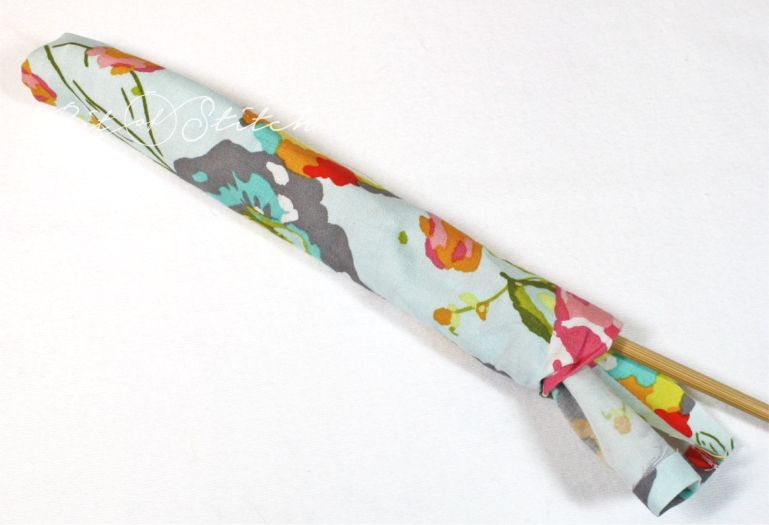
When you press the turned tube, make sure you keep the seam in the center and the seam allowance open and flat inside.
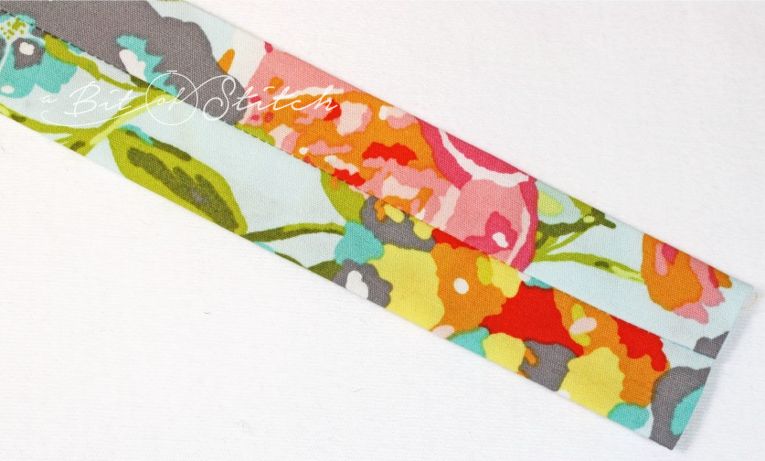
Fold the 8” x 3” elastic cover fabric in half length-wise, right sides together, and sew with a ½” seam allowance. Press the seam allowance open and turn just as you did for the main part of the band. Press the turned tube so that the seam is in the center and the seam allowance selvages are open and flat.
Insert the elastic into the casing. I like to use a bodkin for this.
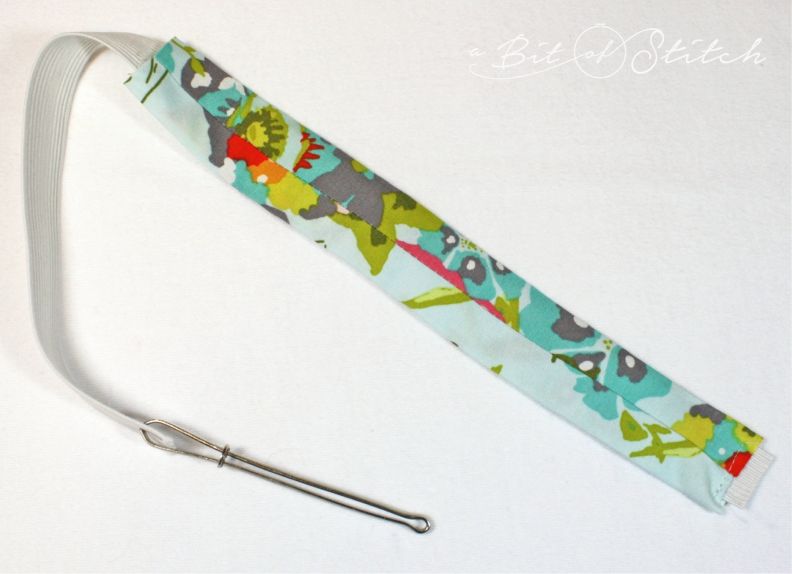
Sew across one end of the tube, securing the elastic at that end.
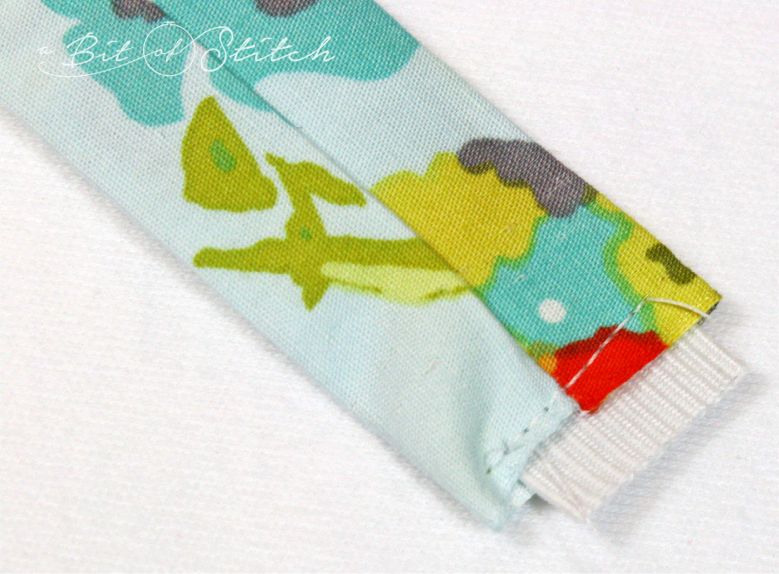
Gather up the fabric on the elastic until it measures about 3” long. Sew across the other end to secure the elastic at that end.
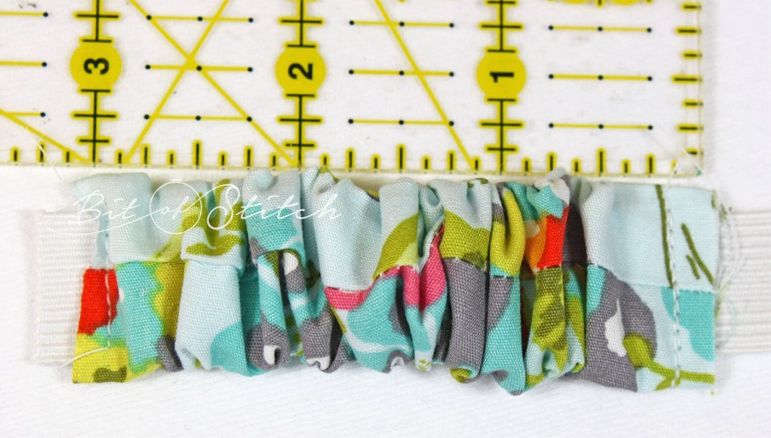
Place the main part of the head band seam side down on your work table. Insert one end of the covered elastic part (also seam side down) and pleat the headband fabric to fit the covered elastic.
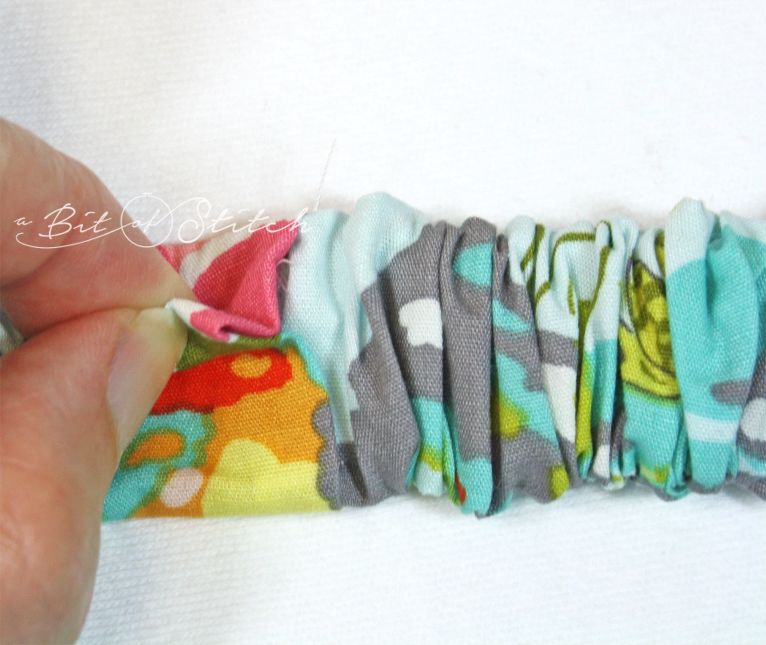
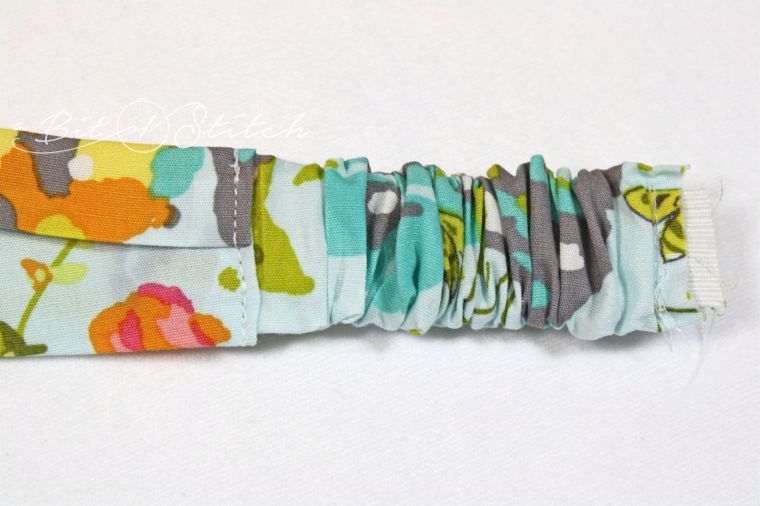
Sew across the folded end of the headband to secure the covered elastic piece in place. Repeat for the other end. Take care not to accidentally twist the band while you do this! (Ask me how I know about that!)
Fold the tie fabric in half length-wise, right sides together, and sew with a ¼” seam allowance. Leave an opening in the center for turning:
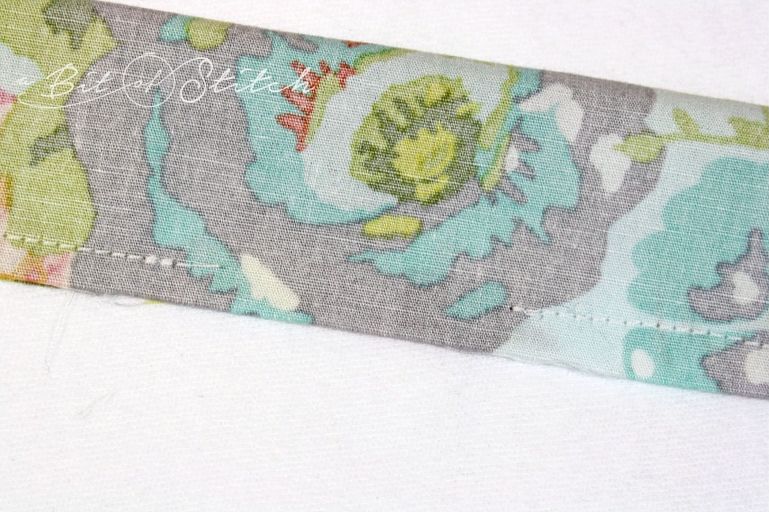
Curve your seam inwards at the ends to make the tie ends curved if you wish. (You can always just sew a straight angle or just straight across the ends too.)
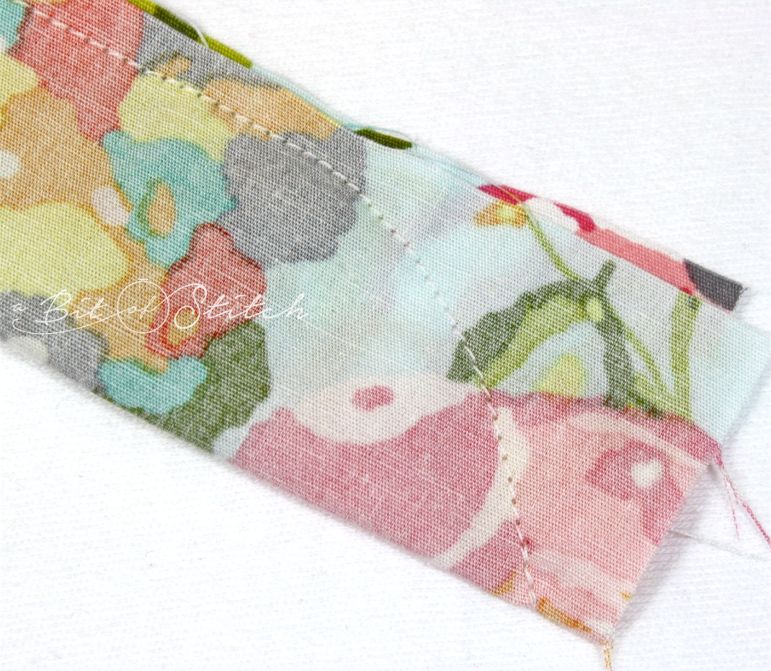
Trim the curve and point.
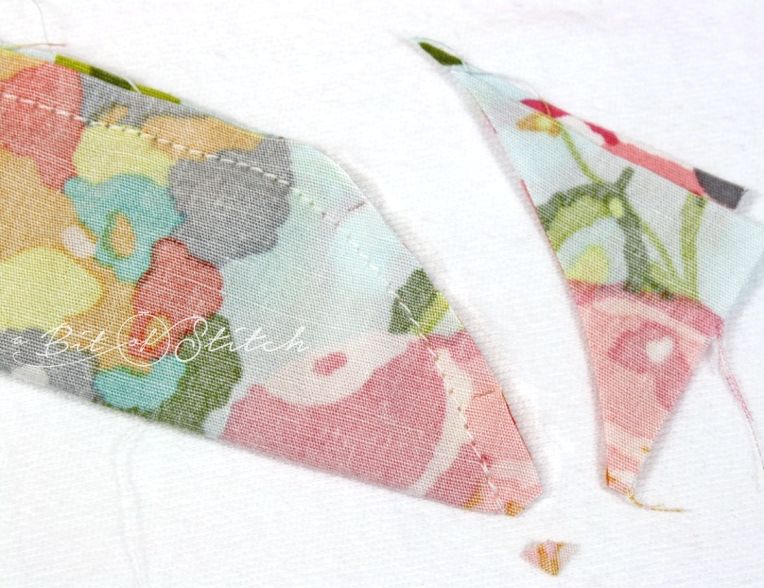
Turn the tie right side out and hand sew the opening closed. I like to use a slip-stitch to sew these types of openings closed. Nice and neat!
Attach the tie to the headband by tying a square knot. The knot can slide up and down the band to wherever looks best.
Finished!
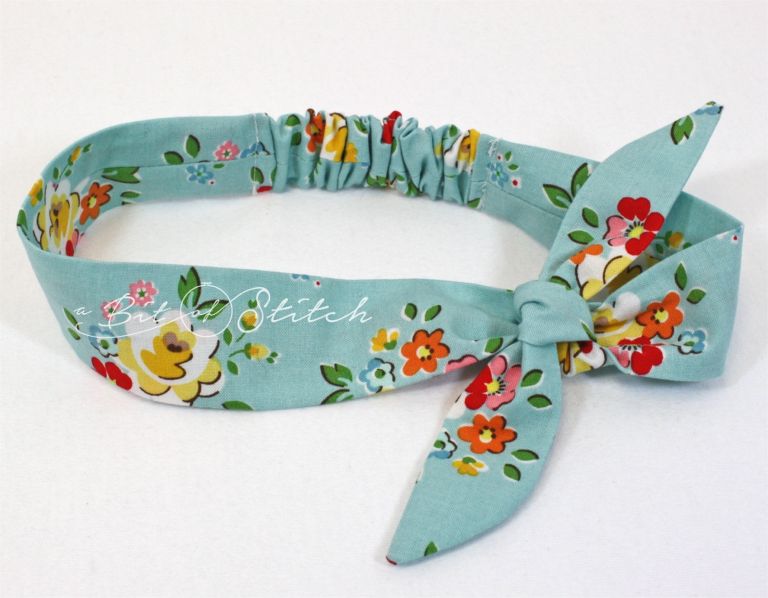
Go on, you know you want to make more than one 😊
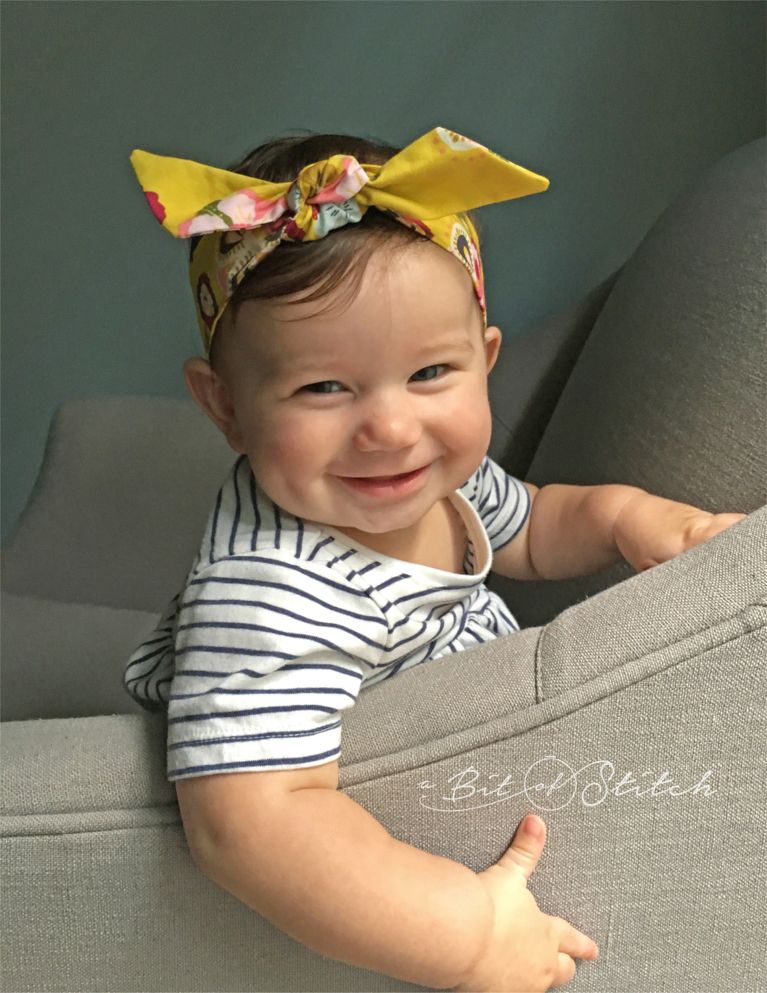
Happy Stitching!
Evy

2 replies on “Stash-busting Headbands!”
Yay!! I'm going to go make some too! One for every outfit!
🙂