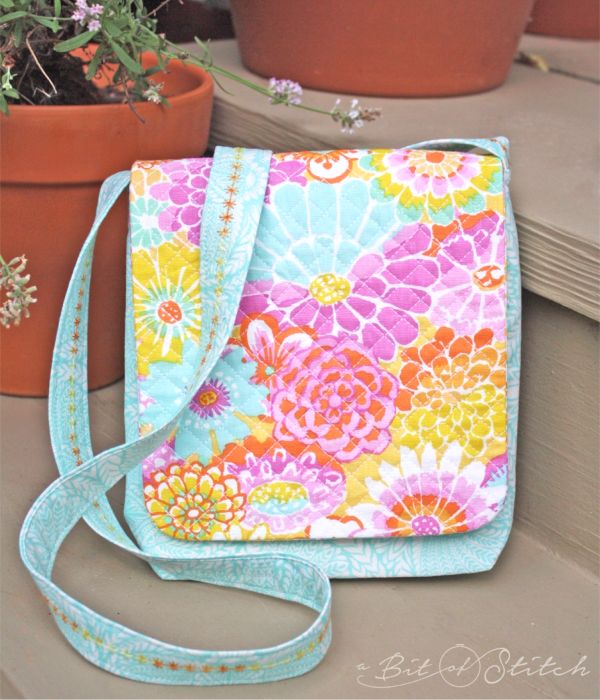
Who doesn’t love to make purses? There’s just something so satisfying about making a project that is pretty, functional and goes with you where you go. So, you can imagine my excitement when I found out Baby Lock was sponsoring the Sew Powerful organization’s purse making project for National Sewing Month; I was tickled to have a really, really good reason to make a few purses!
Skip right on down to your local Baby Lock retailer and find out when their next purse sew-along will be. Click HERE to sign up at a retailer near you and click HERE to read all about this project on the Sew Powerful site. They’ve got free pattern downloads and really great video tutorials. You might even learn a thing or two… I did when I watched them!
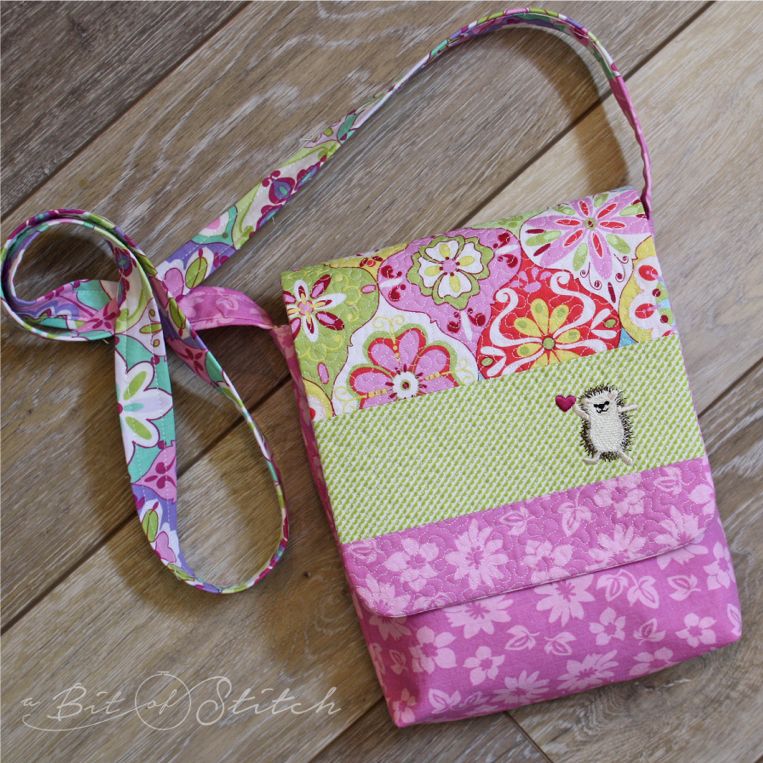
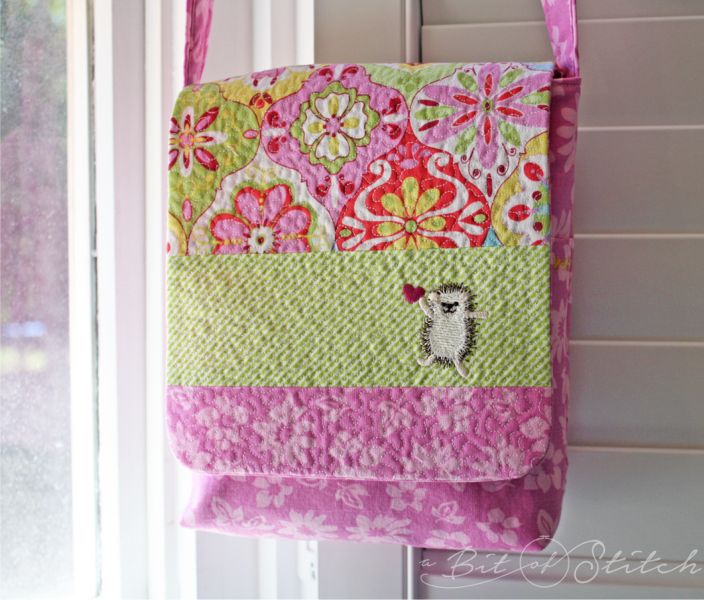
It was impossible to make just one! The one above sports a wee hedgie machine embroidery design from my Crafty Hedgies design set – click HERE to see those.
You know I can’t make anything without getting my embroidery machine involved, and this project was no exception. As my smart machine knows how to quilt and SEW in the hoop, I let her make the flap and pocket for the purse. Oh my, so fun!
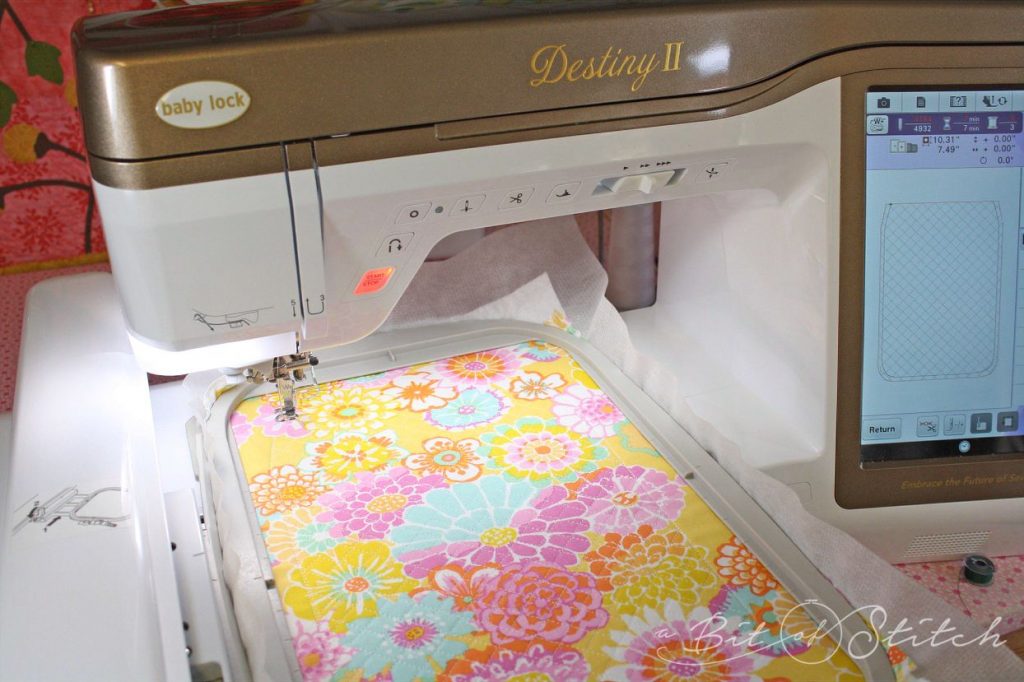
Since you have the flap right there in the hoop with that nice big space, you can do so much so easily! Add embroidery or appliqué, or skip the stippling/quilting included in the design and just add your own fancy fill with your Baby Lock’s IQ feature. You can also piece the front flap fabric before beginning to make it even more interesting!
Want to make a Sew Powerful purse flap and pocket in the hoop? Click HERE to find the embroidery designs. They’re free and include two flaps, one with all-over stippling and one with cross-hatch quilting. The flap designs measure 7.49” x 10.31” and should fit in your 8×12 hoop. The pocket, which is intended for the inside of the purse, measures 4.25” x 6.76” and will fit in your 5×7 hoop.
Let’s get started! 😊
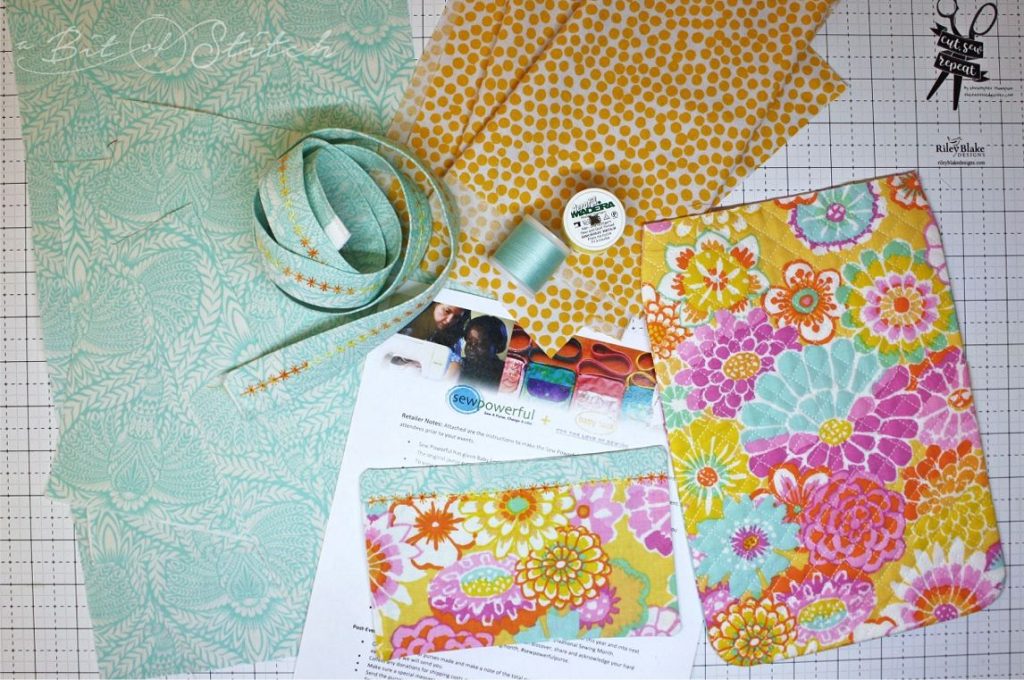
Gather your supplies for the purse. Your Baby Lock retailer will have the free pattern and a supply list, but you can also download the pattern at Sew Powerful (click on the Purse Project tab – I used the Beginner Purse Pattern and found the accompanying video tutorial to be very easy to follow).
I love that Baby Lock added Ultra Soft Fusible stabilizer to the purses they are making in store. That stuff is amazing – it’s one of my favorite products as it’s batting AND stabilizer. So, you’ll need some of that if you want to make a nice sturdy flap and purse. I also used No Show Mesh for the flap and a fusible tear-away for the pocket.
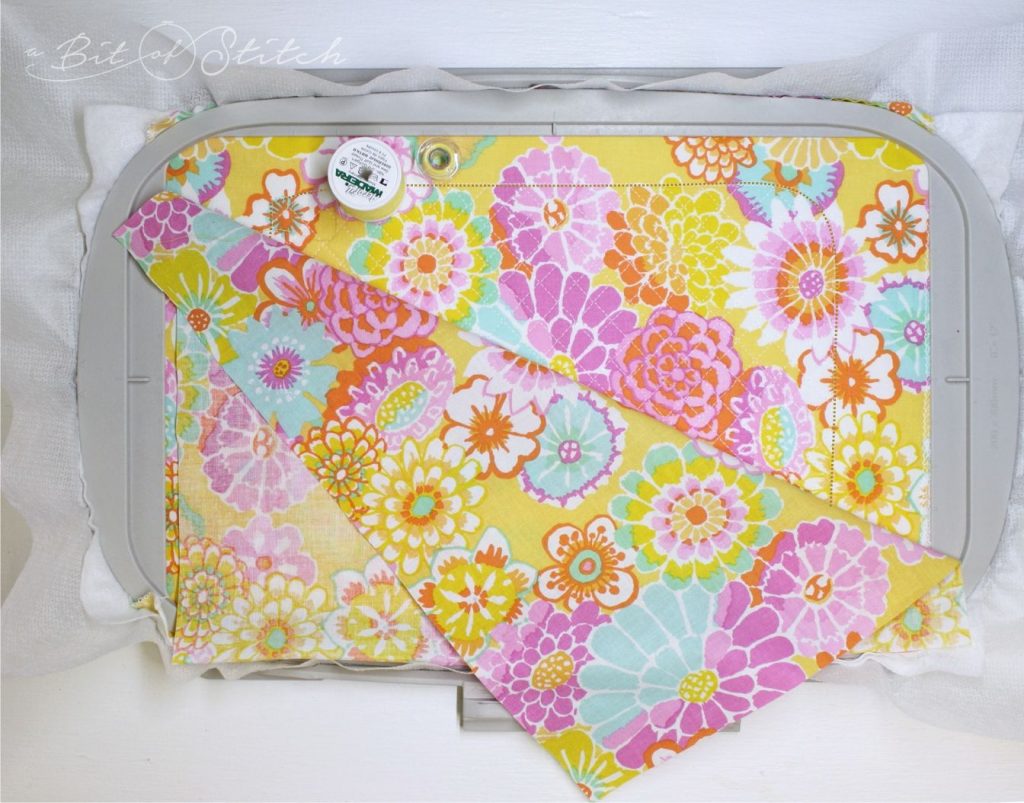
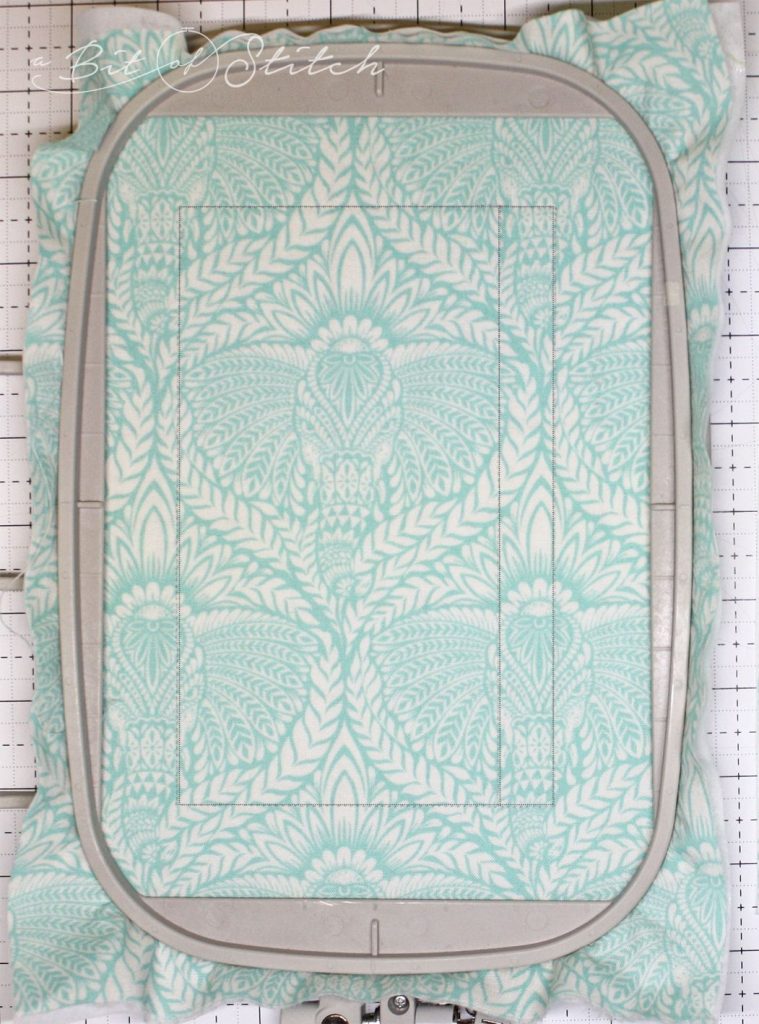
To make the flap: Cut one piece of purse flap fabric, No Show Mesh, and Ultra Soft Fusible large enough to fit in the 8×12 hoop. Place the No Show Mesh on the bottom, the Ultra Soft Fusible on top of that (fusible side down), and the fabric on the very top (right side up). Hoop all three layers together, making sure that the fabric is smooth and wrinkle-free. Load the purse flap design into the machine and sew the first stitch sequence; this is the cutting line around the purse. Next is the stippling fill or cross-hatch quilting; this sequence looks great when sewn with a variegated thread. I used Maxi-Lock Swirls for my quilting – such pretty colors! Note: If you wish to fussy-place flap fabric that you have pieced or that has a big, pretty print stitch the first stitch sequence right on the Ultra Soft Stabilizer. You’ll be able to see better how to place the fabric. Place the fabric and repeat stitch sequence 1 to tack it down.
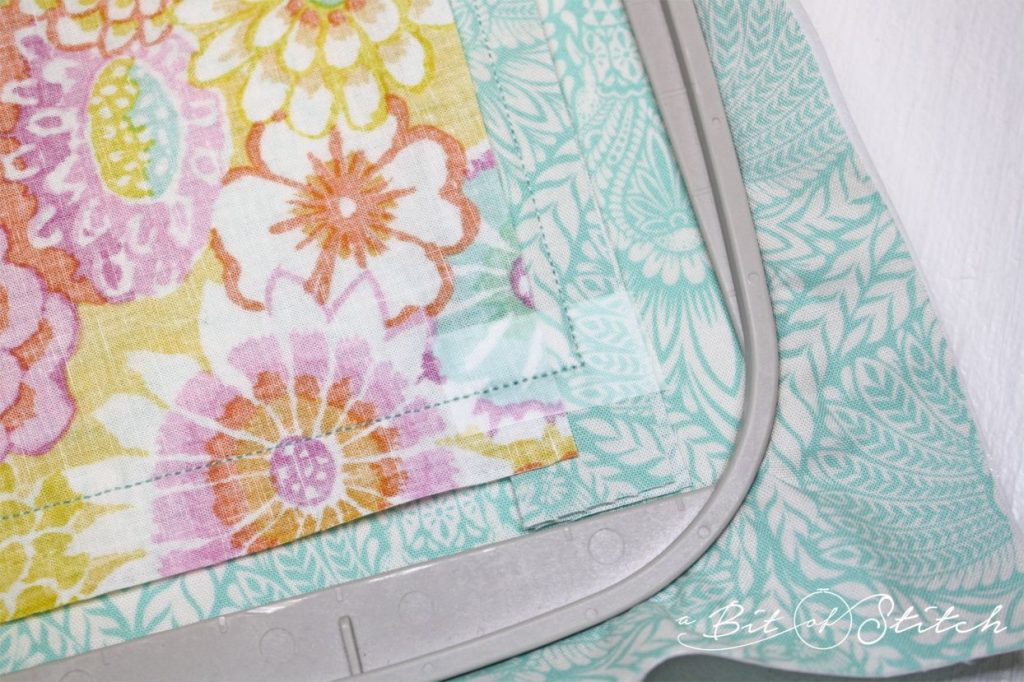
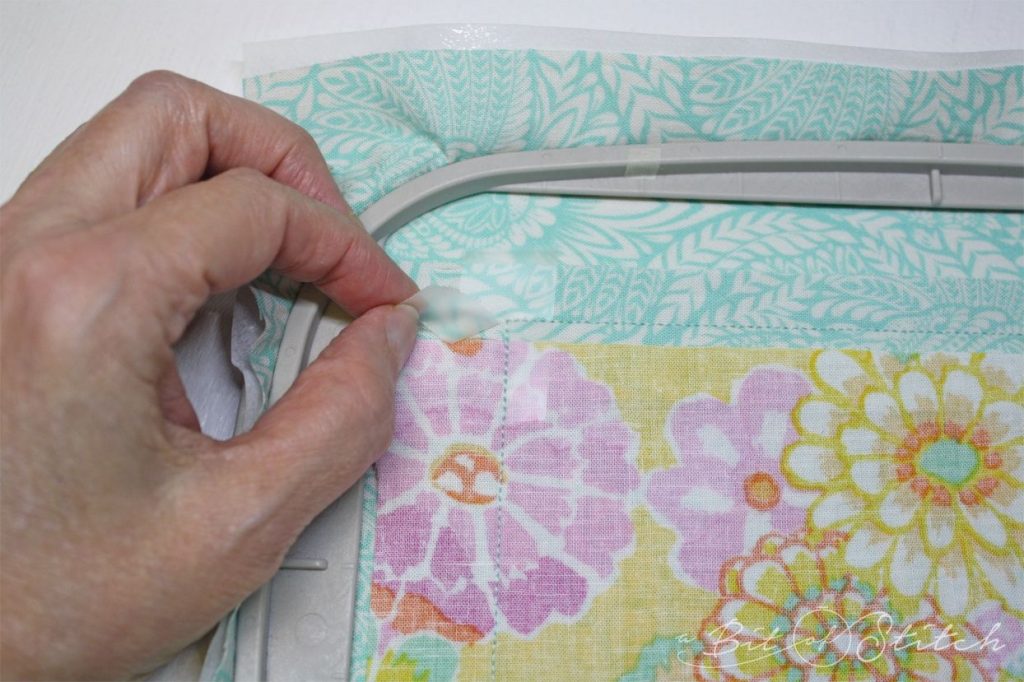
After sewing the stippling/quilting, you’re ready to cover the quilted flap with the backing fabric. Place an additional piece of flap fabric WRONG SIDE UP over the flap in the hoop. Make sure it’s large enough to generously cover the flap outline with at least ½” extra fabric all around. As the final stitch sequence is actually a “seam”, you may find it helpful to change your thread to regular sewing thread on the top and bobbin in a color that matches the fabric. Gently hold the fabric in place while you sew the final stitch sequence. The top edge will not be sewn as that is where you will turn the flap right side out. Remove from the hoop and cut out the flap; be sure to cut from the wrong side (stabilizer side) so you can see the complete cutting line. Cut directly ON the outermost stitching line, which was the first stitch sequence outline.
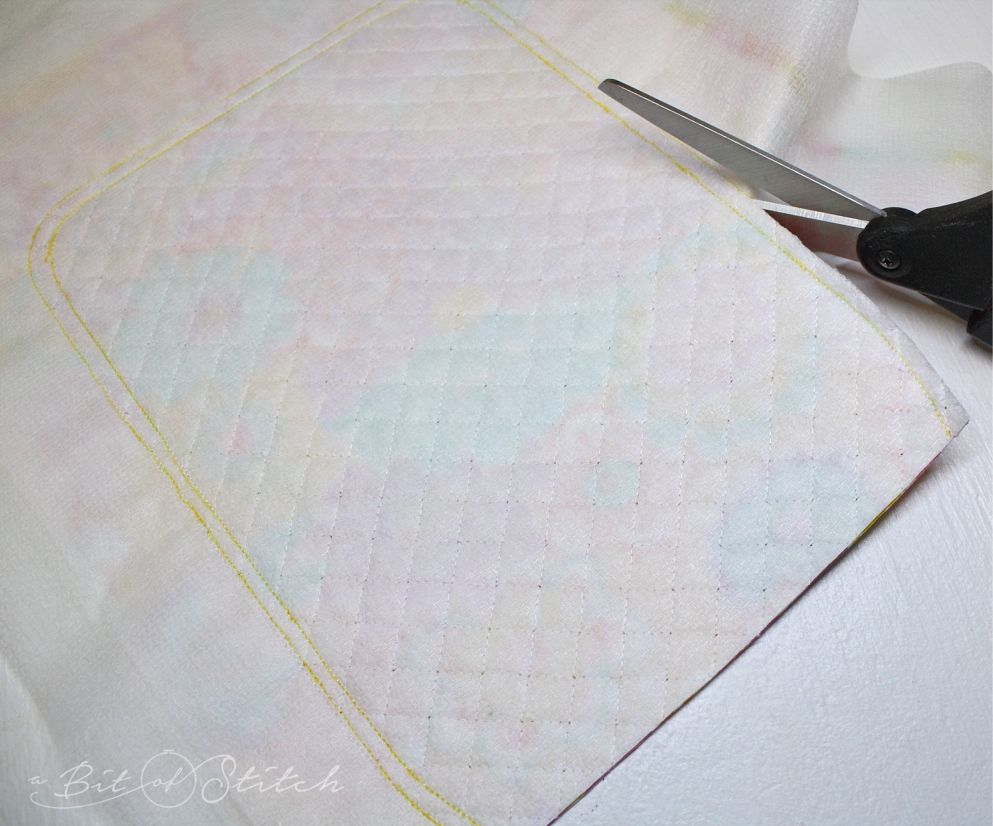
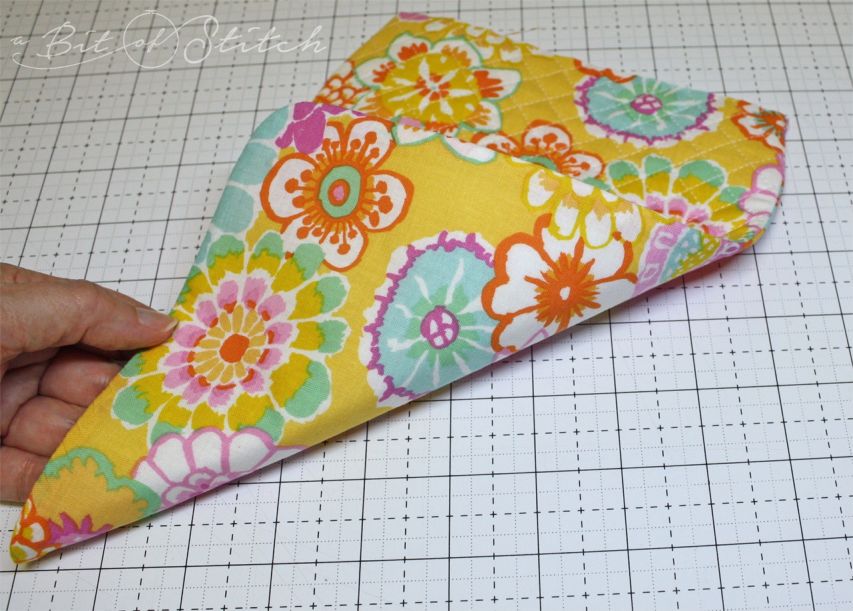
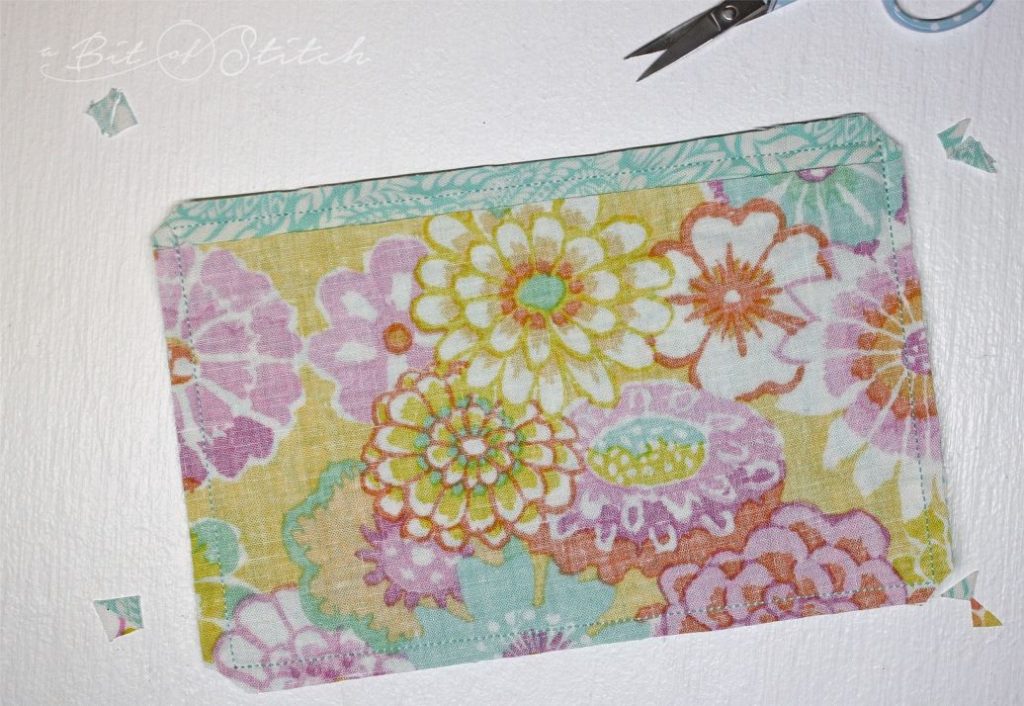
You can use a rotary cutter with a pinked edge or your pinking sheers to cut the flap out… that will effectively clip and notch the seam allowance selvages for you. Or you can just clip and notch the curved ends with your scissors.
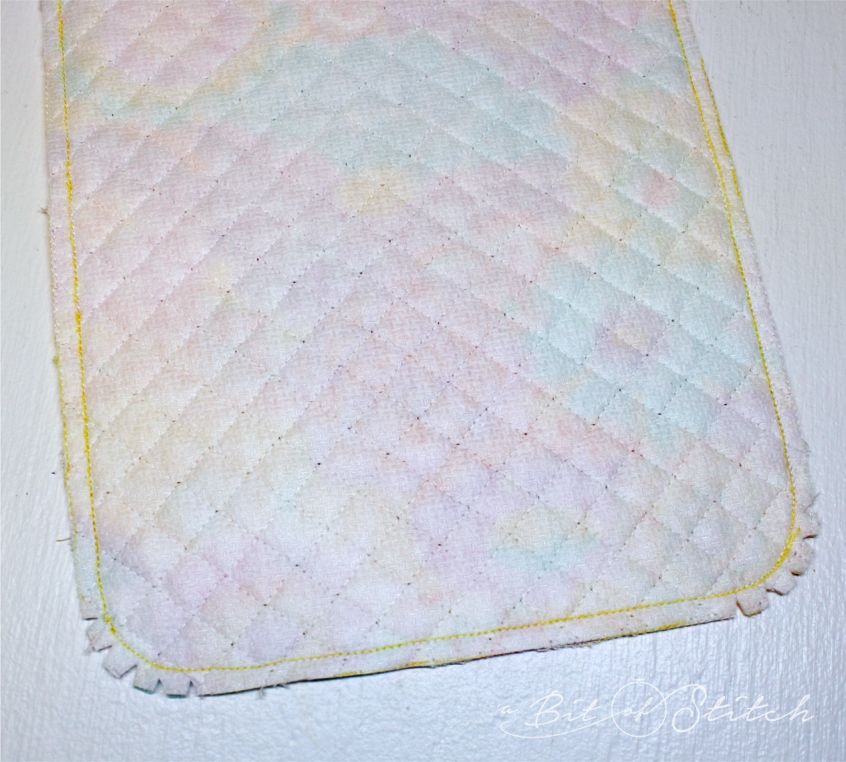
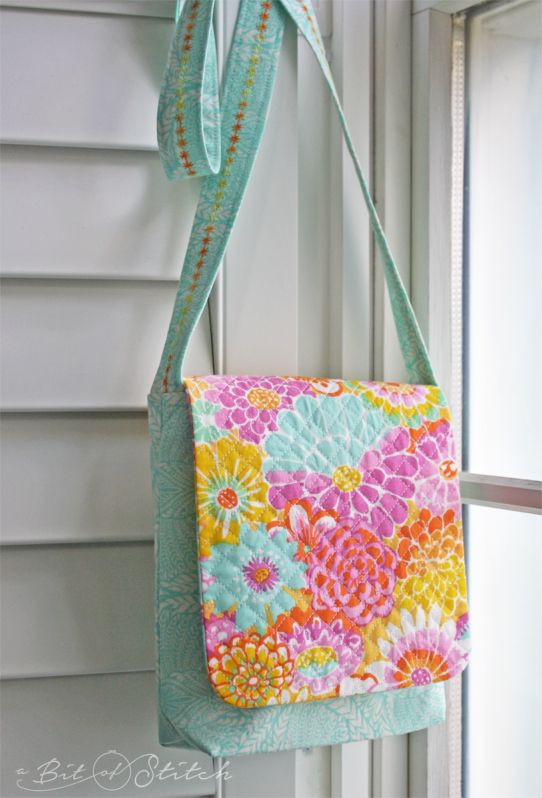
Turn it right side out and give it a good press. That was fast, wasn’t it? (This is my kind of project!)
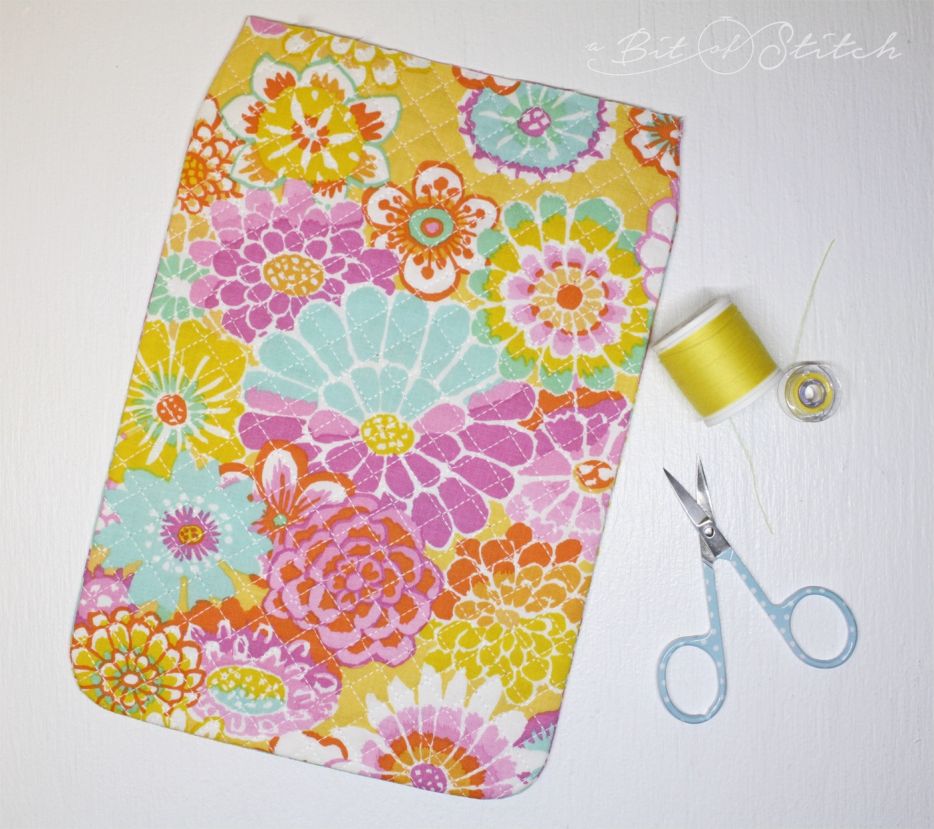
And the back is pretty too!
Okay, set the flap aside and let’s make an inside pocket. Our embroidery machines are perfect for making pockets in the hoop! Click HERE to read my most recent blog post about that and click HERE to read about using the on-board frame tools in your IQ Designer to sew up pretty much any shape, right there in the hoop, easier than pie!
To make the pocket: Cut one piece of pocket fabric large enough to fit in your 5×7 hoop. Cut an additional 2” x 8” piece of the same fabric. Cut a piece of contrast fabric at least 5” x 7”. Fold the 2” wide piece in half lengthwise, wrong sides together, and press the fold to crease.
Stabilize the larger piece of pocket fabric (cut to fit your hoop) with a nice, crisp fusible tear-away. Hoop the fabric right side up in the 5×7 hoop. Load the pocket design into the machine and sew the first stitch sequence using a thread color that matches but stands out enough that you can see it. (I used gray thread so it would show up in the photo for you.)
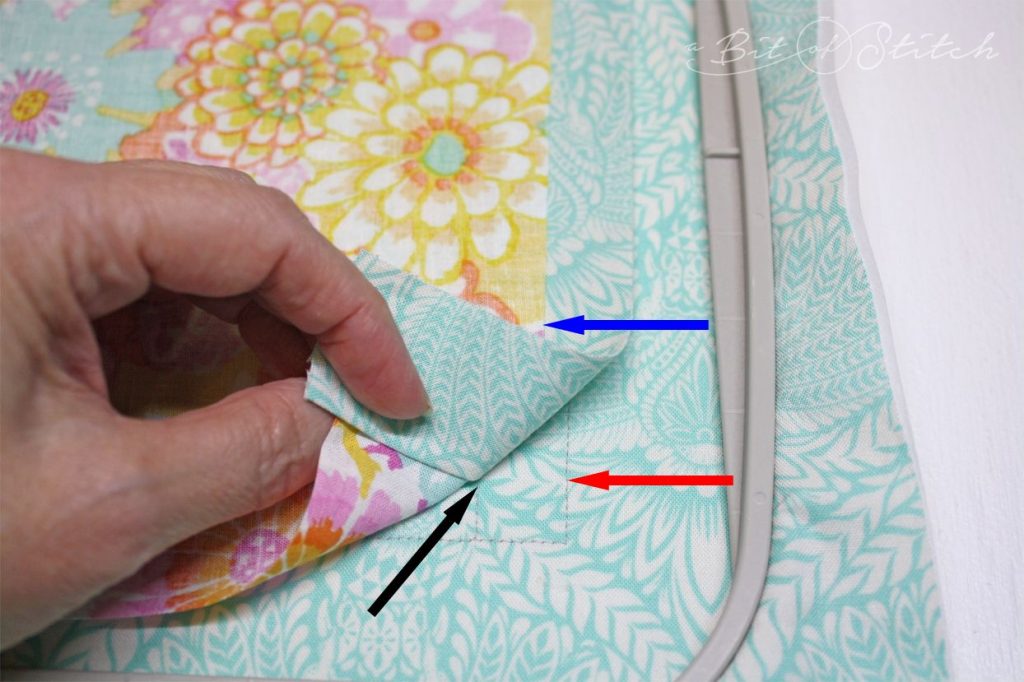
You will now have a stitched outline of a box made up of two rectangles – a larger one on the left and a skinny one on the right. Place the folded fabric strip on top of the skinny rectangle on the right, aligning the folded edge with the left side of the skinny rectangle (i.e., aligning the folded edge with the line that’s about ¾” away from the right side of the overall box outline, noted by the black arrow in the photo below). The raw edges of this folded strip should extend past the line noted by the red arrow. Now place the contrast fabric WRONG SIDE UP over the pocket outline, but do not let the right side (see blue arrow) extend past the right edge of the outline (see that red arrow again). You’ll need to lift the folded strip to check that this placement is correct.
Because you now have a floating piece of fabric that could get hung up or moved with the foot as it sews over it, be sure to tape those areas down with whatever product you like to use for such purposes. (I used Scotch® Magic™ Tape – it tears easily and doesn’t gum up needles.)
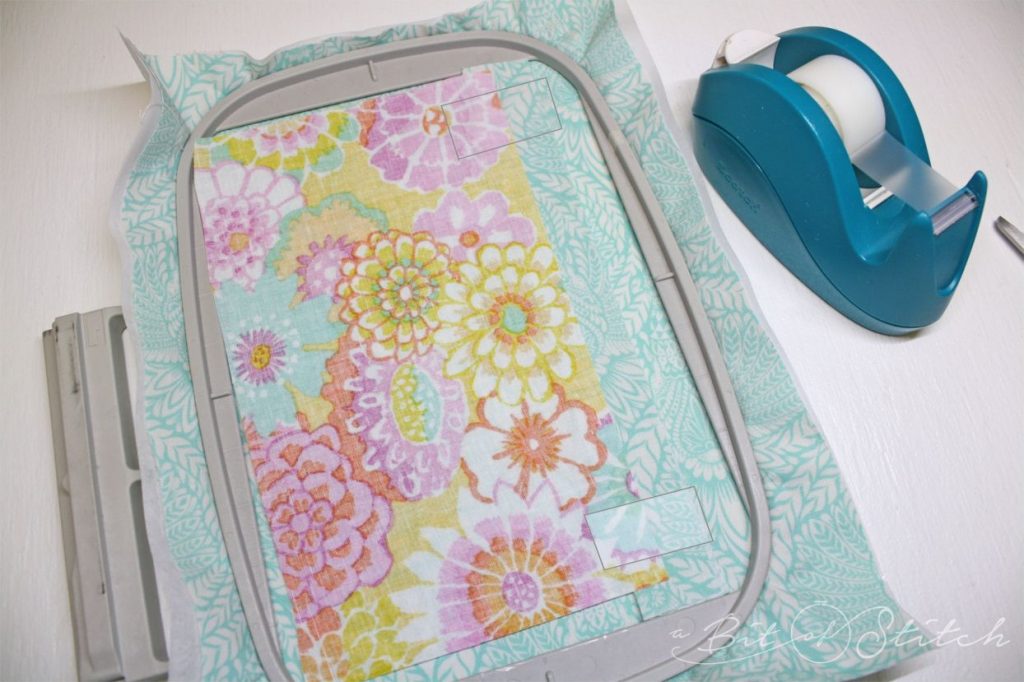
After positioning the tape, sew the final stitch sequence. Your stitching line should pass easily over those two taped areas.
Be sure to remove the tape before you cut out the pocket!
Cut out the pocket leaving about ¼” selvage all around the outline stitching. Clip the corners.
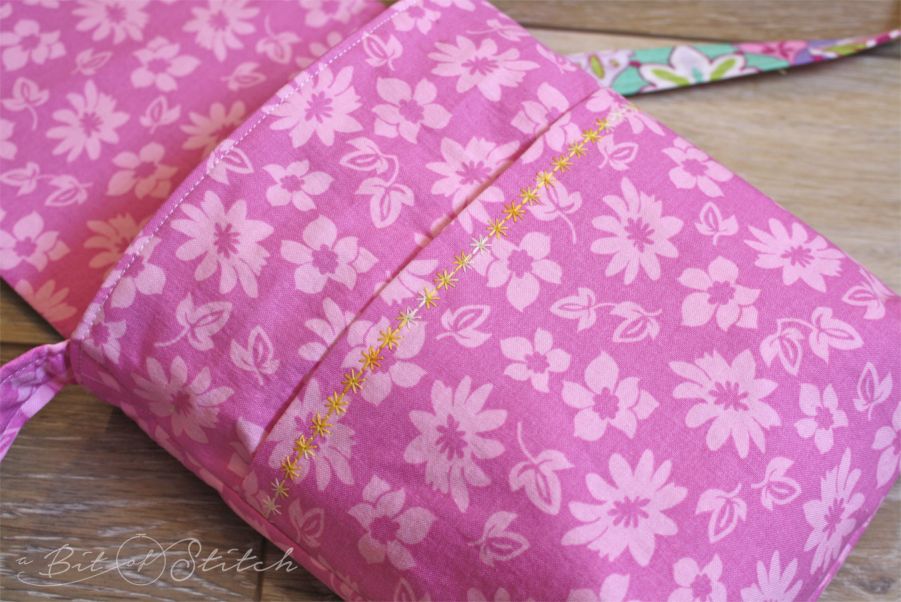
Turn the pocket right side out and gently poke out the corners with a point turner tool. Fuse the contrast fabric band down with a bit of fusible web tape.
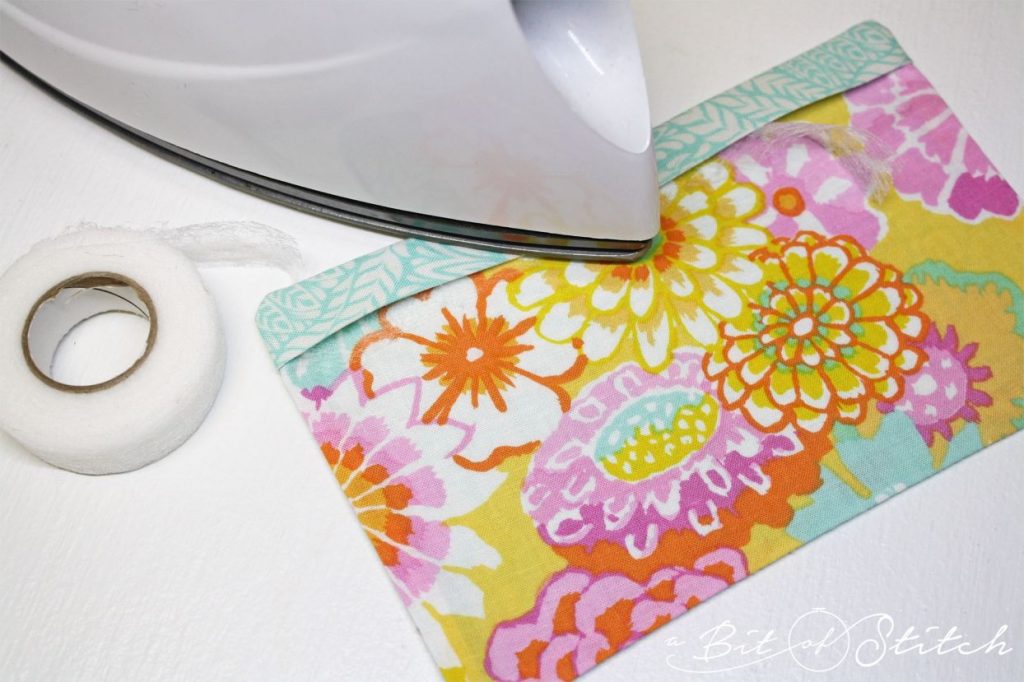
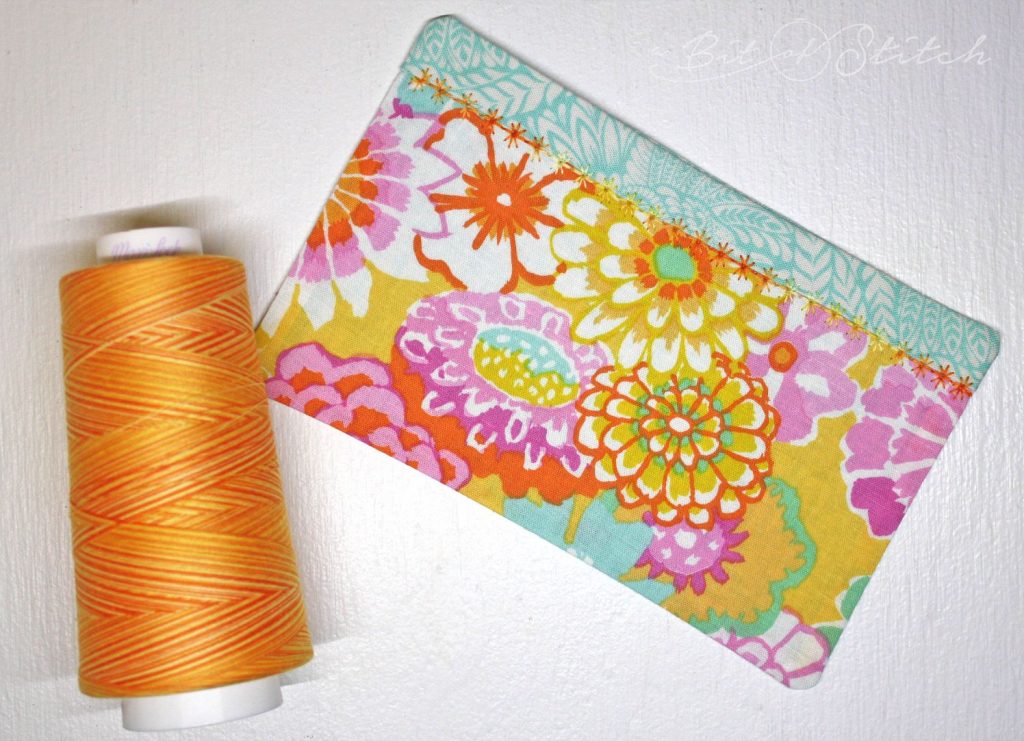
Now comes the fun part! Fire up the sewing machine and pick a pretty motif to sew across the edge of the pocket band. I love getting to use those lovely little stitches! For this pocket I used the little star Hemstitching motif #3-06 on my Baby Lock Destiny and set the length to 7.0 mm and width to 4.0 mm.
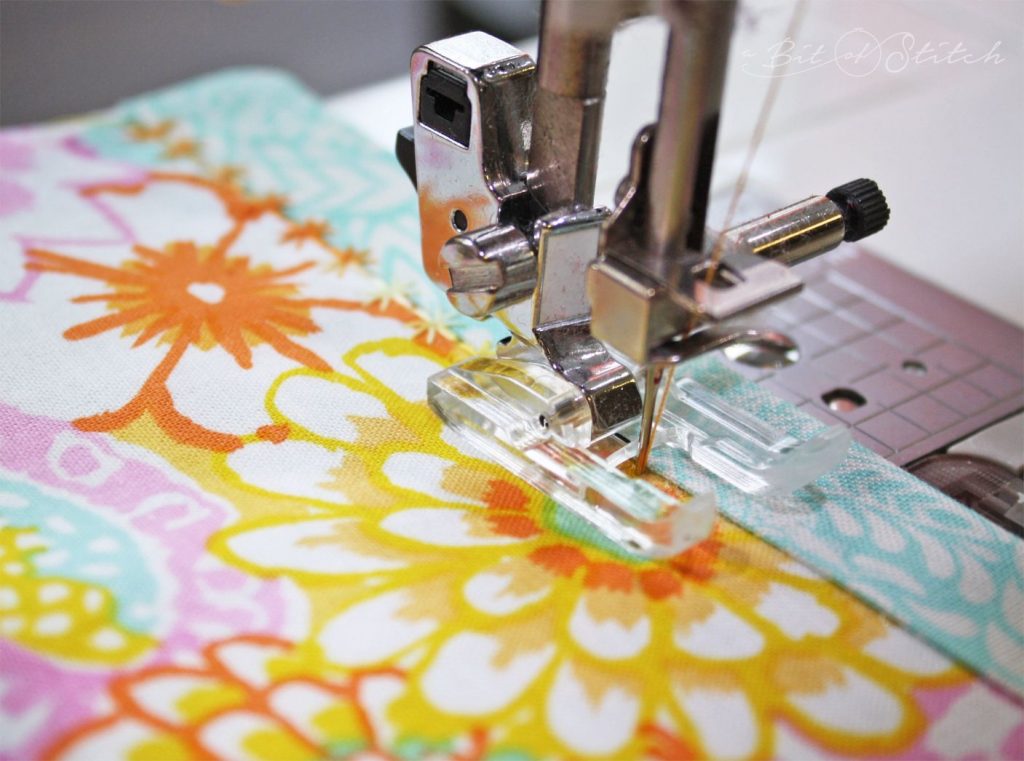
I love using Maxi-Lock Swirls for all kinds of sewing. Even though it is serger thread is works great for regular sewing and even machine embroidery. And those Swirls colors are just perfect for motif stitching! Click HERE and HERE to see some projects I stitched up with these threads. (The trick is to use a size 12 metallic needle and a thread stand!)
You can use purchased purse/tote strapping for your handle or you can make your own fabric one. The video tutorial Sew Powerful has will show you how to make a super simple one. I like to cut a piece of Ultra Soft Fusible 1” wide by the length specified in the pattern and cover it with fabric. And, of course, use a motif stitch down the middle for a bit of extra pretty!
Follow along with the instructions on the Sew Powerful pattern or video tutorial to finish up your purse, skipping the parts about making the flap and inside pocket since you’ve already done that, yay!
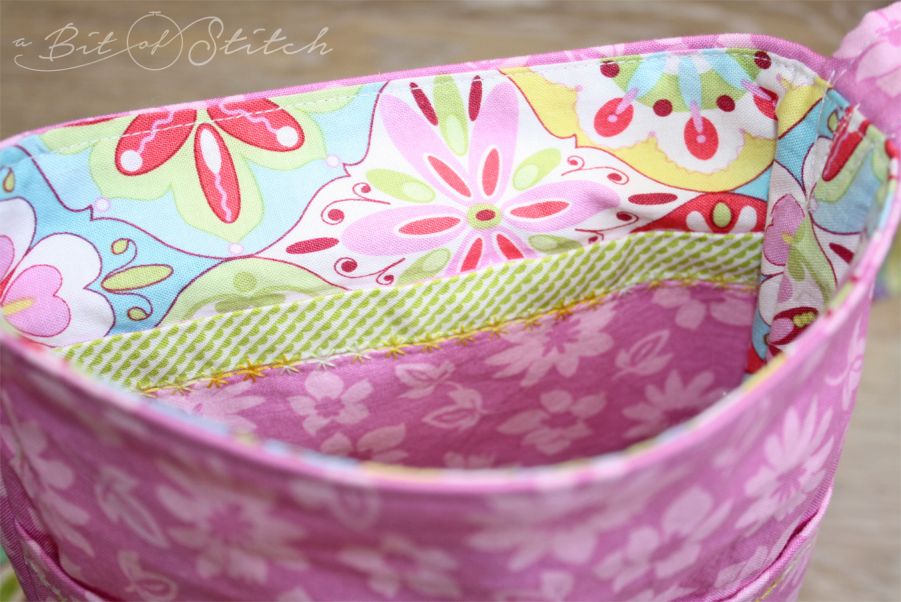
Oh… a few quick tips! This pattern calls for an additional pocket that rests against the front of the purse right under the flap. The pocket fabric is cut twice as long as its finished size and then folded in half with the fold forming the finished top of the pocket. I use this type of quick pocket all the time, but I like to fuse a strip of interfacing at the fold to reinforce that area. This keeps it from getting stretched out with use and makes a nice crisp edge, especially if you plan to top-stitch it.

It’s fun to decorate that front pocket with motif stitching too!
I find that the purse lining will fit better into the purse if it’s cut slightly shorter than the purse, so I shaved a bit off the bottom edge of the lining fabric pieces. Some of the purse instructions show leaving the opening for turning in the side of the lining, but I like to have a seam across the bottom and that’s where I leave the opening.
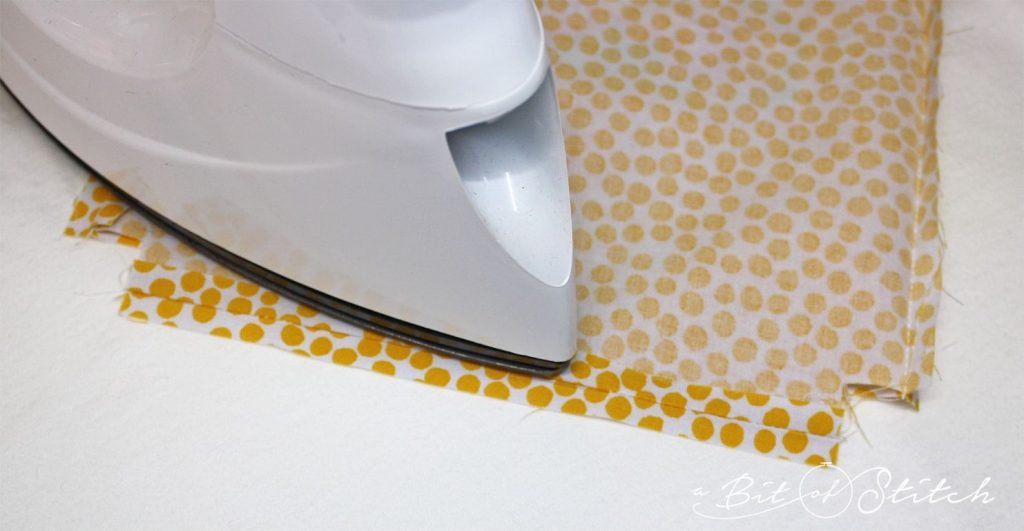
Also, I find it helpful to go ahead and cut the boxes out of the purse and lining fabric pieces so that when I sew the sides and bottom I can back-tack at each end of the seam. This keeps those areas strong and prevents unraveling of the seam. And one more thing – press the seam allowance selvages open before you box the corners! A sleeve board or mini-ironing board works nicely, but to really get those seams flat just press the selvage to one side with the fabric flat on your ironing board; then flip the fabric and flip the selvage edges back out and press again from the other side. It makes those seams nice and crisp!
Thanks for sewing along! I hope you get time to make a few pretty purses and have the satisfaction of knowing you gave some sweet little girls an encouraging gift! 💗
P.S. I was invited to do an interview for the Sew Powerful podcast – click HERE if you’d like to listen to it!
Evy
5 replies on “Sew Powerful Purse Project”
Wow… thank you SO much! I love using my embroidery machine every chance I get. Sometimes I don't like the in-the-hoop projects because they are slower than just sewing, but I can have my embroidery machine doing this while my sew-through-anything-feed-evenly Pfaff can be working on other pieces of the purse.
Thank you thank you thank you!
I love in the hoop projects and now I can apply your design to my Sew Powerful purses. Thanks for figuring this out for us!
I've always referred to designs by embroidery field size, rather than hoop size. I can use any size hoop I want but the limiting factor is the emb field size. So, for this project, a 5×7 machine will work for the interior pocket but the flap will need to be done in two sections, splitting and merging the design in the hoop. Is this correct?
Thank you so much! I love the in the hoop designs for the Sew Powerful Purses.
Great job, thanks.