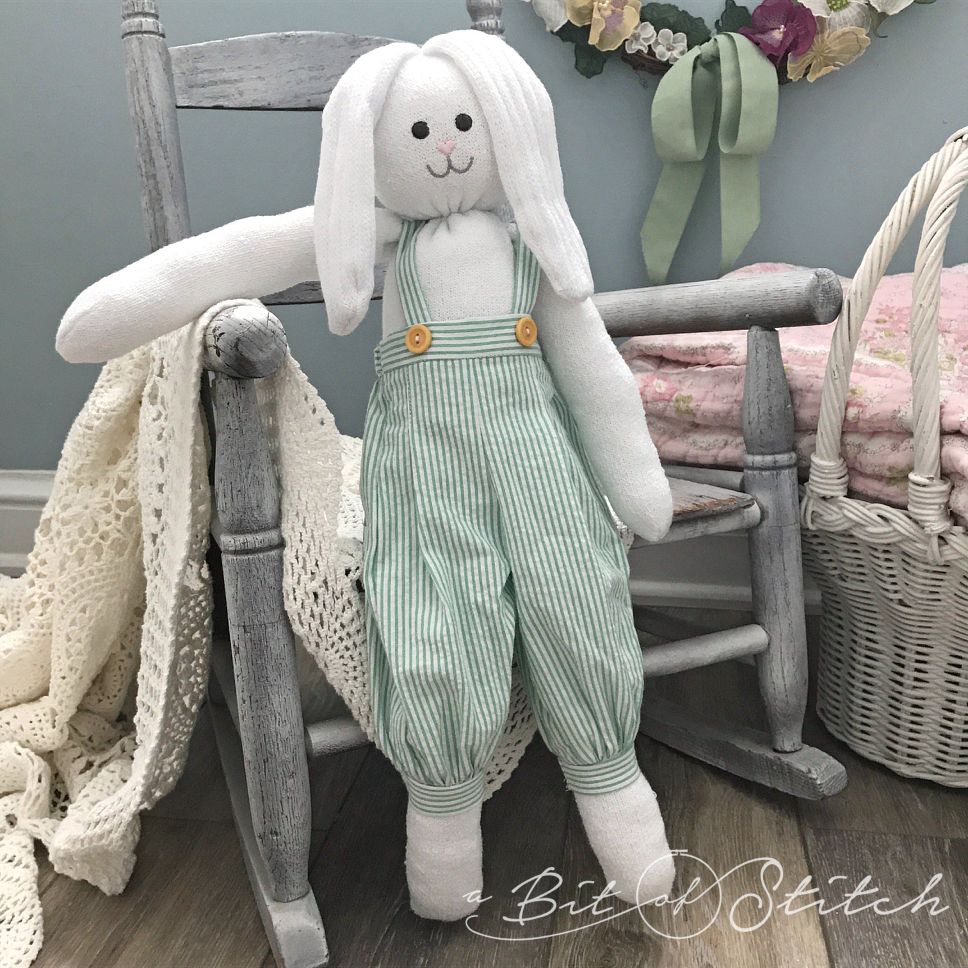
Does your bunny need britches? This pattern was created as a companion project for the “Sock Bunny” article in the Spring 2023 issue of Classic Sewing. The instructions to make the sock bunny are included in that issue, but you can also purchase them HERE. (You’ll find options to purchase kits on that page as well!) This free “Bunny Britches” pattern will fit those sock bunnies as well as your regular sock dolls that may need a pair of old-fashioned britches. 😉 (Find the regular sock doll blog post HERE.)
Materials you will need:
- Free “Bunny Britches Pattern” – find it HERE
- Approximately 1/3 yard of woven fabric (cotton, lightweight twill, seersucker, linen, etc.)
- Lightweight iron-on interfacing (at least 6” x 5”)
- 5” length of 5/8” wide elastic
- Two 1/2” buttons
- Sewing thread to match the fabric
Print the PDF pattern; be sure to print at 100% or “actual size.” Cut out the pattern pieces. Join Bunny Britches Pattern Back A with Bunny Britches Pattern Back B at the dotted line.
Cut out the fabric pieces according to the instructions printed on the patterns. Transfer all pattern marks. Using the same fabric, cut out two cuffs (2” x 6” each), one waistband (2” x 5.5”), and two straps (2” x 12” each).
Interface both cuffs with lightweight iron-on interfacing. Press the waistband in half lengthwise, wrong sides together. Interface one half with a 1” x 5.5” piece of interfacing. (My favorite lightweight iron-on interfacing can be found HERE.)
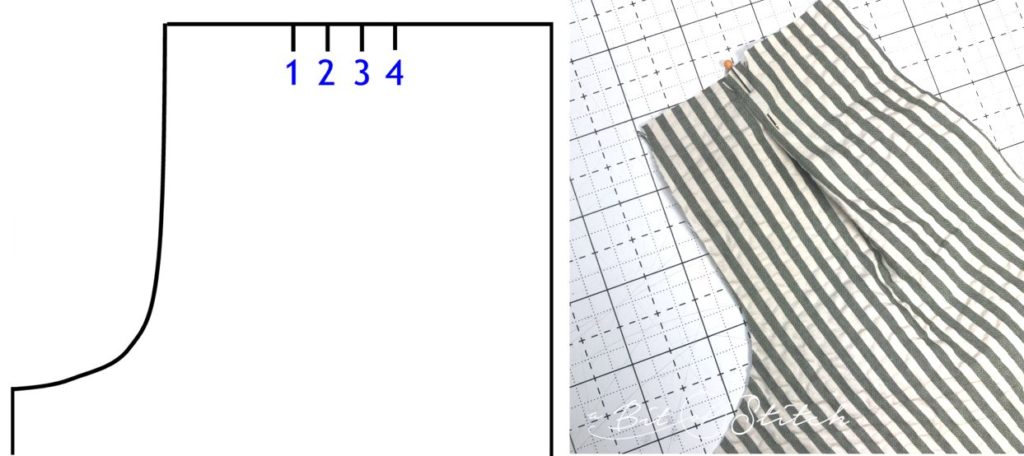
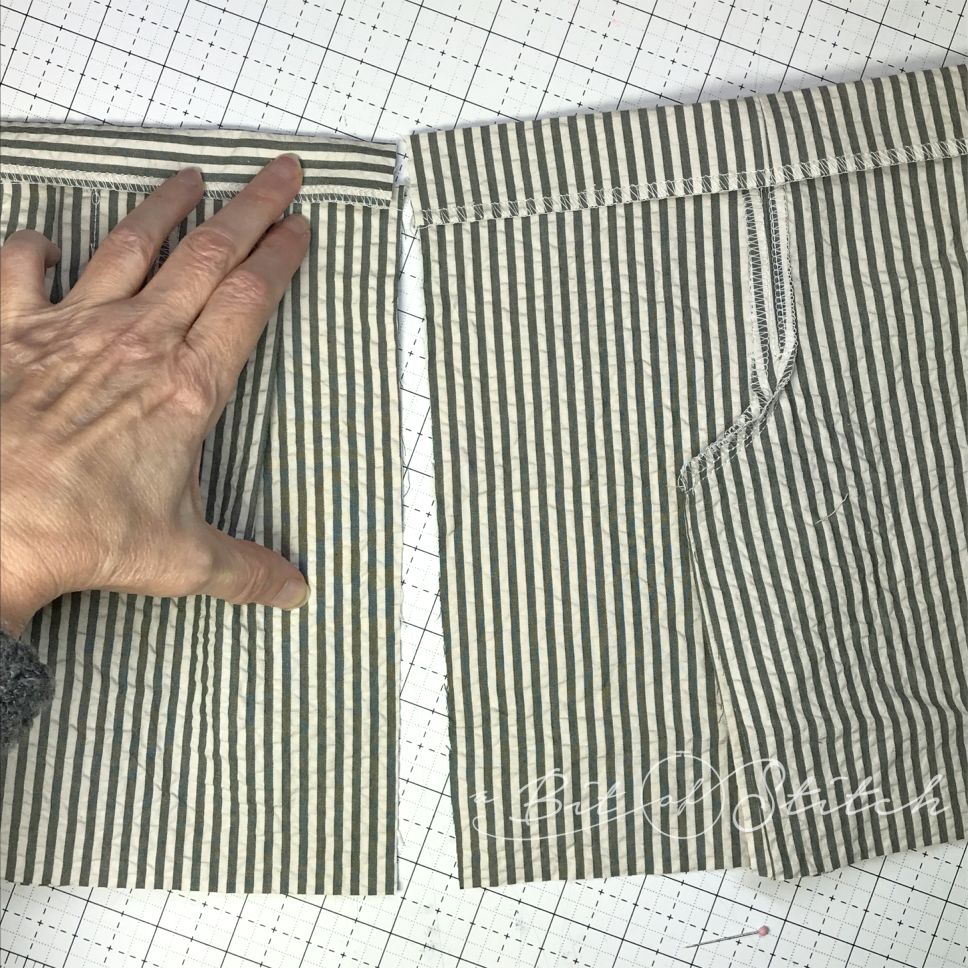
Create a pleat in each pants front fabric piece by using the marked lines as guide: Whether you are working with the left leg or the right, we’ll refer to the marks in numerical order from left to right as they appear on the front of the fabric. For the left leg (pictured above), fold the fabric rights sides together on the 2nd line, and then fold it back wrong sides together on the 3rd line. The fabric should now form a pleat between the first and last line. Pin to secure the pleat. For the right leg, fold the fabric wrong sides together on the 2nd line, and then fold it back right sides together on the 3rd line. Again, the fabric should form a pleat between the first and last line. Pin to secure the pleat.
NOTE – The top fold of each pleat should point toward the crotch of the pants.
Sew along the topmost fold (closest to the crotch) on the right side of the pants to secure the pleat on each leg. This seam should be about 1.5”.
Align the two pants front pieces right sides together and sew the crotch with a ¼” seam allowance. Serge or zigzag stitch the raw edges to finish.
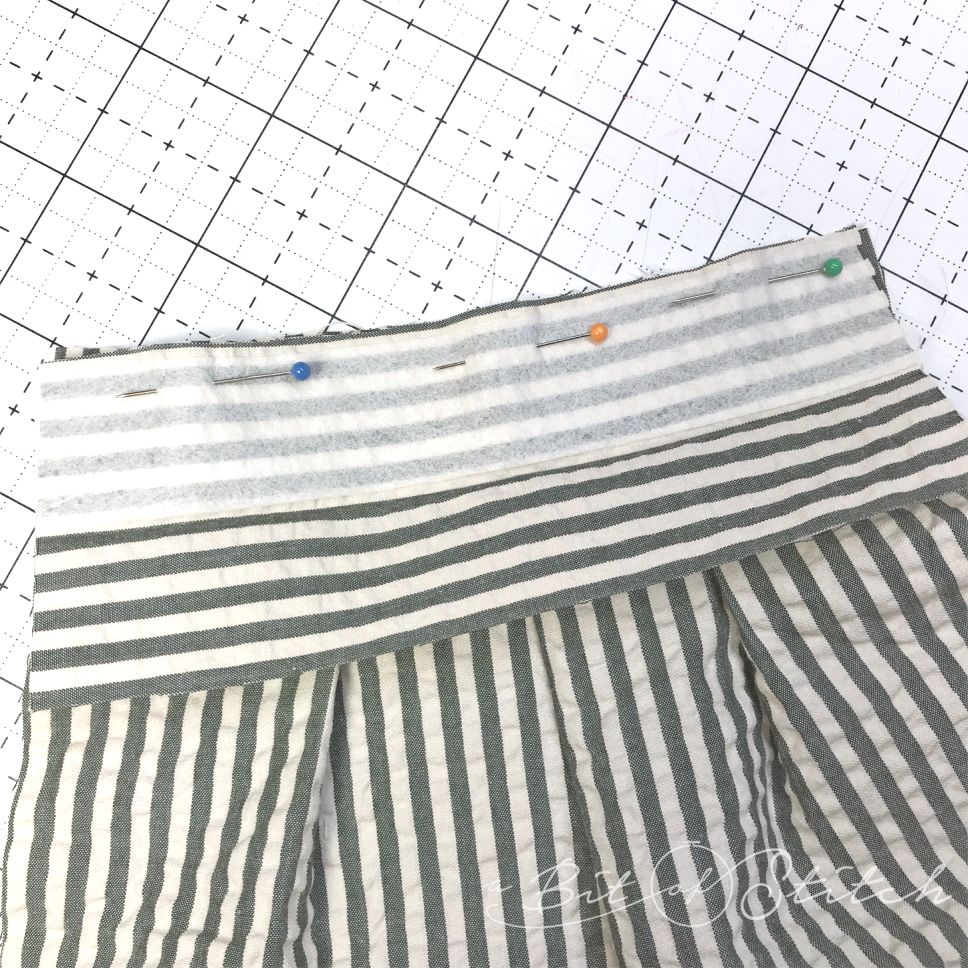
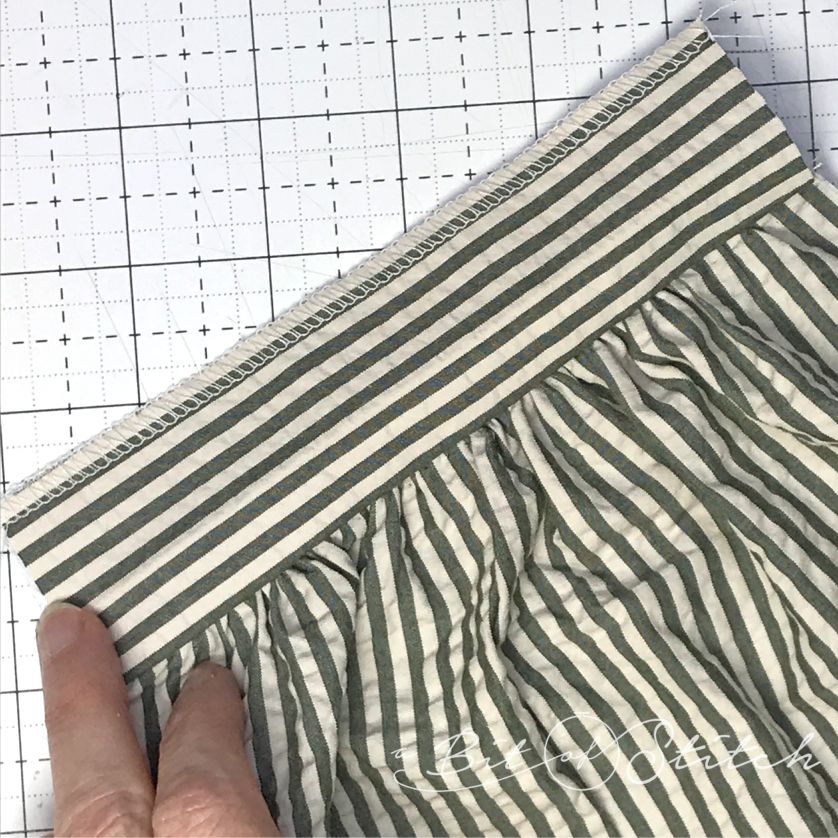
Pin the interfaced waistband to the pants front, right sides together. (Make sure you’re aligning/pinning the interfaced edge of the waistband rather than the non-interfaced edge.) Sew with a ¼” seam allowance.
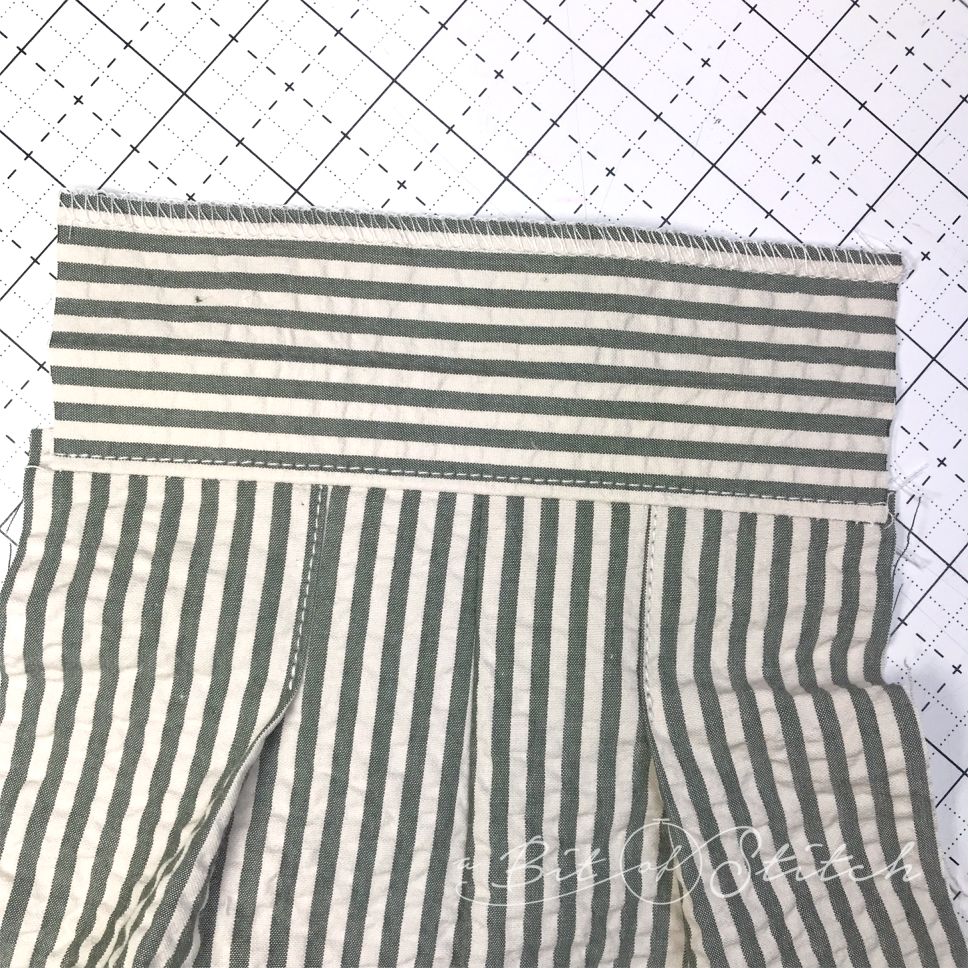
Serge or zigzag the remaining long raw edge of the waistband. Press the waistband and seam allowances toward the waistband’s serged edge and top stitch through all layers across the right side of the waistband. This topstitching should be about a fat 1/8” away from the seam.
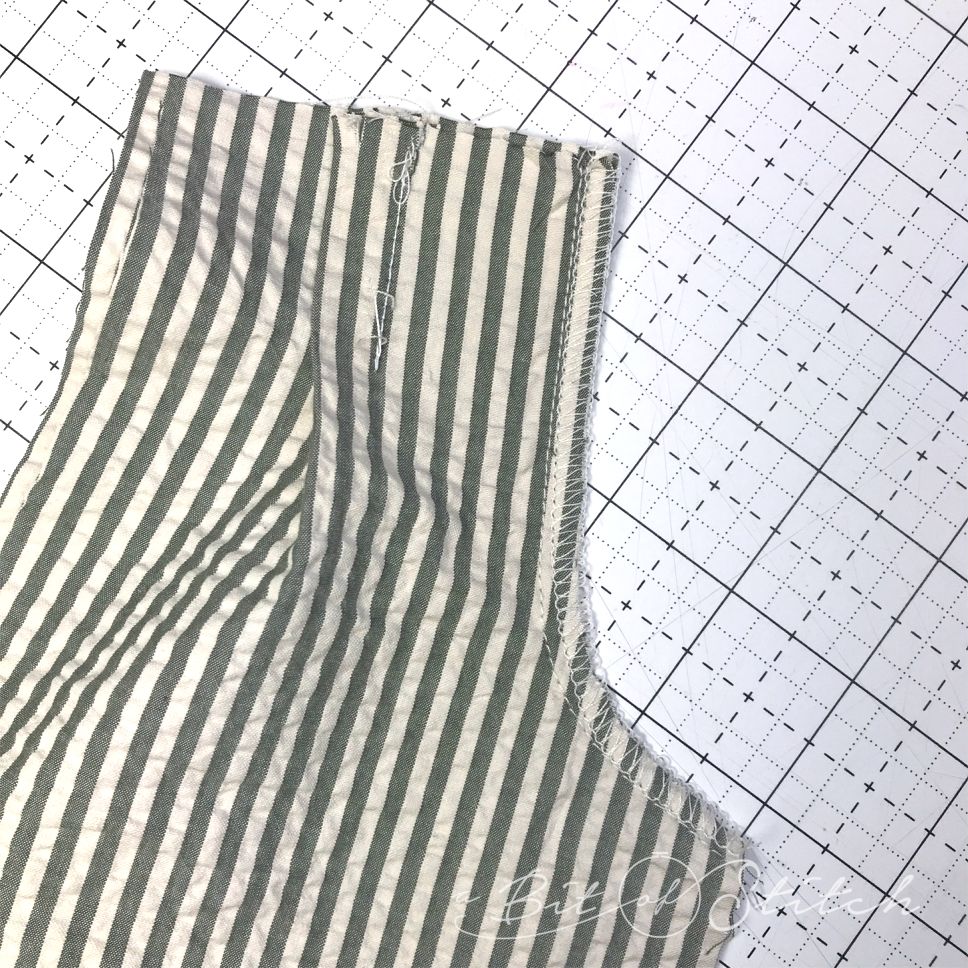
For each pants back piece, serge or zigzag stitch the raw edge of the crotch.
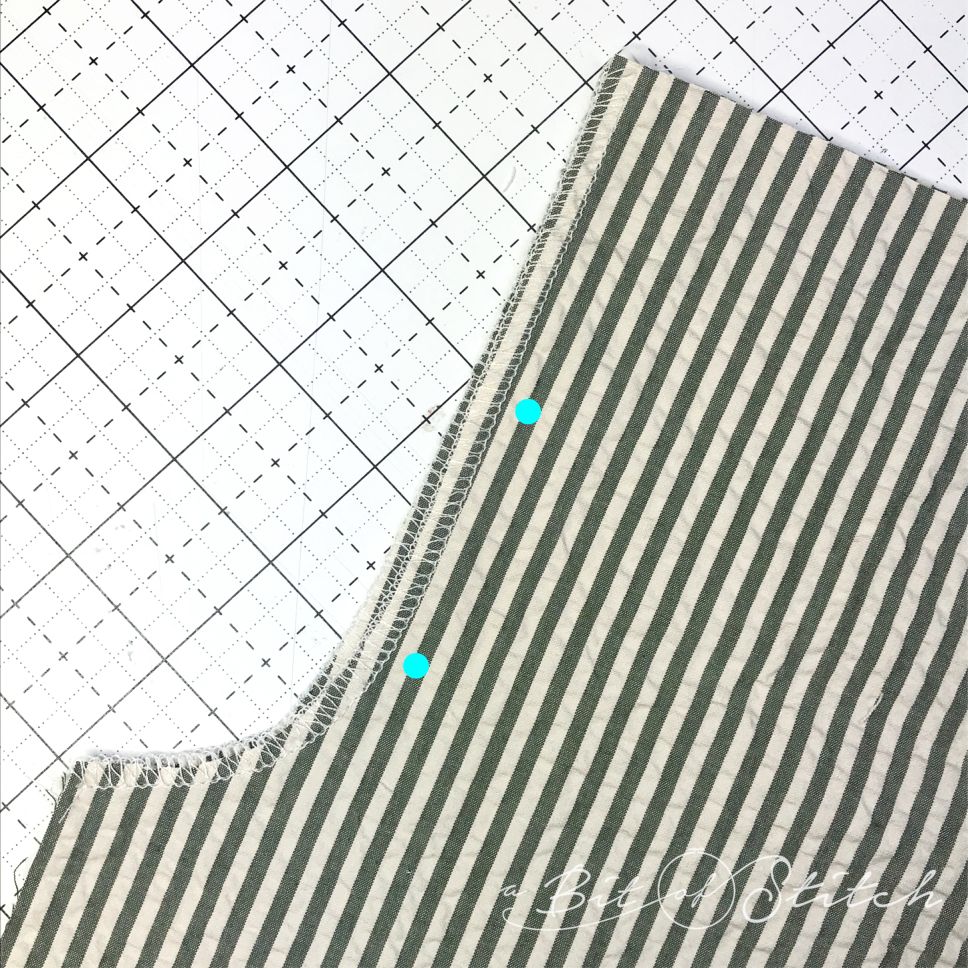
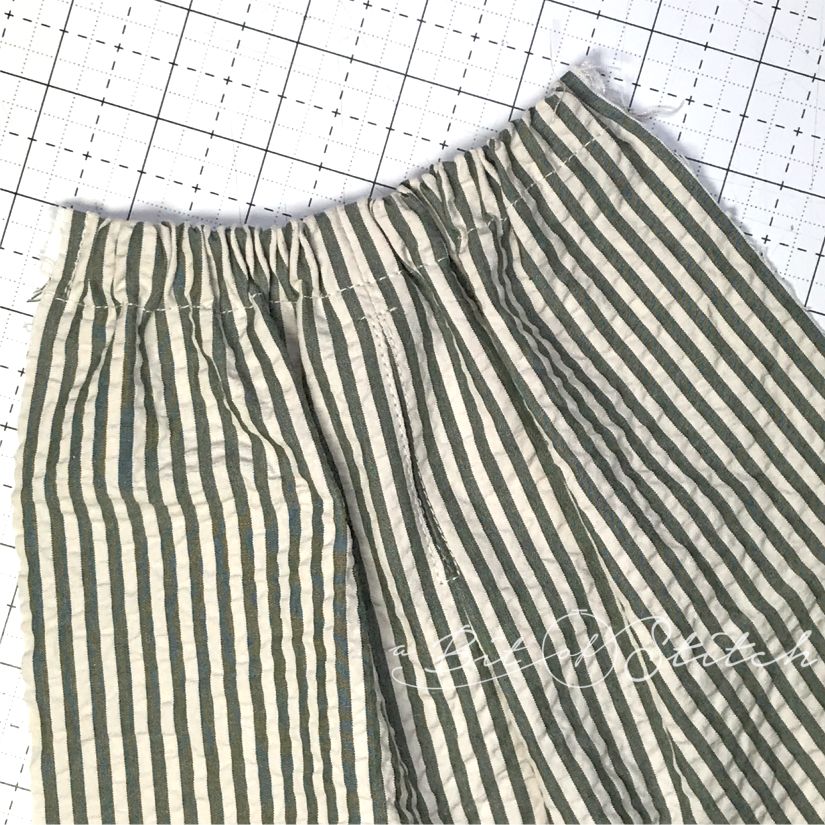
Locate the marks on the crotch of the pants back pieces. Align the pants back pieces at the crotch, right sides together. Sew together along the crotch with a ¼” seam allowance, leaving the space between the marks open. (When sewing the crotch seam, stop at the first mark you come to, back tack to secure the thread, cut, and then start stitching again at the other mark—back tacking once more—to complete the seam.)
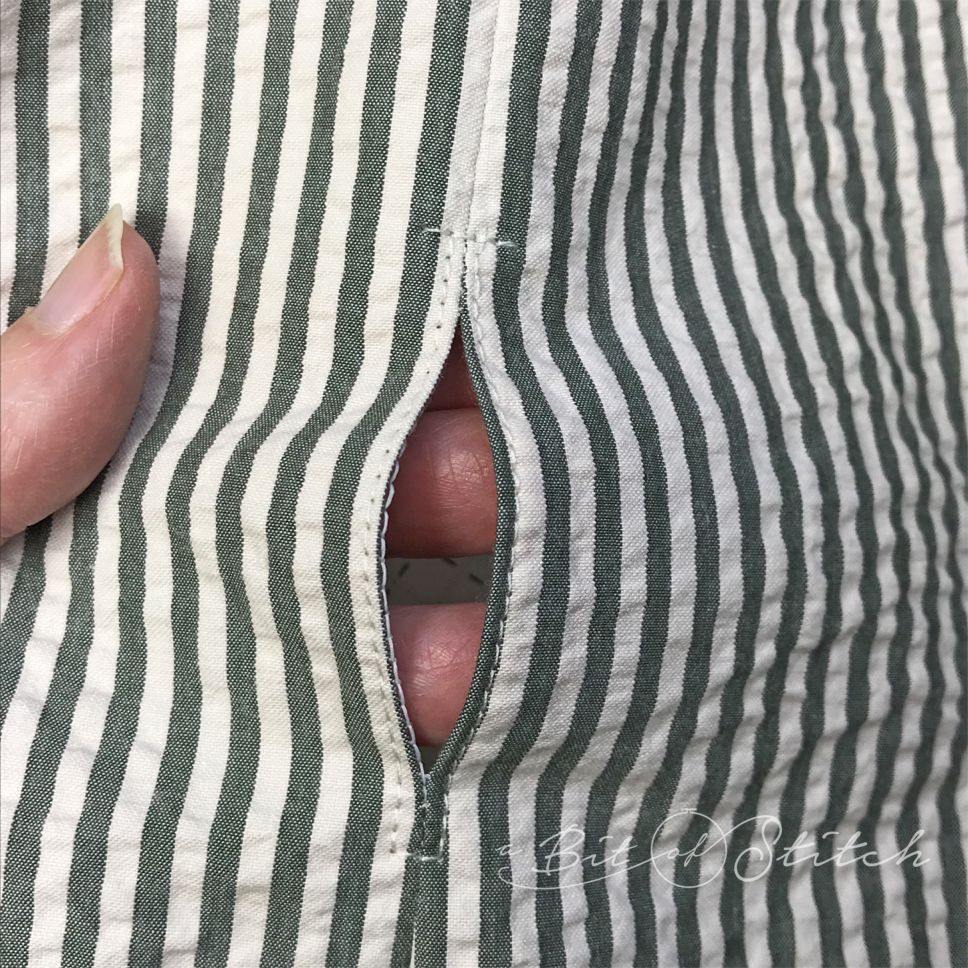
You have created an opening for the bunny’s tail! You can press the seam allowances open and leave as-is, or top stitch close to the opening as shown above. (NOTE! If you are making britches for a sock doll or some other creature that does not have a tail, don’t leave this opening—simply sew up the back center crotch seam as you did for the front.)
Check your work. When you refold the waistband on the pants front and then fold down about 1” of the waist on the pants back (or maybe a little more, depending on your waistband seam allowance), the side seams should be even, as shown above. Press the pants back at the waist to crease along the fold.
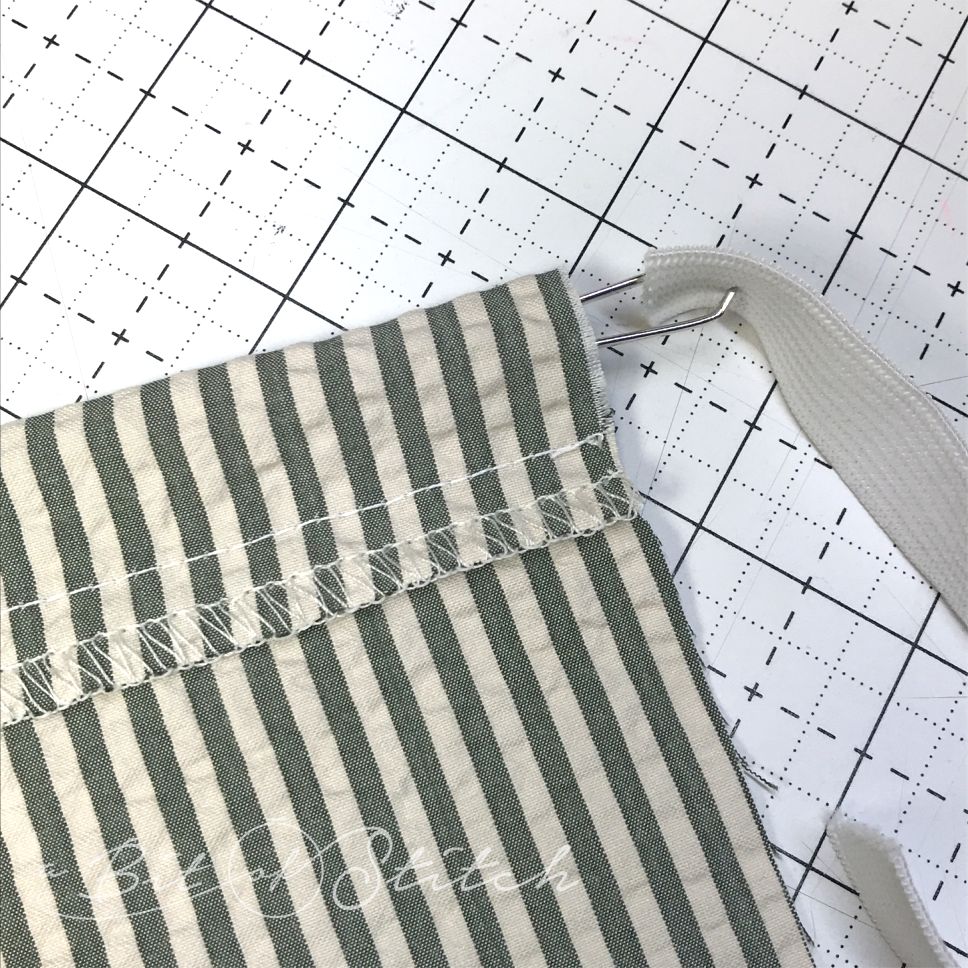
Sew a casing in the pants back at the waist about ¾” away from the fold. Insert the 5″ length of elastic.
Secure the elastic at both open ends ¼” away from the raw edges of the sides.
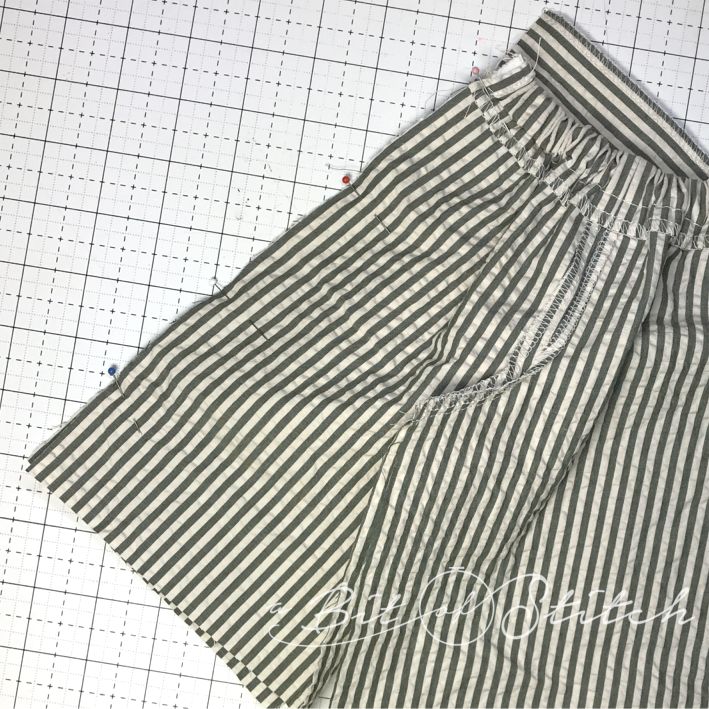
Align one side of the pants front with one side of the pants back, right sides together. Begin at the hem end and pin toward the waistline. Unfold the front waistband.
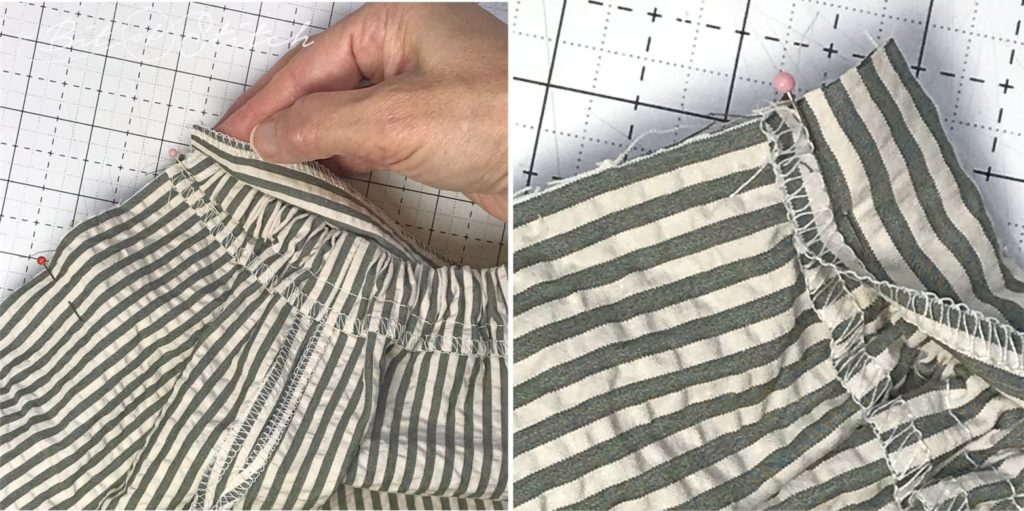
Fold the waistband over the back, enclosing the elastic ends of the back waist as shown above. Pin and then sew the side seam with a 3/8” seam allowance. Repeat for the other side.
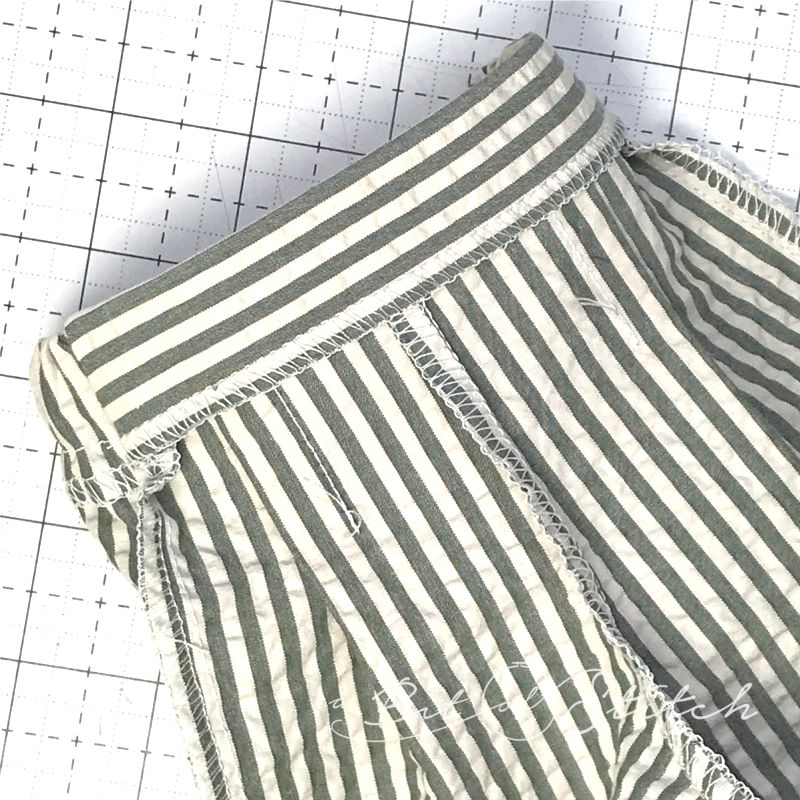
After both side seams have been sewn, refold the waistband wrong sides together, enclosing the ends of the elastic back at the sides, as shown above.
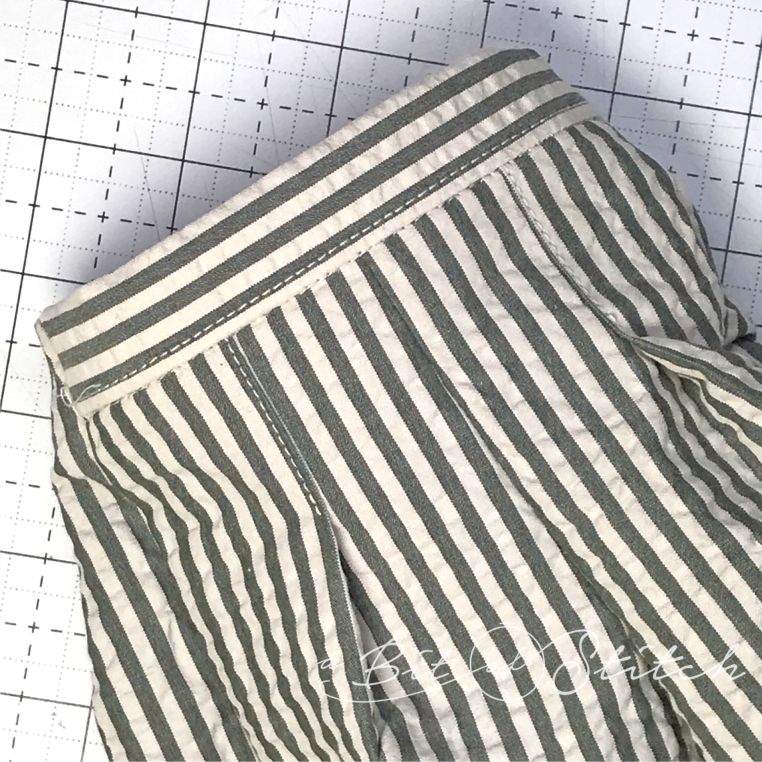
Stitch “in the ditch” along the waistband seam where it is joined to the pants front. Sew from the right side and try to keep your stitches hidden in the seam.
Serge or zigzag stitch one long edge of each pants cuff. Fold each cuff in half lengthwise and press to crease the fold at the center.
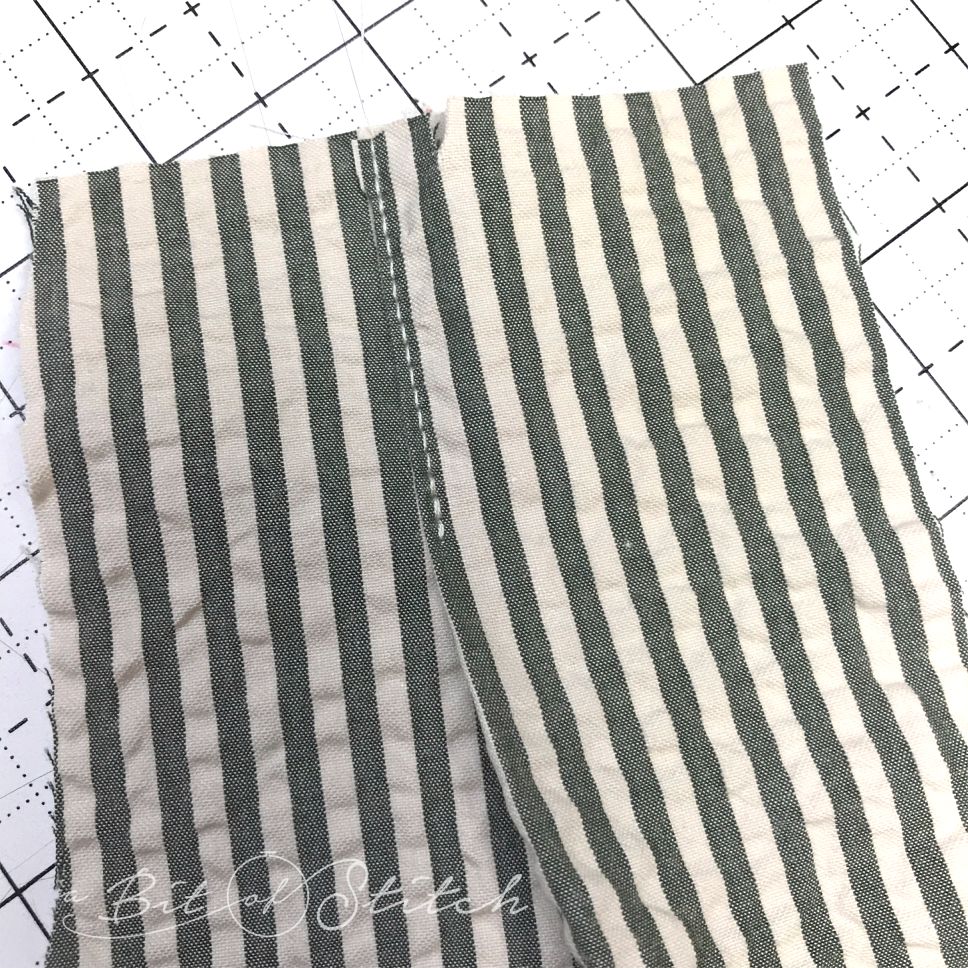
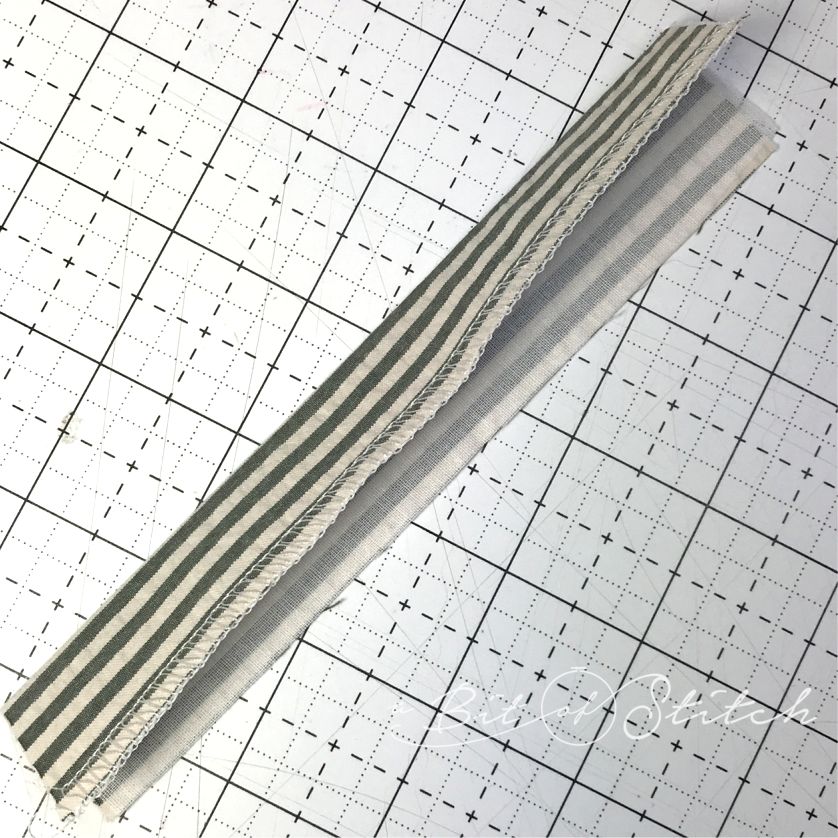
Machine sew two rows of long running (gathering) stitches across each of the pant legs at the hem. Pull up the bobbin running stitching to gather the hem end of each pant leg to fit the cuff. Unfold and align the long raw edge of one cuff with the gathered edge of one pant leg, right sides together, and sew with a ¼” seam allowance. Remove the gathering threads. Repeat for the other pant leg. When finished, each pant leg should look like the image above.
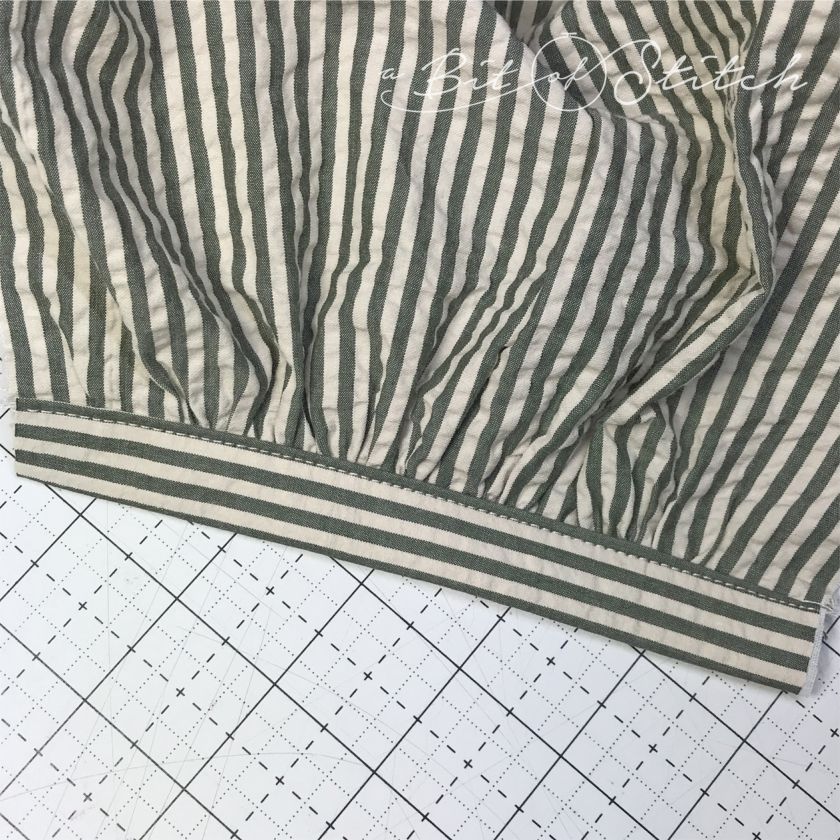
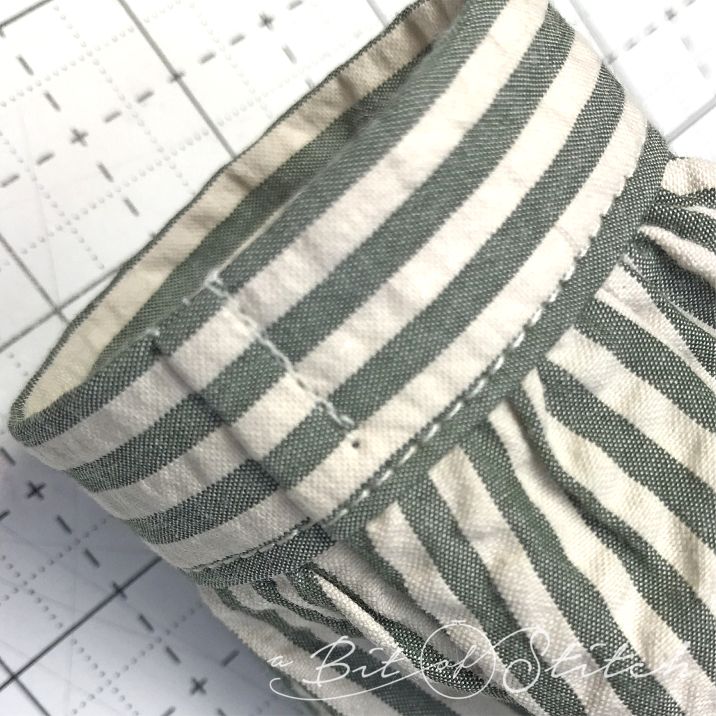
Refold the cuff, wrong sides together, enclosing the seam allowance selvages. Top stitch close to the seam on the right side of the cuff, as shown above.
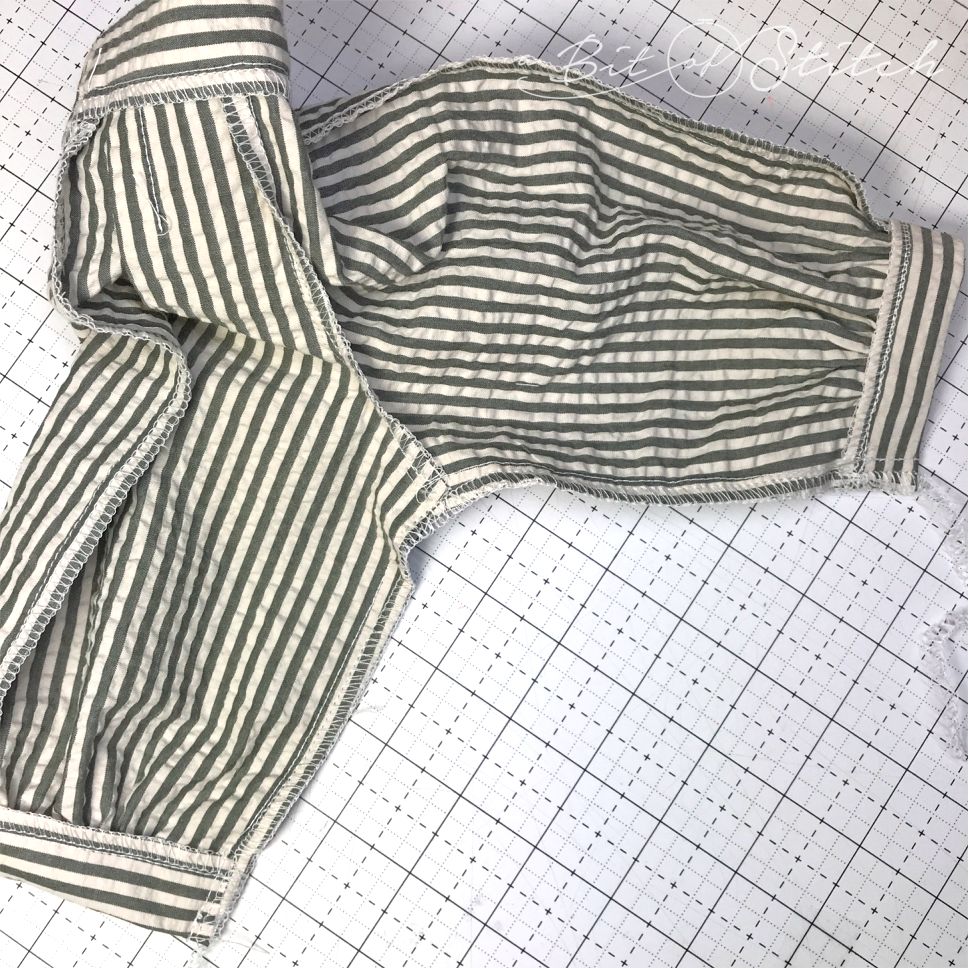
Align the pants front with the pants back, right sides together. Pin and then sew the inseam with a 3/8” seam allowance. Serge or zigzag the raw edges. (If you serge, don’t cut off the tails at the cuffs on each end… see the next step first!)
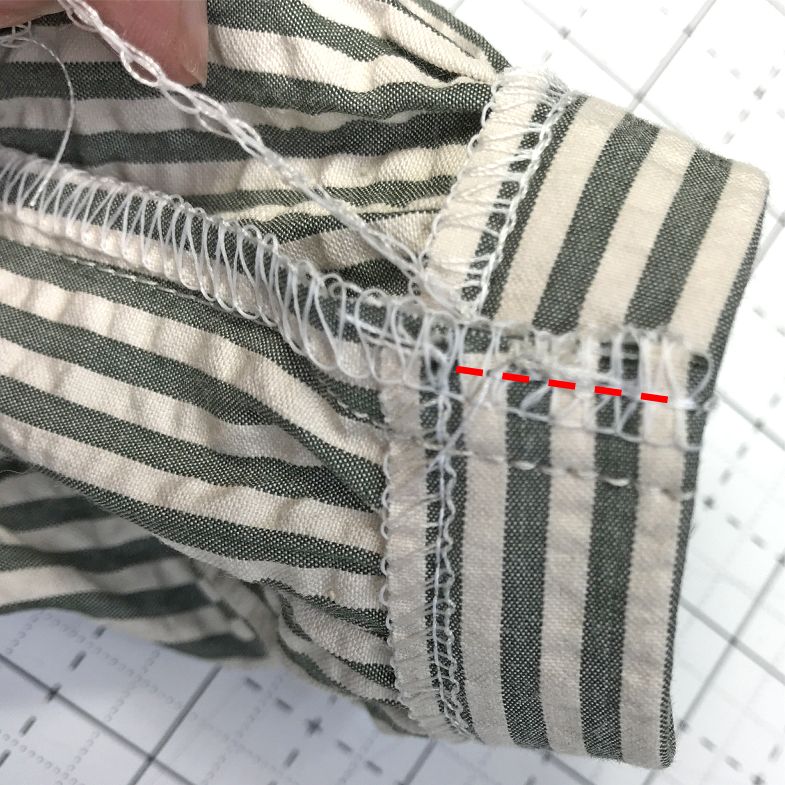
To make the ends of the cuffs neat at the seam, top stitch the seam allowances toward one side. If you serged, tuck that thread tail up inside before you stitch, as shown above. Once it is neatly caught inside you can clip off the excess.
It’s easiest to top stitch from the front, keeping the pant leg wrong side out and slipping the machine foot right inside of it. This is an optional step, but it does make a nice, neat finish and a sturdy seam end!
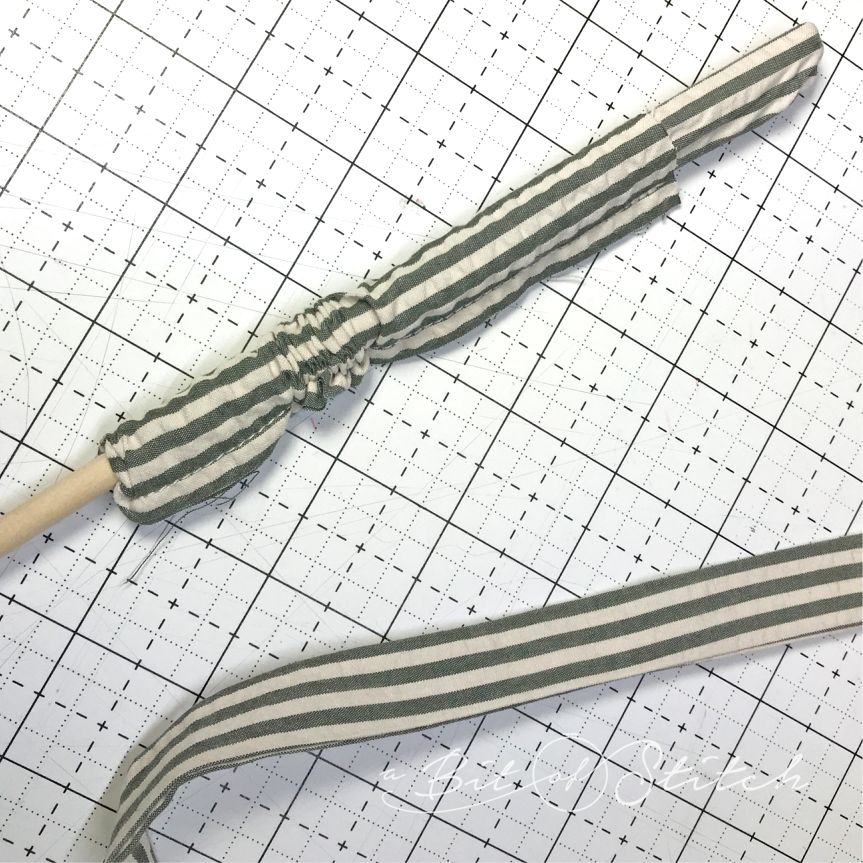
For both strap fabric pieces: Fold the strap fabric lengthwise, right sides together, and press. Sew across one short end and down the long side with a ¼” seam allowance. Clip the corners at the short, sewn end and turn the strap right side out. Use a pencil or a dowel to help turn the straps. Tuck the raw edges of each strap under and inside the tube and sew across to close, or just serge or zigzag stitch those raw ends.
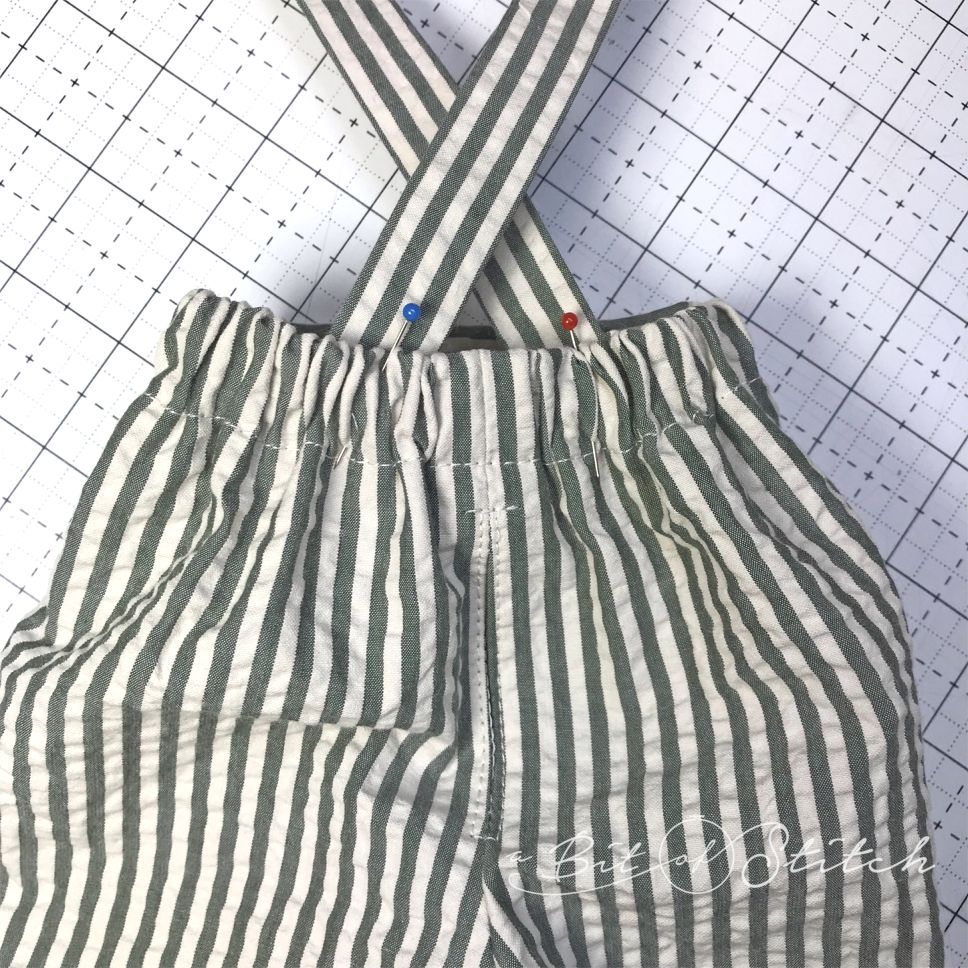
You may need to audition the pants on the bunny to see exactly where the straps should go. Angle the straps so that they cross at the center back, as shown above. The ends of the straps should rest a little below the elastic casing seam inside the pants. Pin in place.
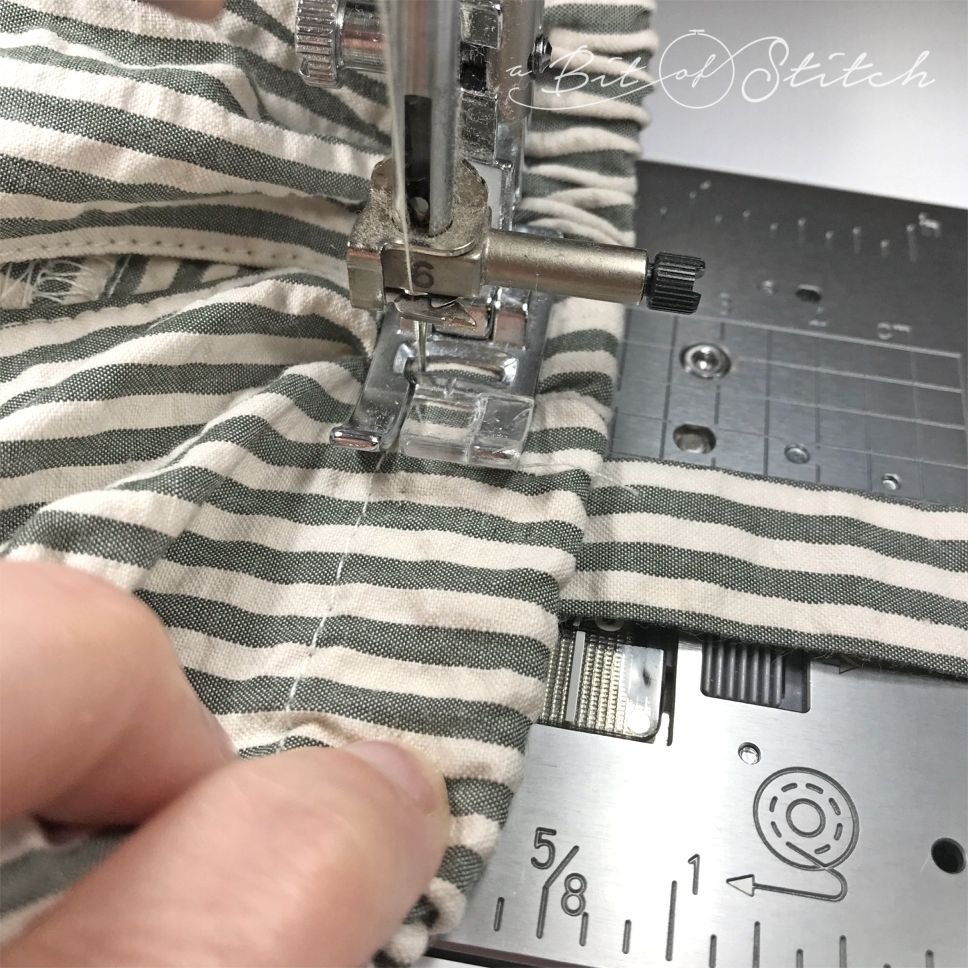
Ease the elastic gathers apart as you sew the straps into position on the back of the pants. Sew from the right side, keeping your stitching on the elastic casing seam as show above.
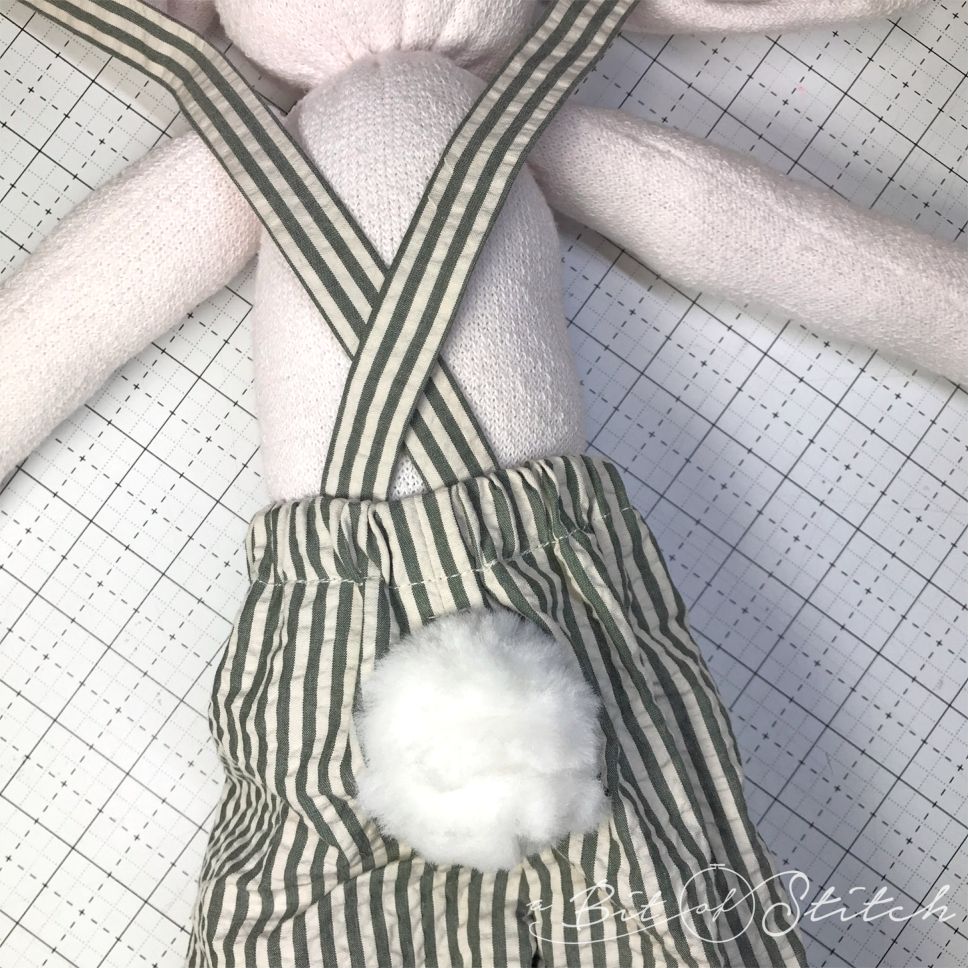
Put the pants on the bunny, pop his tail out of the pants opening, and pull the straps up over his shoulders, crossing them at the back like this.
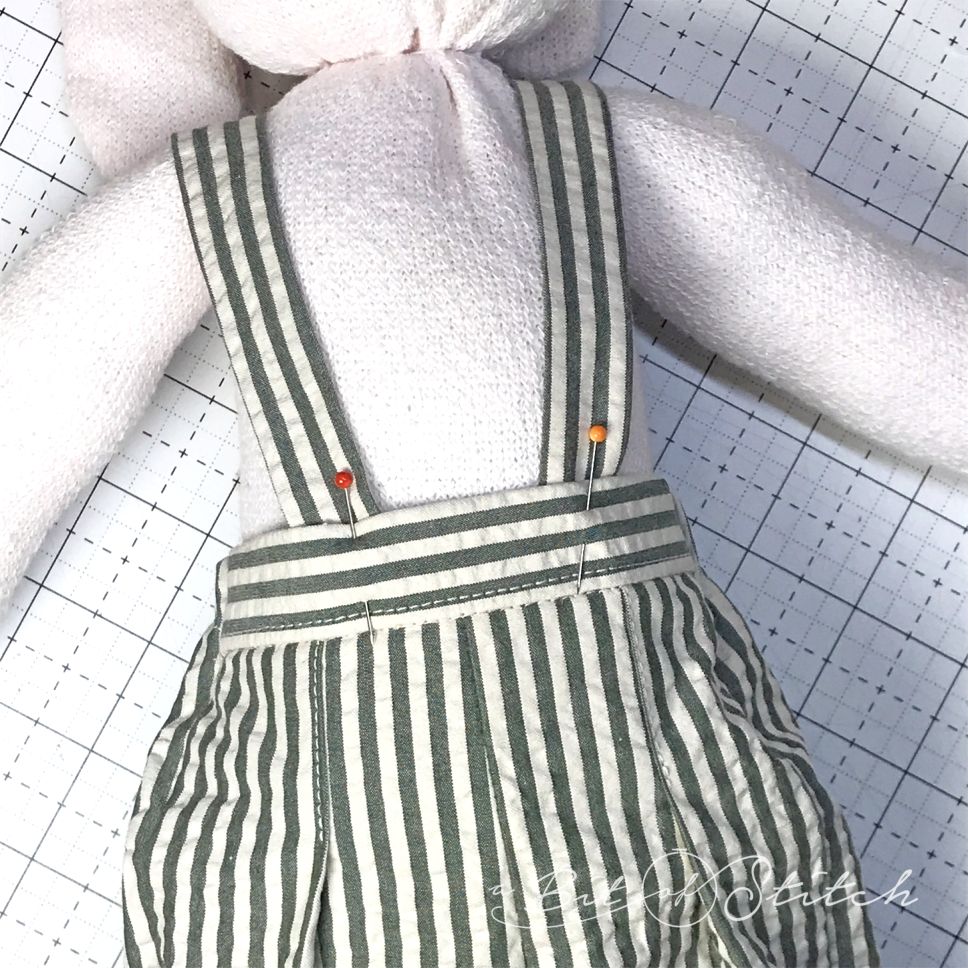
Bring the straps to the front and tuck the ends into the pants. Pin the straps to the waistband. Keep the straps evenly spaced; each strap should be the same distance away from the pants center crotch seam. There should be about 1″ to 1.25” of space between the edges of the straps at the center front of the waistband. Sew buttons onto the waistband, sewing them through all layers – waistband and straps.

Here’s the back of the bunny with his old-timey britches on! (I “tea dyed” the white pompom for his tail… looks better on that brown, don’t you know!)
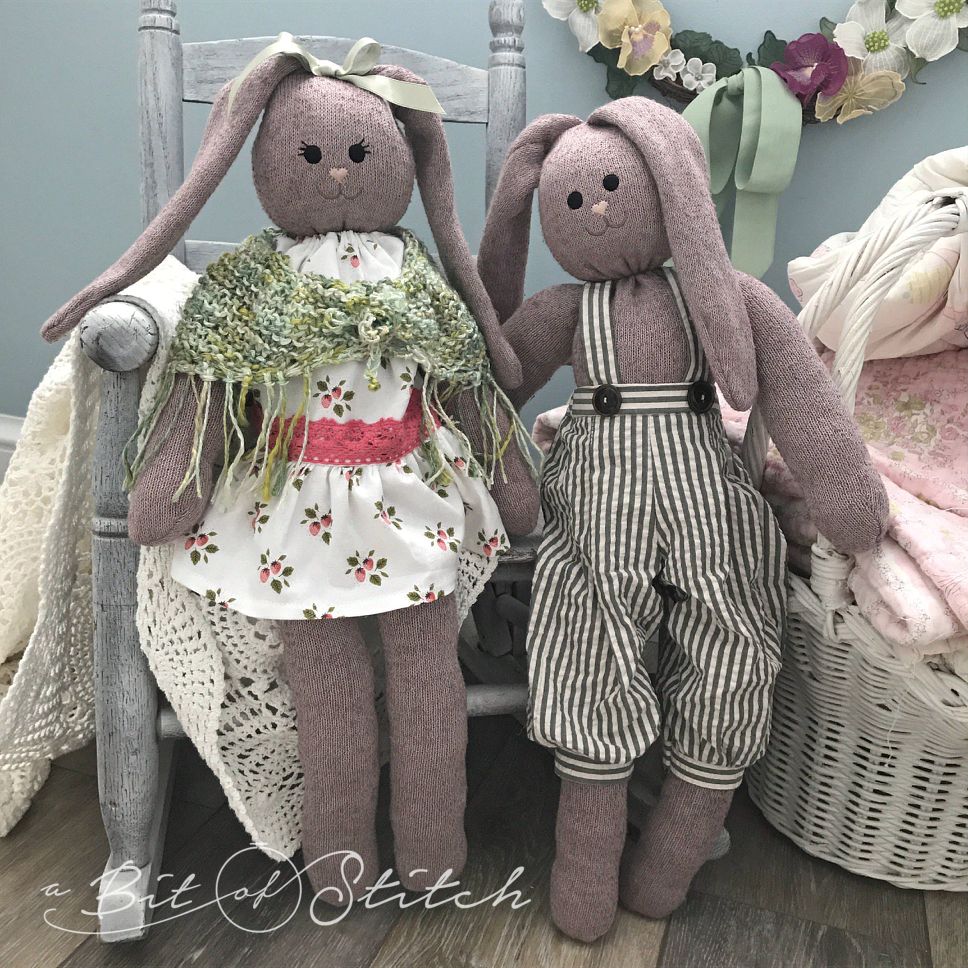
And here’s the front view. He’s got a sister! Mom knit that wee shawl for this Classic Sewing bunny. Is that not the cutest? The little dress she is wearing is the same as the sock doll dresses. Find the “Dress Your Dolly” blog post HERE.
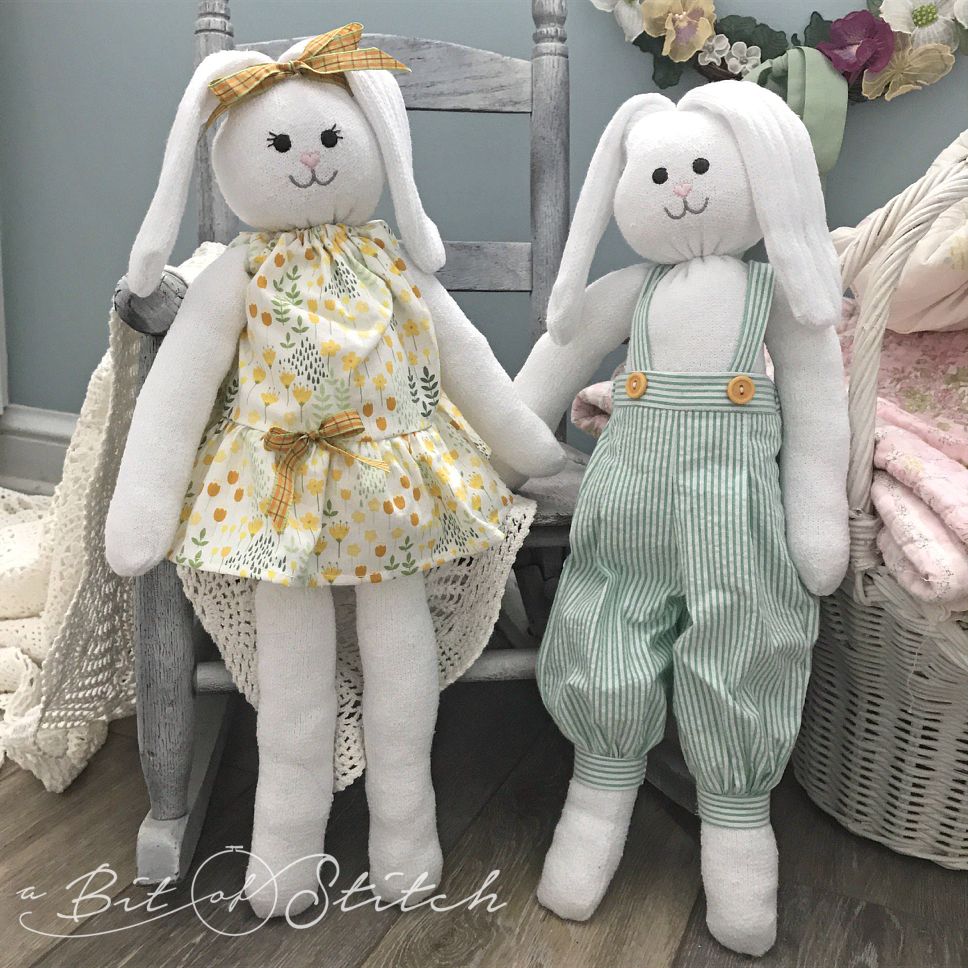
Hoppy little sock bunnies all dressed in their best! By the way, we have a few sock bunny body kits available – click HERE to find those options.

A lap full of happy! Kate helped me choose fabrics and trim for the bunny clothes for this magazine article. I was so glad of her help, and that sweet grin tells you how much fun we were having! I hope you make a sock bunny or a dozen for your house!
Evy
3 replies on “Bunny Britches”
Adorable like all you do, thanks.
Thank you! I’m glad you enjoyed it!
So darling!