A Baby Lock Summer School Project!
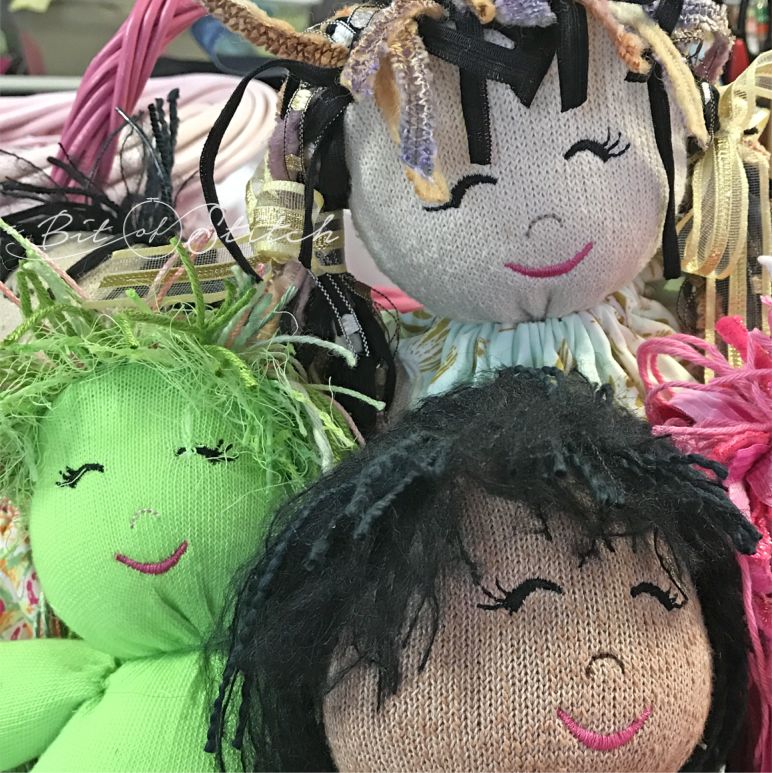
Welcome to week two of Baby Lock’s Summer School! I know you enjoyed Lindsay Conner’s stuffed Manatee project – that was adorable, wasn’t it?? I’m tickled to be included in the second week’s fun, and I’ve got a great project for you that’s just perfect for a mommy & me (or Gramma & me) sewing adventure – sock dolls!
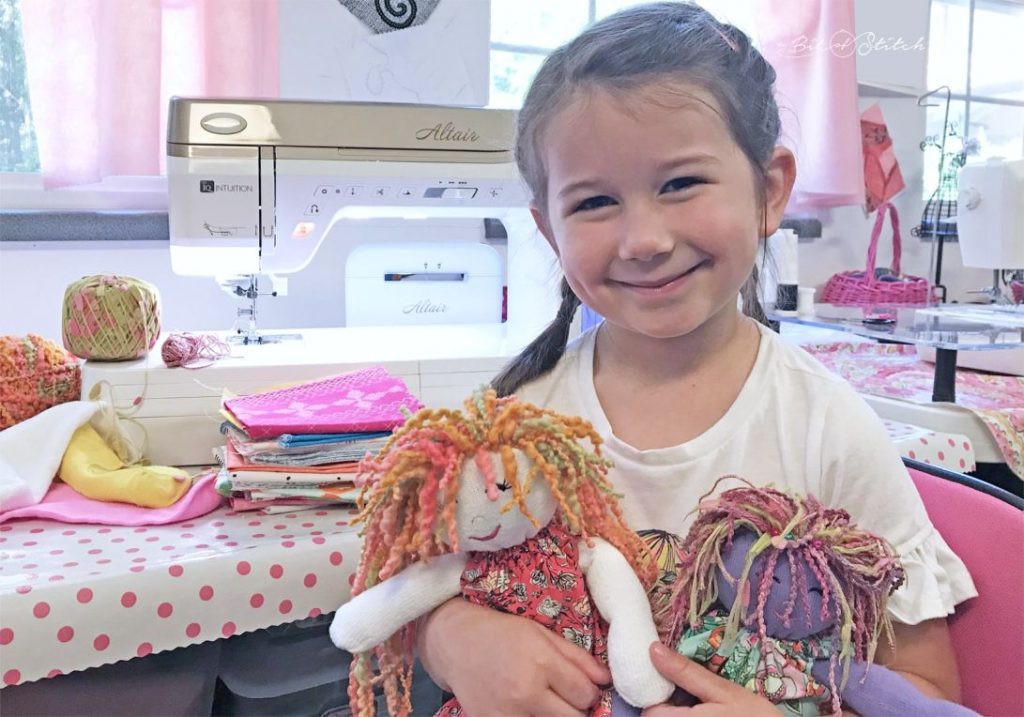
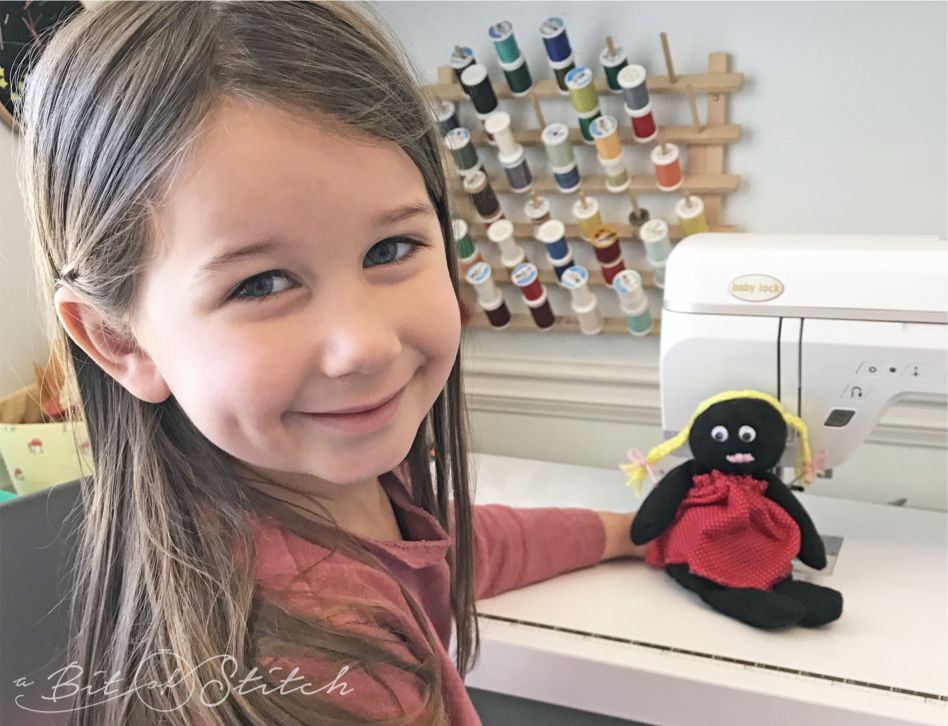
Squishy, sweet, and so fun to sew! That’s what I love about sock dolls. 😊 Recently Kate crawled in my lap and said, “Let’s sew something, Gramma!” After a teeny inside squeal of delight I asked, “Machine or by hand, dear?” She gave me a look and said, “Machine, of course!” (Girl after my own heart!) So, we made a sock doll. Mom didn’t have any stuffing, so we filled her with dried beans. Here’s Kate with her first sock dolly, A.K.A. the prototype:
Oh, my goodness – that was too much fun. Kate had a few suggestions for “improvements”… mainly a nice MACHINE embroidered face (we did the first one by hand) and a dress with real armholes that she could take off and on so dolly could have more than one outfit to wear. Gramma got busy, of course!
I’m betting that you have some orphan socks floating around your house, am I right? Want to make a sock doll too? Let’s do it! Here’s what you’ll need:
Materials for the Doll Body
- 2 tube socks (ladies’ or men’s – size large)
- Fiberfill stuffing
- No-Show Mesh Stabilizer
- Tear-away Soft Stabilizer
- Dissolve-Away Mesh Self-Adhesive Stabilizer (for the face)
- Assorted yarn for hair
- Top stitch or 12 wt. sewing thread in a color to match socks and a color to blend with yarns
- Sewing thread (top & bobbin) to match socks
- Face embroidery design from A Bit of Stitch (see NOTE below); hand and machine embroidery versions are both available
- Fabric for “shoes” (optional) – approximately 2″ x 4″ per shoe
NOTE! Machine embroidery designs for the girl’s face (large & small), boy’s face (large & small), and buttonholes – plus patterns & instructions for a pair of panties, t-shirt and pants – are included in a single download HERE! (This download was free during the first week of publication.)
If you don’t have an embroidery machine, hand embroidery patterns for the faces are available as a free download – click HERE to find it.
Looking for materials for your sock doll? Click HERE to find some kits!
Now pull up your socks and let’s get started! 😄
1. Embroider the face before beginning. Read the directions included in the hand or machine embroidery design download to do so.
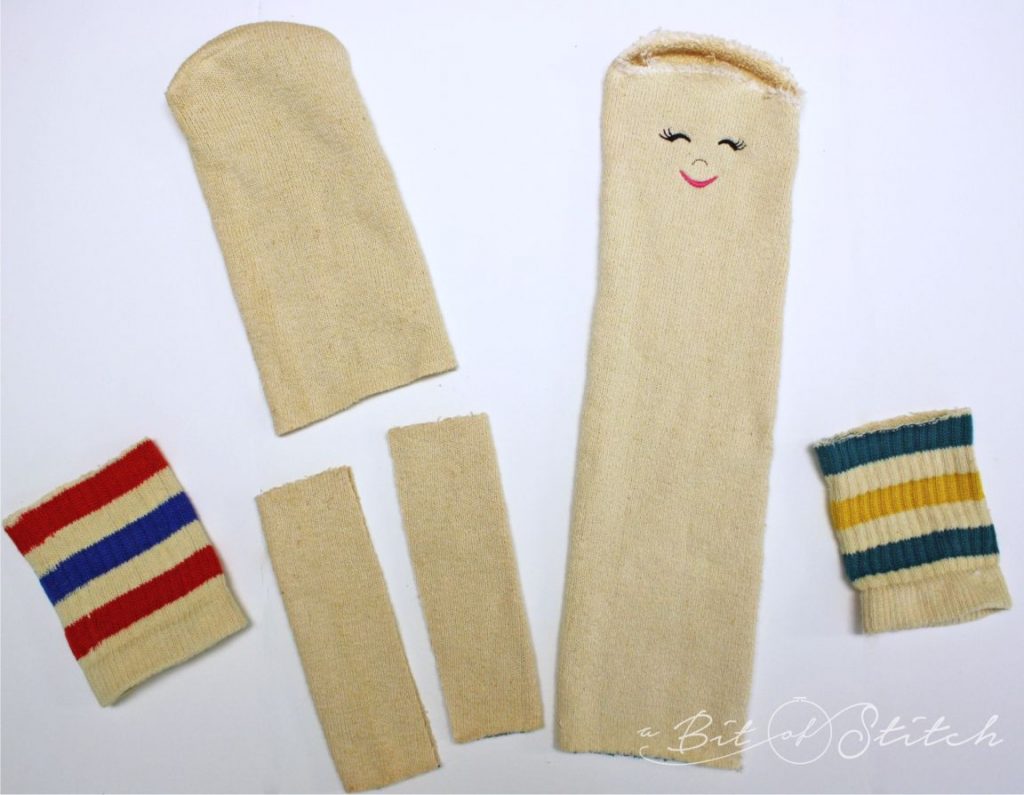
2. Cut the ribbing off both socks. Cut a 6 ½” piece from the open end of the un-embroidered sock and split in two. These two pieces will become the arms.
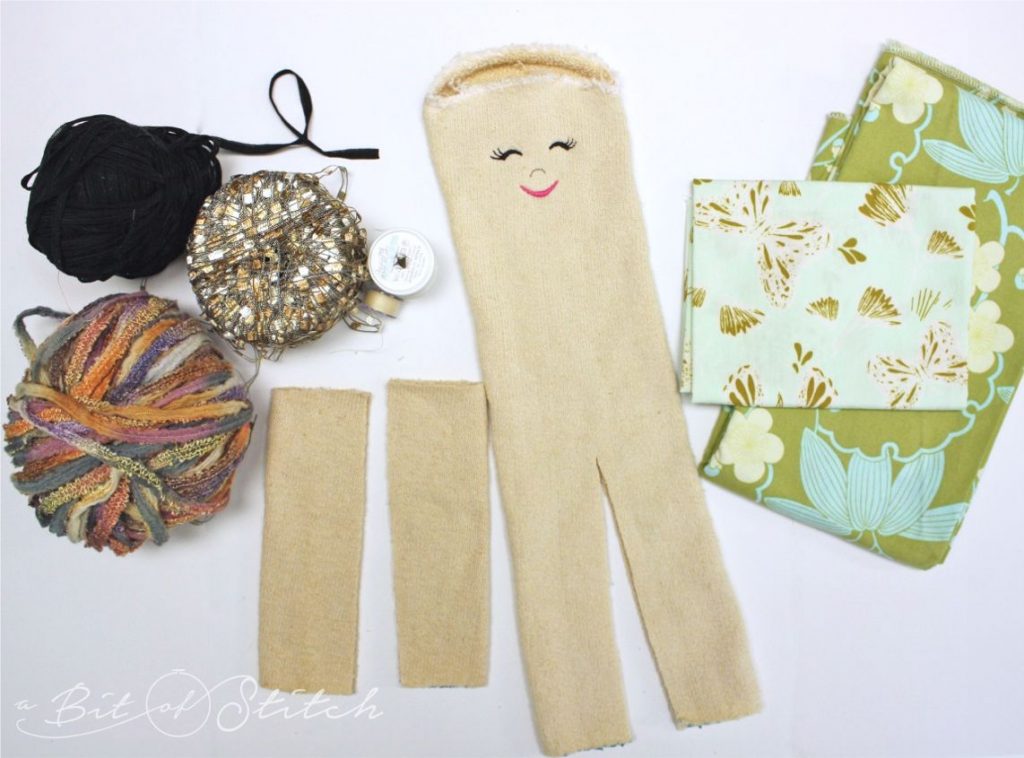
3. Gather your supplies. It’s fun to include at least three different types of yarn for the hair if you have them, but keep in mind that you can also use other fibers that will lend themselves to hair – narrow ribbons, skinny strips of scrap quilting fabric or knit fabric, etc.
Thread your sewing machine with matching thread in the top and bobbin (the thread color should match the sock).
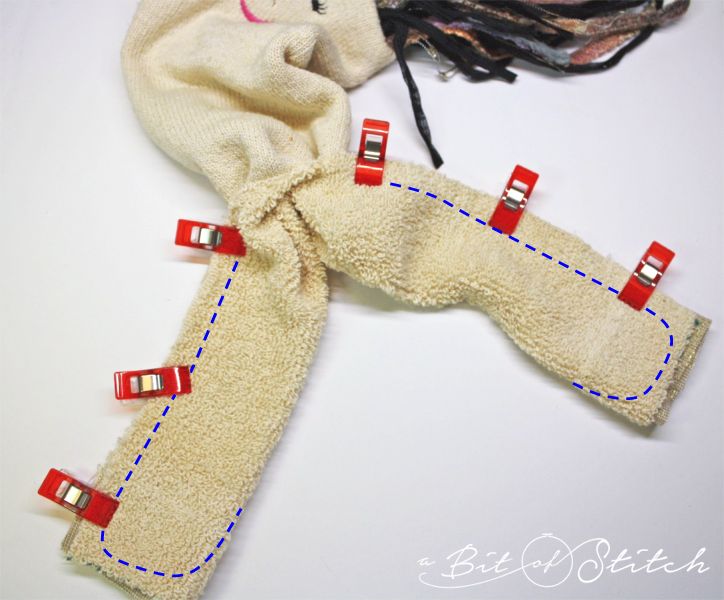
Cut a slit in the sock with the embroidered face; the slit should begin at the straight, open end of the sock and end at the doll’s crotch. Depending on the length of your sock, this may be between 6.5” to 7” long. These will be the doll’s legs.
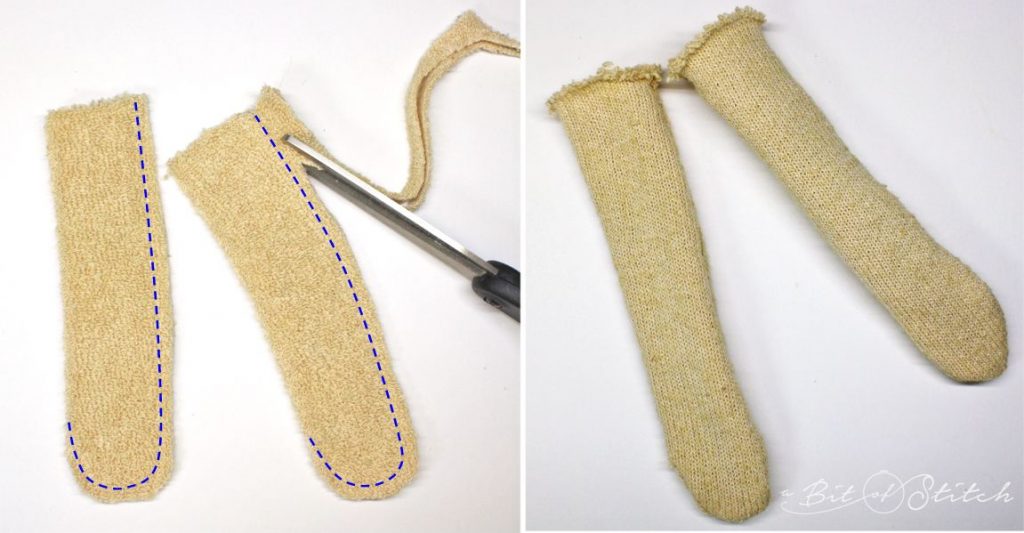
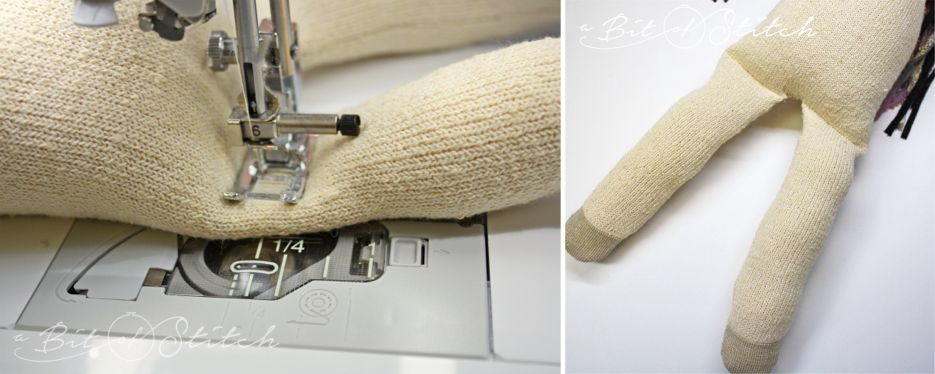
4. Turn the arm sock pieces inside out so that right sides are together. Sew each arm as shown in the photo above marked with the blue dashed lines. You will want the arms to be about 1.5” wide when finished, so adjust your seam allowance as necessary. After sewing, trim the seam allowance to ¼” and turn the arms right side out. Set the arms aside for later.
Beginner’s Tip! Trace a curved “hand” end on one side of the folded sock fabric arm to make it easier to sew. Place a piece of soft tear-away stabilizer under the fabric as you sew the curve to help keep the fabric from stretching.
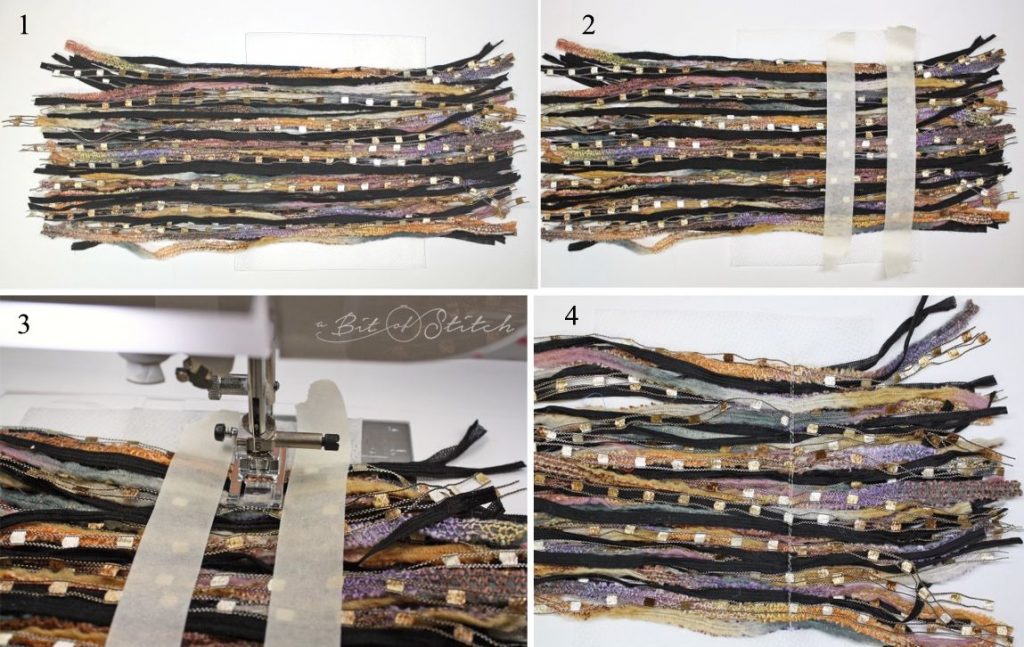
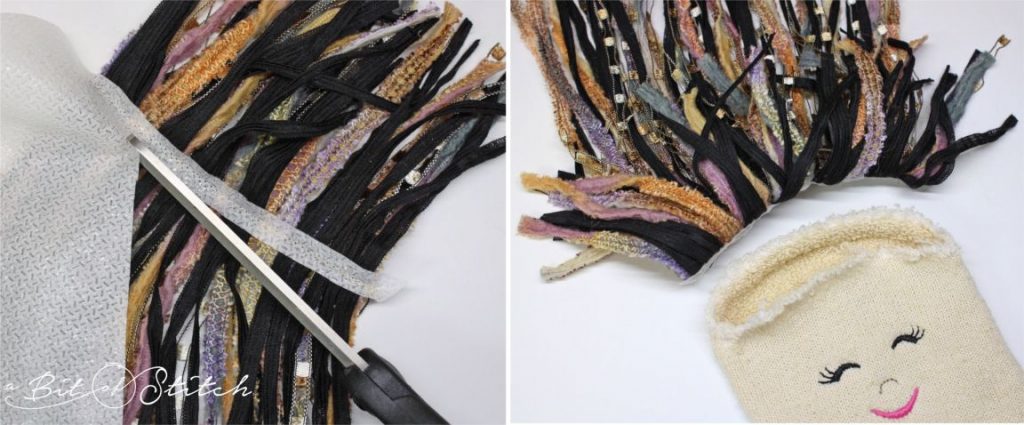
5. Cut a piece of No-Show Mesh Stabilizer about 6” x 8” and place it on your work surface. Cut 10” to 12” lengths of yarn and place them across the stabilizer as shown in photo #1 above.
The more yarn you layer, the thicker the doll’s hair will be! Just be careful not to make it so thick that it will be hard to sew into the sock! The width of the stack of yarn (meaning up and down according to the photos above) should be no wider than the opening on the sock doll’s head as shown on the right.
Use masking tape or painter’s tape to secure the yarn bundle to the stabilizer; most of the hair should be on one side of the first piece of tape and approximately 1/3 of it should be on the other, as shown in photo #2 above. (That short side will be the doll’s bangs.) Sew two lines of stitching, very close together, through the bundle – photos #3 and #4 above.
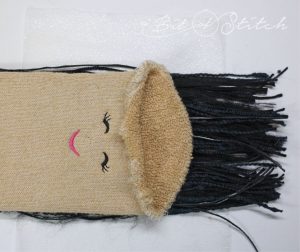
6. Remove the tape. Carefully trim away as much of the stabilizer as you can, leaving a tiny bit behind the stitching to support the yarn. Fold the bangs up and over toward the longer portion of hair and insert into the opening in the doll’s head.
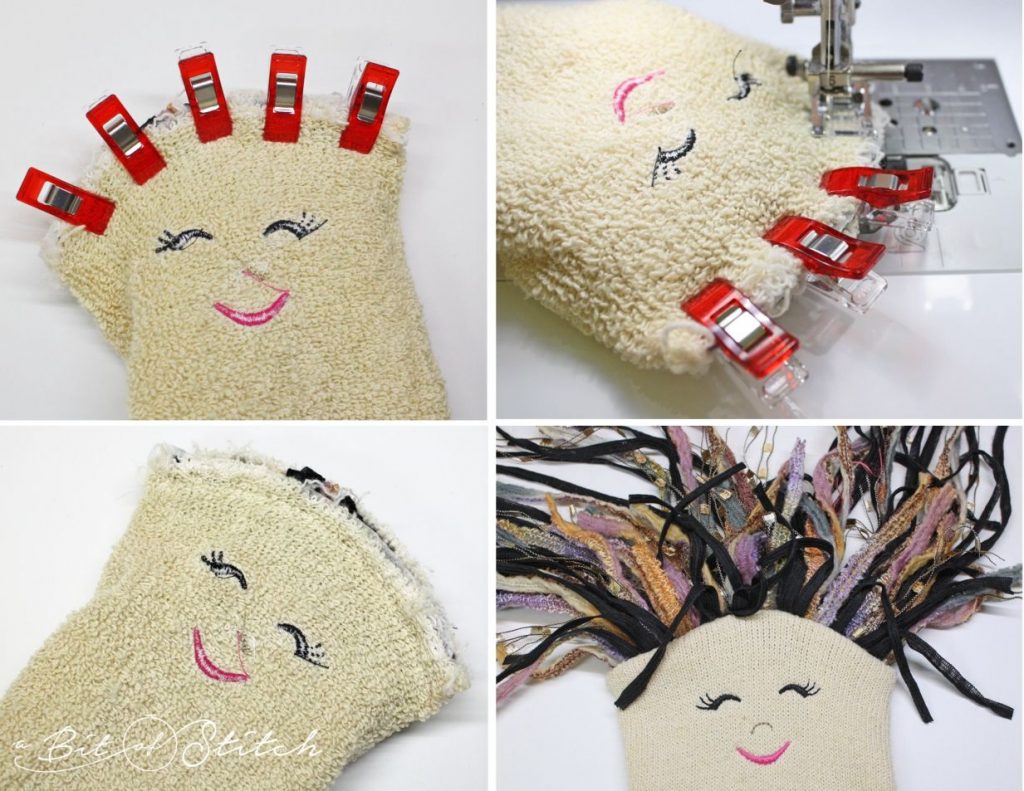
7. Slip your hand into the sock and grasp the top of the head and the hair. With your other hand, pull the sock over the hair until the sock is wrong side out. Align the edges of the head opening with the stabilizer on the hair. Clip together as shown in the top left photo above. Sew through all layers. Sew just deep enough to catch the stabilizer on the hair – probably about ½” to 5/8”. Turn the sock right side out and check your work to be sure the seam hides the stabilizer.
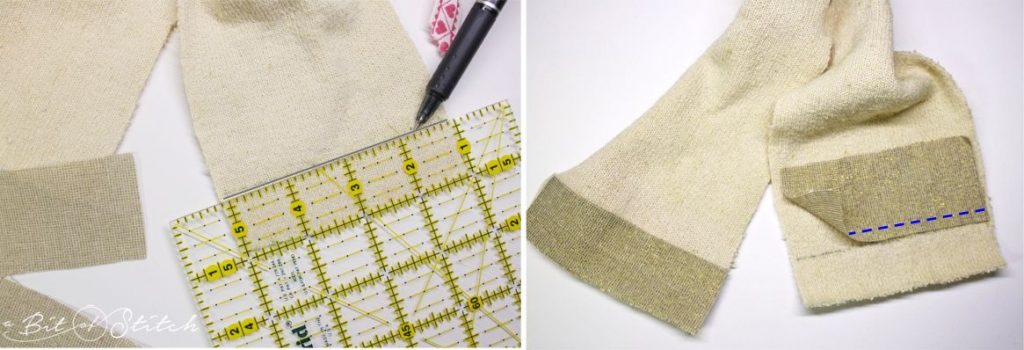
8. Shoes are an option! If you’d like your doll to have shoes, cut two pieces of any suitable shoe fabric 1.5” tall by the width of the leg (when the leg is opened flat). Draw a line across the bottom of each leg, 1” up from the raw edge as shown in the photo above on the left.
Place the shoe fabric WRONG SIDE UP against the right side of the leg, aligning one long edge of the fabric with the marked line as shown above on the far right. Sew the fabric to the leg with a ¼” seam. Fold the shoe fabric down over the seam and press. (Note! When using quilt weight cotton or woven fabrics, leave the leg fabric behind the shoe fabric. When using knit shoe fabric, you may wish to trim the leg fabric away to reduce bulk in the foot.)
9. Turn the legs wrong side out – aligning the long, straight edges – and clip or pin together as shown above. Sew each leg: Start about 1” down from the crotch, continue down the leg, and round out the foot to finish as indicated by the blue dashed lines in the photo above.
See Beginner’s Tip in step #4 for the arms, and repeat the same process to help sew the curved feet!
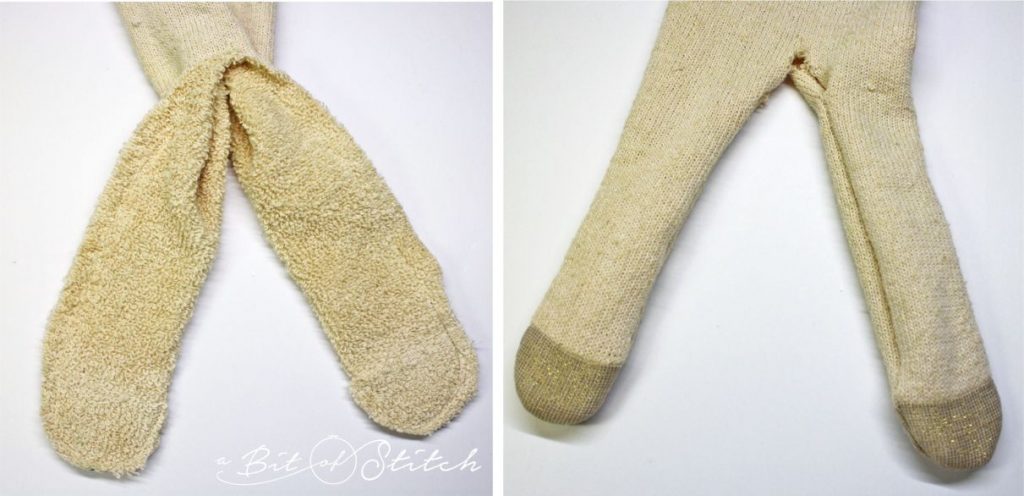
Trim the seam allowances to 1/4″. Turn right side out.
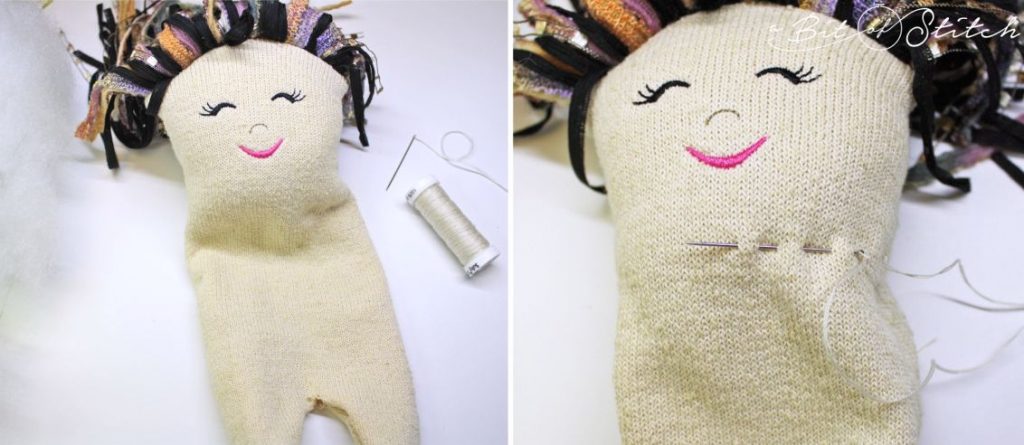
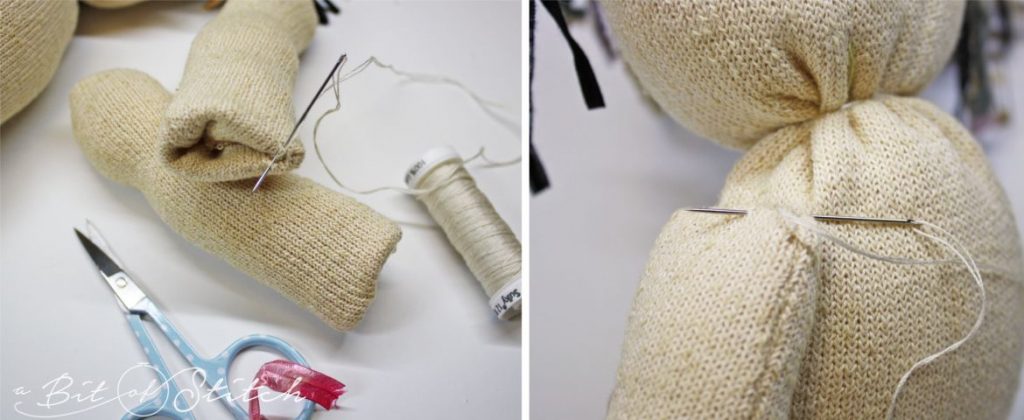
10. Stuff the head area of the doll. Do not over-stuff, and keep in mind that the head should be roughly 1/3 of the body (not including the legs). Thread a hand sewing needle with 12 wt. or top stitching thread and sew running stitches around the neck area as shown above.

11. Pull up the running stitches to tighten the neck. Wrap the thread around the neck a couple of times and secure in place with a few small stitches.
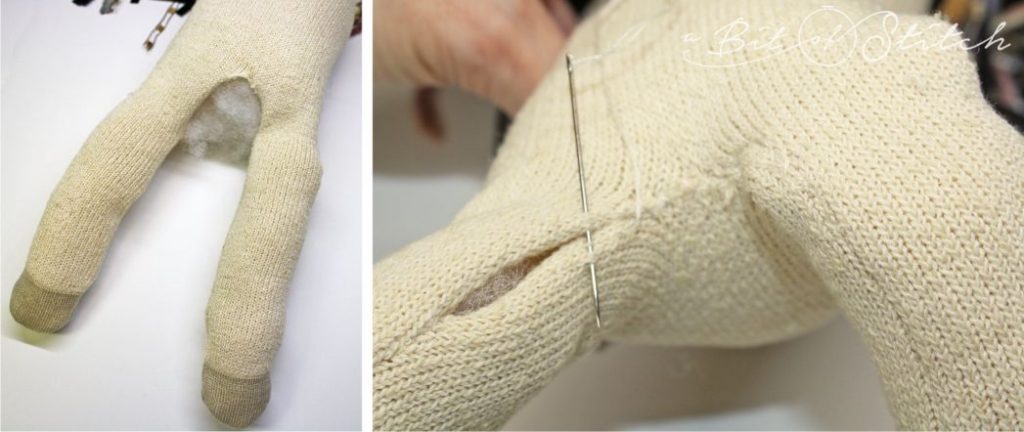
12. Stuff the rest of the body and the legs. Do not over-stuff the legs, and do not stuff all the way up to the crotch. Leave about 1” space between the stuffing and where the leg should bend when the doll is sitting. Sew up the opening by hand or machine.
13. Sew across the top of each leg to create a crease.
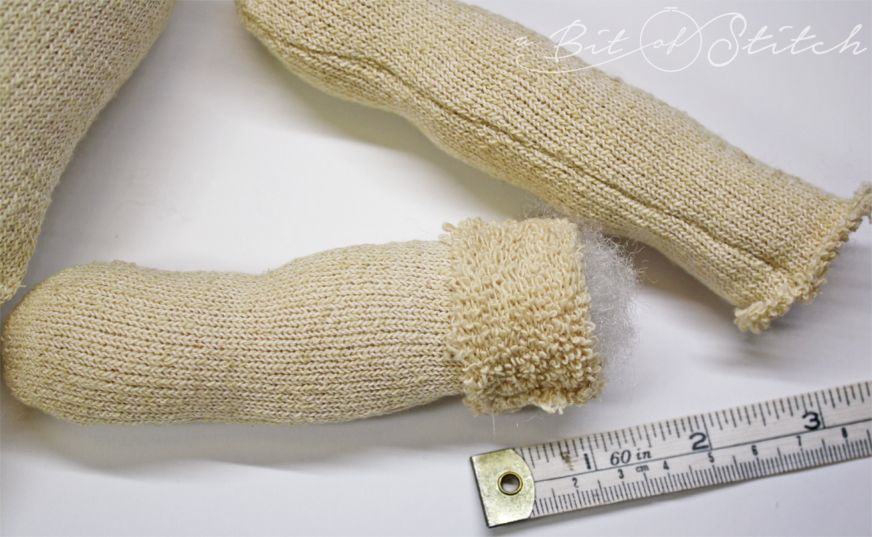
14. Find the doll’s arms that you set aside earlier. Fold back 1″ of each arm as shown above. Stuff both arms. Do not over-stuff, but DO apply more stuffing in the hand area than in the upper arm.
15. Unfold that 1” at the top of each arm and refold it down into the arm. Sew the opening closed, gathering the seam slightly by pulling the stitches snug as you sew. Sew the arms to the doll about 1” down from the neck on each side of the body.

16. The head will be a little pointy on each side because of the way we applied the hair. This might not bother you, but if it does, it’s easy to fix! Thread a nice long needle with strong sewing thread, secure to a point at one side of the head, and poke the needle through the head so that it comes out at the opposite side. Draw up the thread to suck in the needle’s entry and exit points as much as you need, and sew the thread snugly to secure.
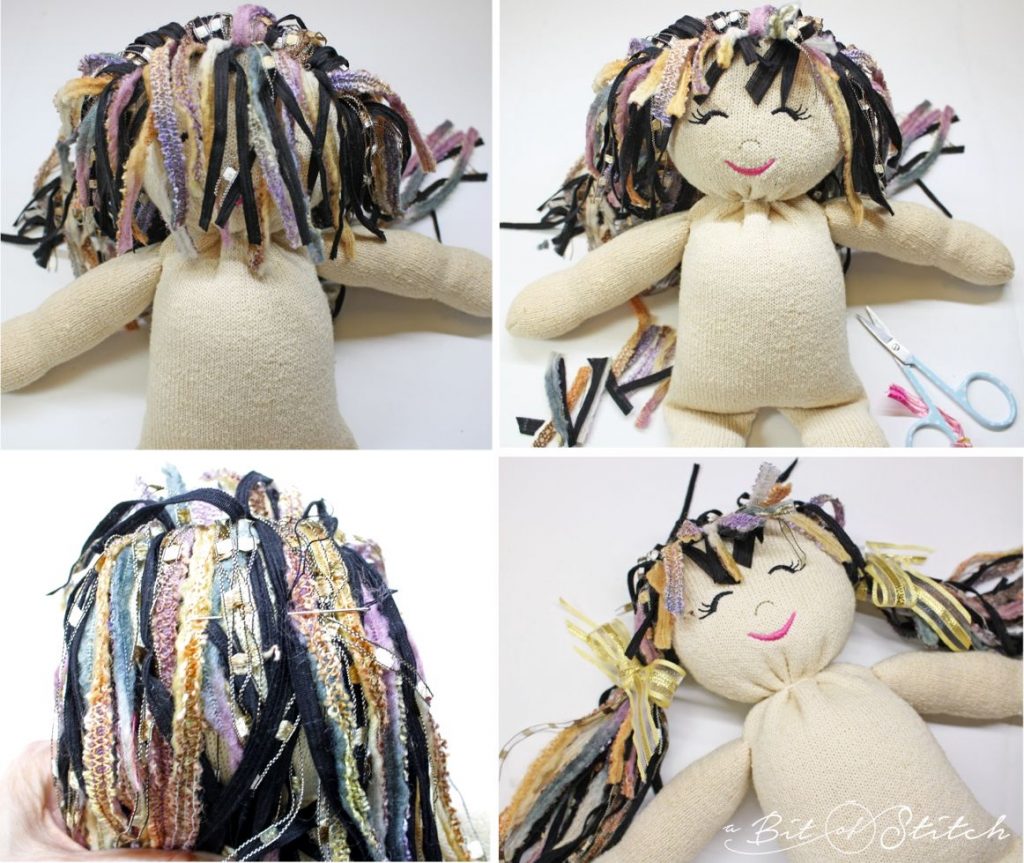
17. Your doll’s bangs will need a trim! Pull the short ends of the hair (they should be in front) down evenly and give them a trim. Then, on the back of her head, use a hand sewing needle and sturdy thread that blends in with her hair to sew across the hair, weaving the stitching in and out of the layers of yarn until you have secured some of it to the sock. Give your doll ponytails, braids, or a bun if you wish!
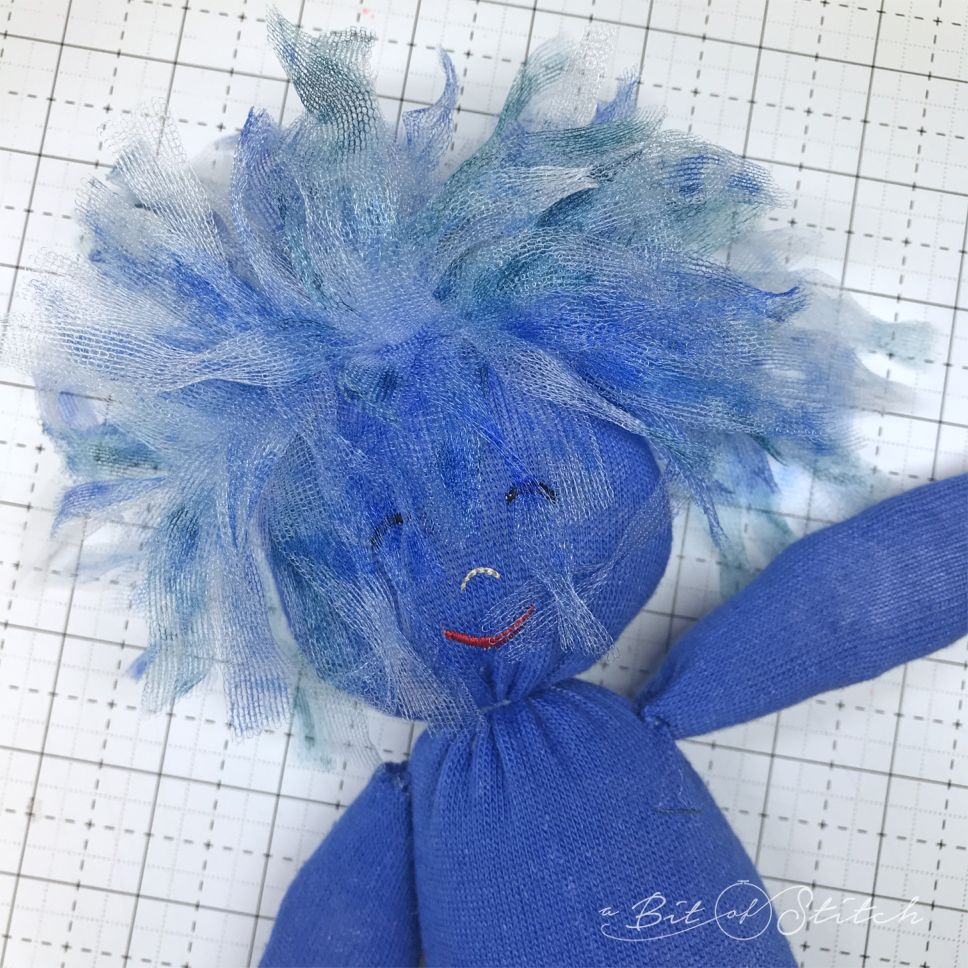
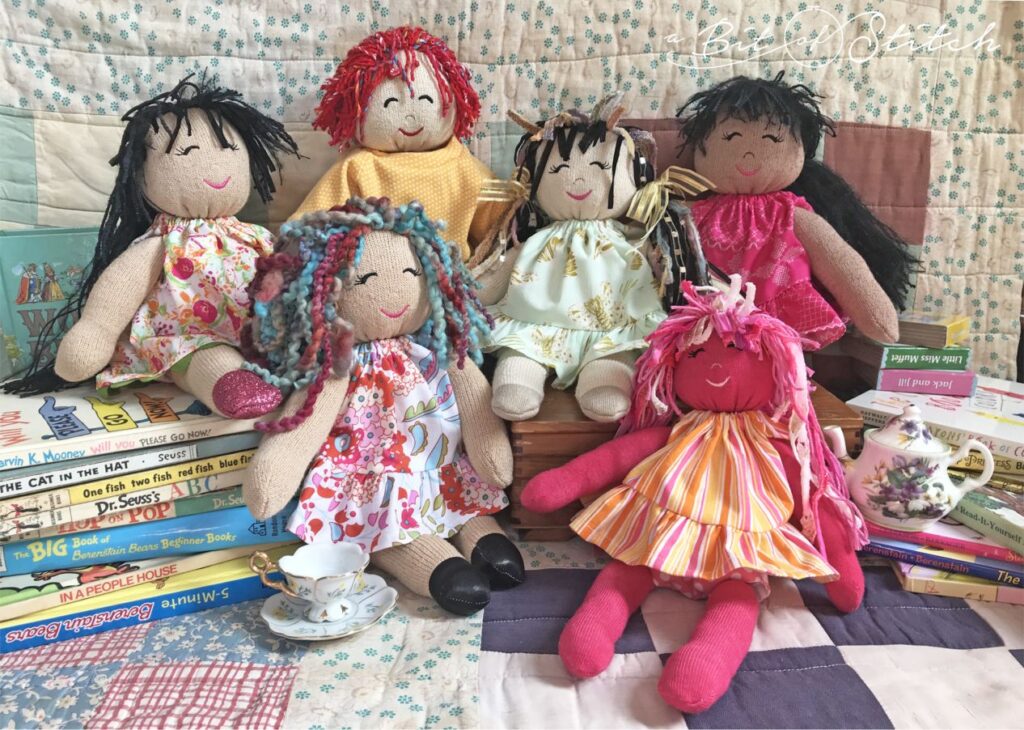
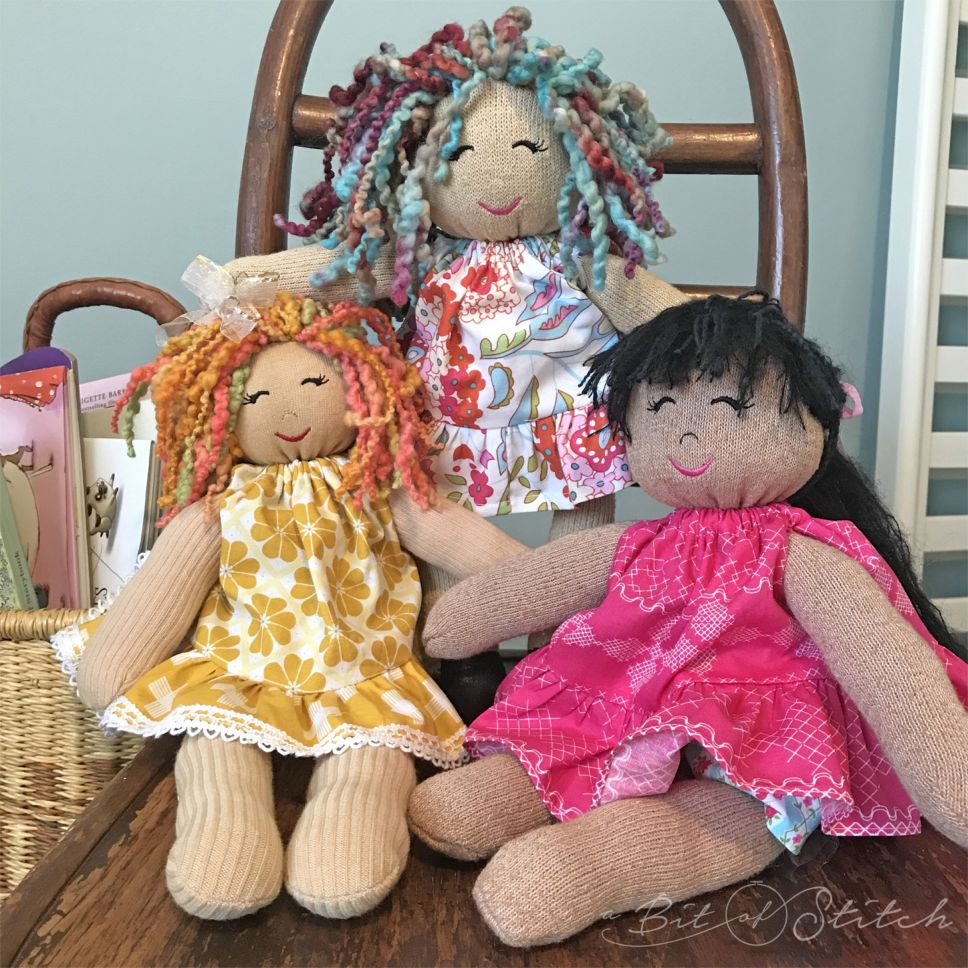
Get wild with your hair! All kinds of ribbons, trims, yarns, and other fancy stringy things can be used for hair. You’ll have a hair-raising adventure! 😅
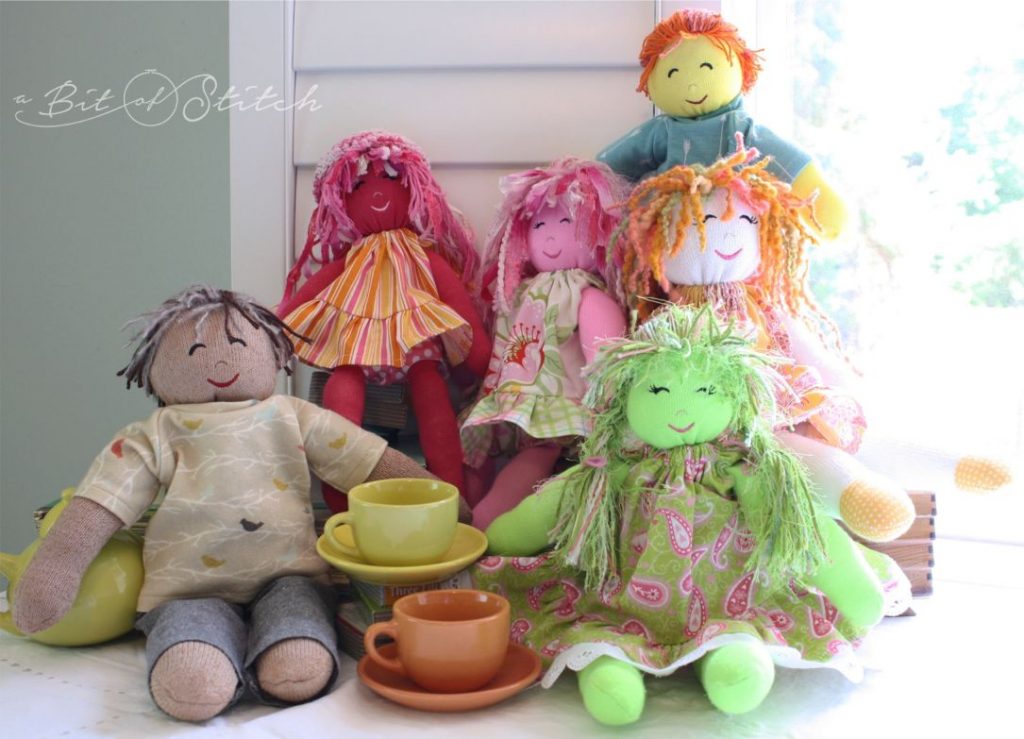
Read “Dress your Dolly” for a super easy little sock doll dress – coming up next on this blog! And stay tuned for more fun with Baby Lock’s Summer School with Alex Sorensen and Candice Ayala. More pretties to sew!
Thanks for reading!
Evy
P.S. Special “Enchanted Sock Doll” designs are now available as well – click HERE to see those!
5 replies on “Sock Dolls”
soooo cute thank you for the free download hope to make some with my babies!
I might have to make one for me! So cute!!!
Love this!
You’re super special dear Evy, thanks.
🤗