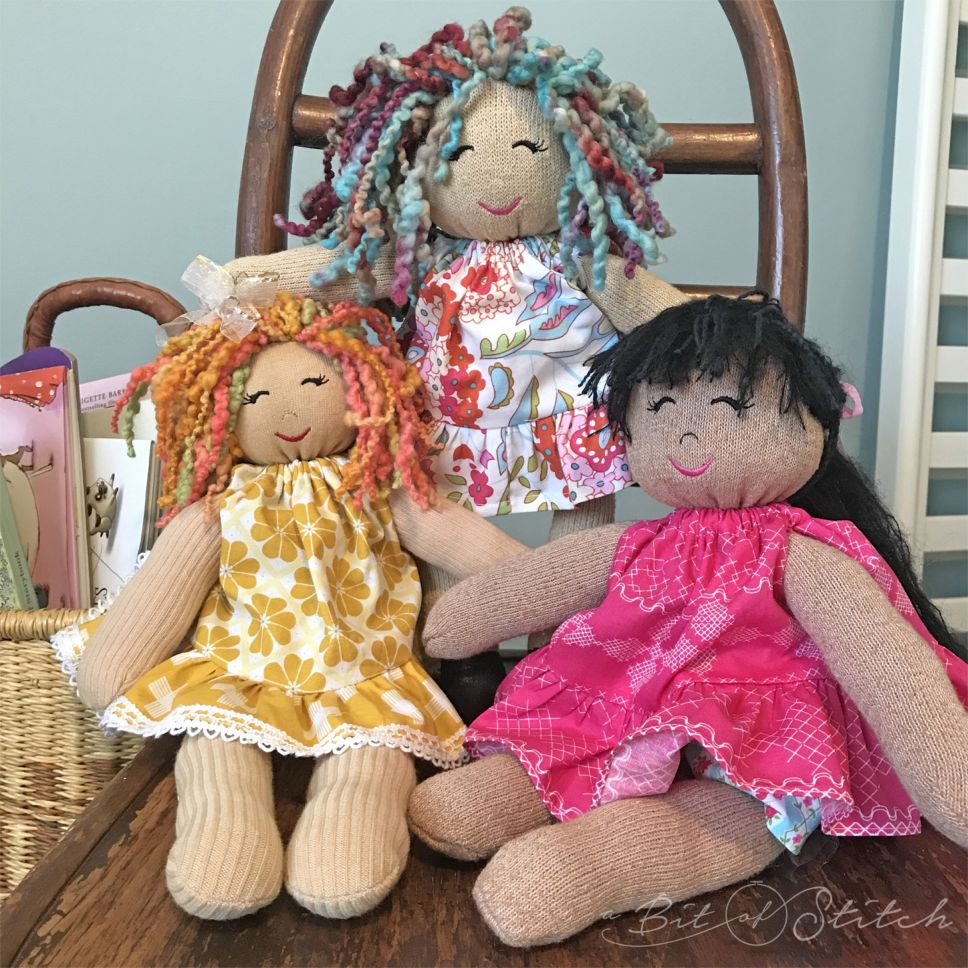
Have you made a sock doll or two or three? I think I’ve got about a dozen here, eep! They are just that fun to make! Now it’s time to make some little dresses, and that’s just as fun as making the doll. Here’s what you will need:
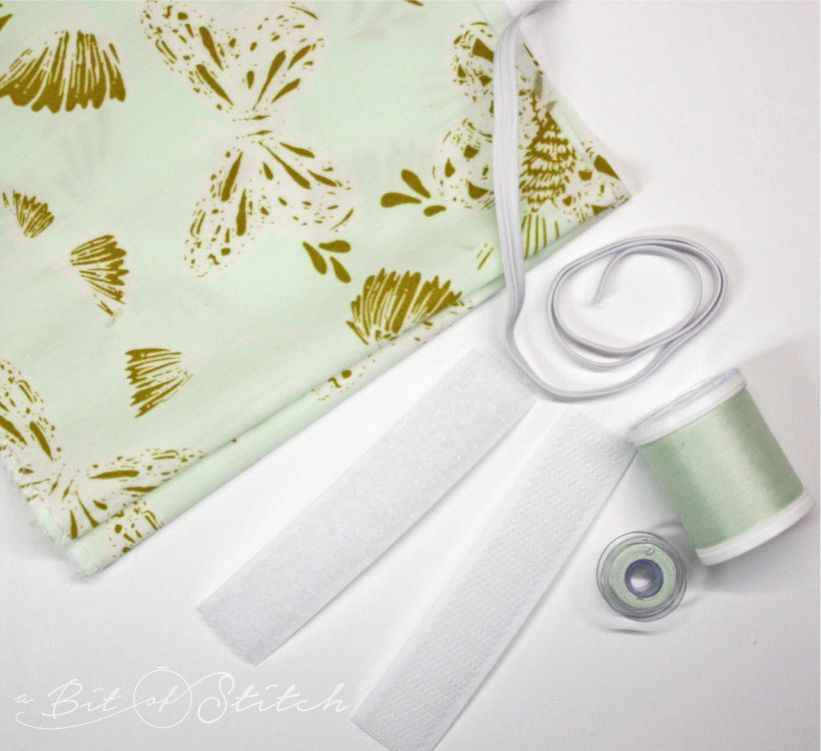
Materials for the Doll Dress
- Fabric* for the dress, cut according to the measurements below.
- For a dress without a ruffle: 7″ x 21″ dress fabric (for a doll made from a men’s or size large ladies’ sock) OR 6″ x 18″ dress fabric (for a doll made from a size small ladies’ or size large children’s sock)
- For a dress with a ruffle: 5″ x 21″ dress fabric and 3″ x 41″ ruffle fabric (for a doll made from a men’s or size large ladies’ sock; 41″ strip may be pieced) OR 4″ x 18″ dress fabric and 2.5″ x 36″ ruffle fabric (for a doll made from a size small ladies’ or size large children’s sock; 36″ strip may be pieced)
- No-Show Mesh Fusible Stabilizer (or Evy’s Sheer Cut-Away Fusible Stabilizer)
- Tear-Away Soft Stabilizer
- 10” length of ¼” wide elastic
- 3.5” length of ½” wide hook & loop tape
- Sewing thread to match fabric
- Buttonhole embroidery design from A Bit of Stitch (Click HERE to find the download containing the buttonhole designs as well as the sock doll face embroidery designs and patterns/instructions to make a pair of panties, t-shirt and pants; this download was free during the first week of publication.) If you don’t have an embroidery machine, hand embroidery patterns for the face are available as a free download – click HERE to find it.
*Quilt weight cotton is a good choice! One fat quarter is plenty of fabric for either dress option; if you are making the dress with a ruffle, you can simply cut two strips the length of the fat quarter and sew them together to make one long strip for the ruffle.
There are two options for this super easy doll dress – one with a ruffle and one without. The directions include both, outlined together. If you don’t want to make a ruffle, just skip over those parts.
For the dress without a ruffle, serge or zigzag the raw edges of the dress fabric block on all four sides. Narrow hem the lower edge. If you wish to add trim such as rickrack, pompoms or lace, sew it to the lower edge either as you hem or after it is hemmed and before proceeding.
Next, fold the short ends under 3/4″ and press. Then fold the top edge under 3/4″ and press. Now sew along the top edge 1/2″ from the fold to create a casing for the elastic.
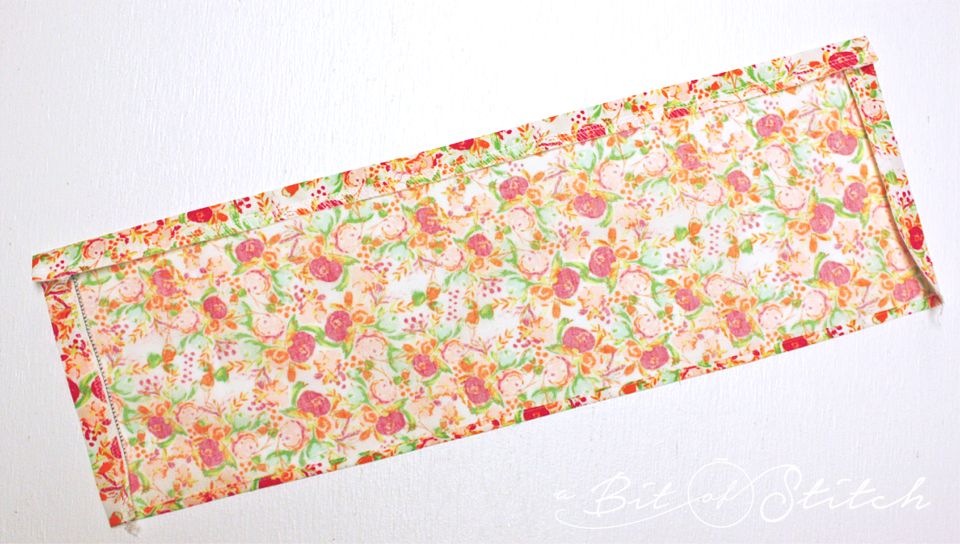
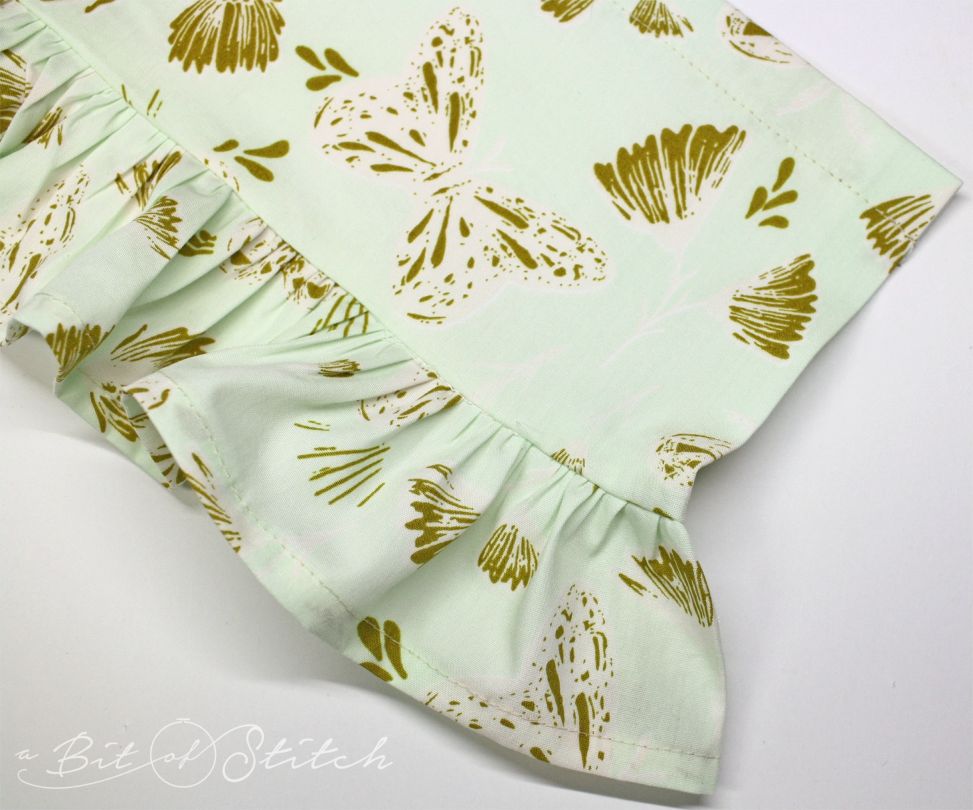
For the dress with a ruffle, serge or zigzag the short ends and one long edge (the top) of the dress fabric block, and serge or zigzag two short ends of the ruffle fabric strip.

Hem the other long edge with a narrow hem. This is a great chance to use your narrow hemmer foot! Fold the short ends of the dress fabric block under 3/4″ (including the ruffle area) and press. Fold the top edge under 3/4″ and press. Sew along the top edge 1/2″ from the fold to create a casing for the elastic.

Use the ruffle foot on your serger to easily attach the ruffle and serge the raw edges in one step. Otherwise, gather and sew the ruffle onto the dress fabric block as desired with about a 3/8″ seam allowance; then serge or zigzag the seam allowance selvages.
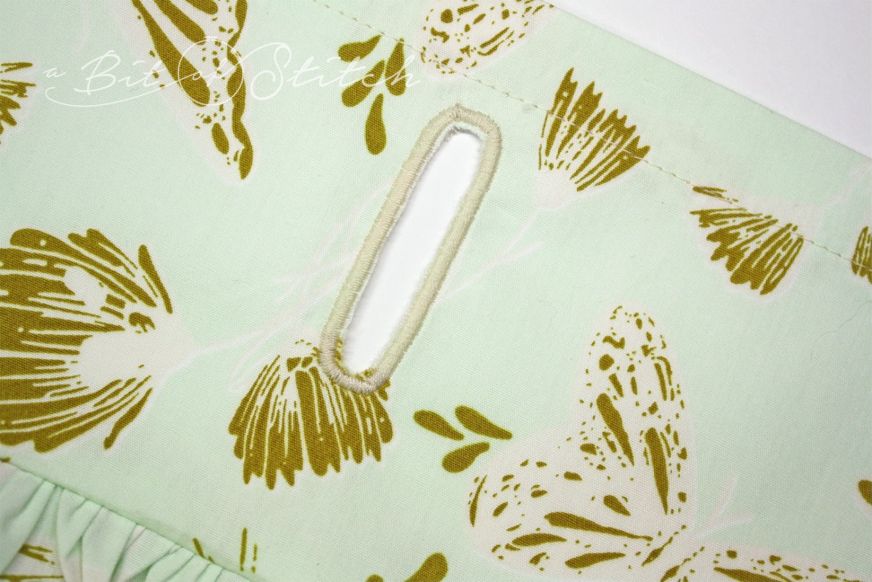
I discovered that a great big buttonhole makes fast and easy ARMHOLES for these little dresses! Unfortunately, my buttonhole foot didn’t allow me to make a buttonhole quite big enough… so my embroidery machine came to the rescue! I created a buttonhole design for you to use with this dress – the download also includes embroidery designs for the doll faces and PDF patterns & instructions for some additional doll clothes. You can find the download HERE if you haven’t already. (It was free during the first week of publication!) You can also use the onboard IQ designer features on your Baby Lock embroidery machines to make your own buttonhole, or you can draw a simple rectangle and just use a tight, wide zigzag stitch to create your own with your sewing machine. The buttonhole will need to be big enough for your doll to get her arm in easily; I found that a buttonhole almost 2″ long and almost 1/2″ wide worked nicely.

Fold the dress in half (short end to short end) to find the center point. Measure from the center point to the inside edge of the 3/4″ fold of fabric at one short end. Divide that segment in half again and mark that point on the right side of the dress; this is where one buttonhole will go. Mark the location of the other buttonhole by finding the halfway point between the center point of the dress and the inside edge of the 3/4″ fold of fabric at the other short end.
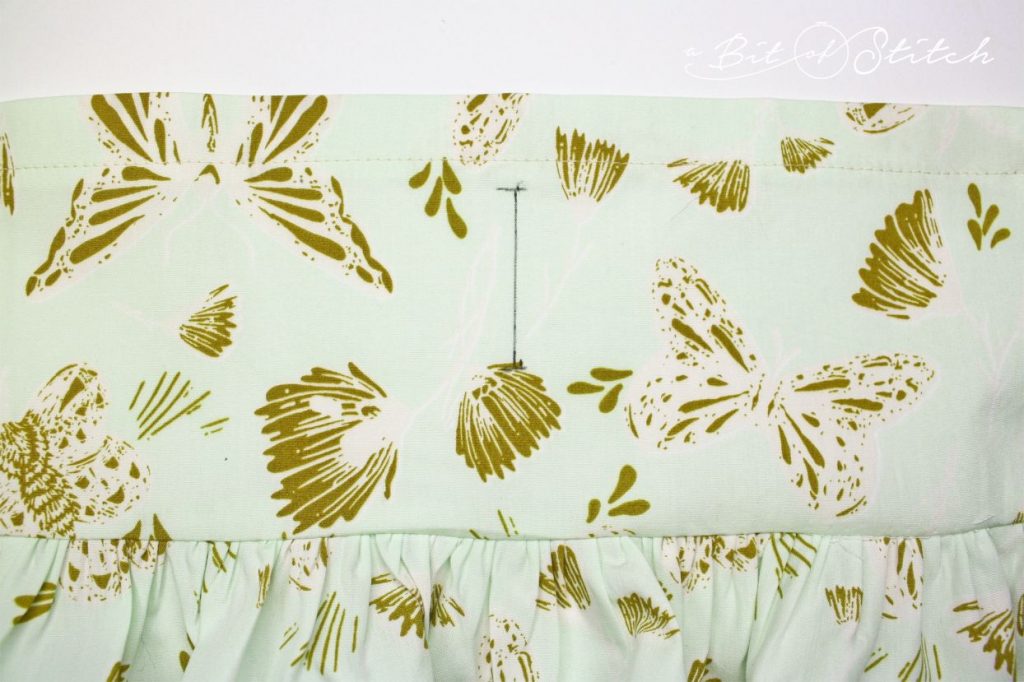
Mark the placement area for each buttonhole (one for each armhole) clearly. The buttonhole should begin 1/4″ below the casing stitching line as shown above.
Hoop a piece of No-Show Mesh Fusible Stabilizer fusible side up in the hoop. NOTE! If you use a 5×7 hoop and rotate and move the first buttonhole design toward the top, you should be able to fold the fabric in the middle of the dress and easily embroider both buttonholes in the same hooping as shown below.
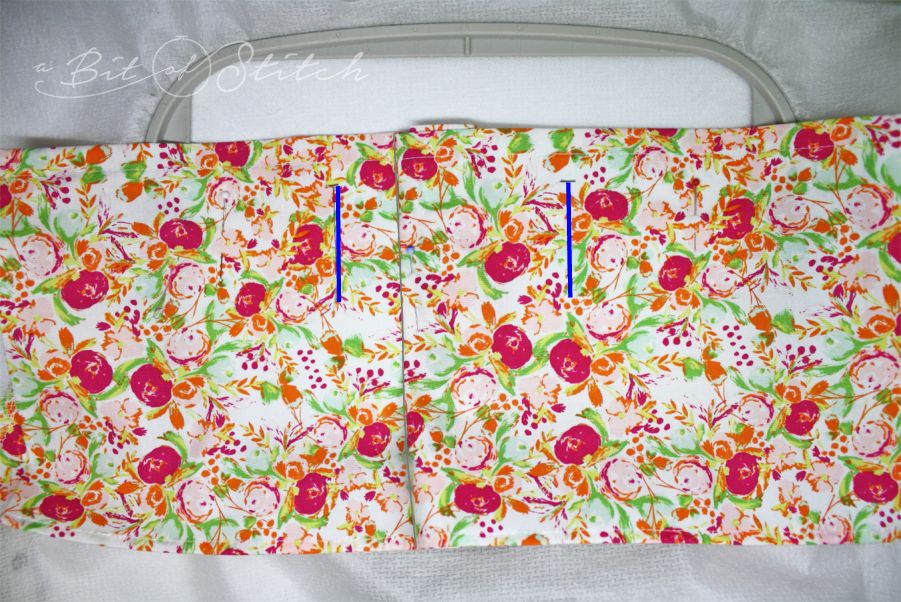
You can see that I’ve pinned the dress to the hooped stabilizer – making sure the pins are well away from the stitching area – and folded the excess dress fabric into a roll between the two buttonhole placement lines which are indicated in blue above.
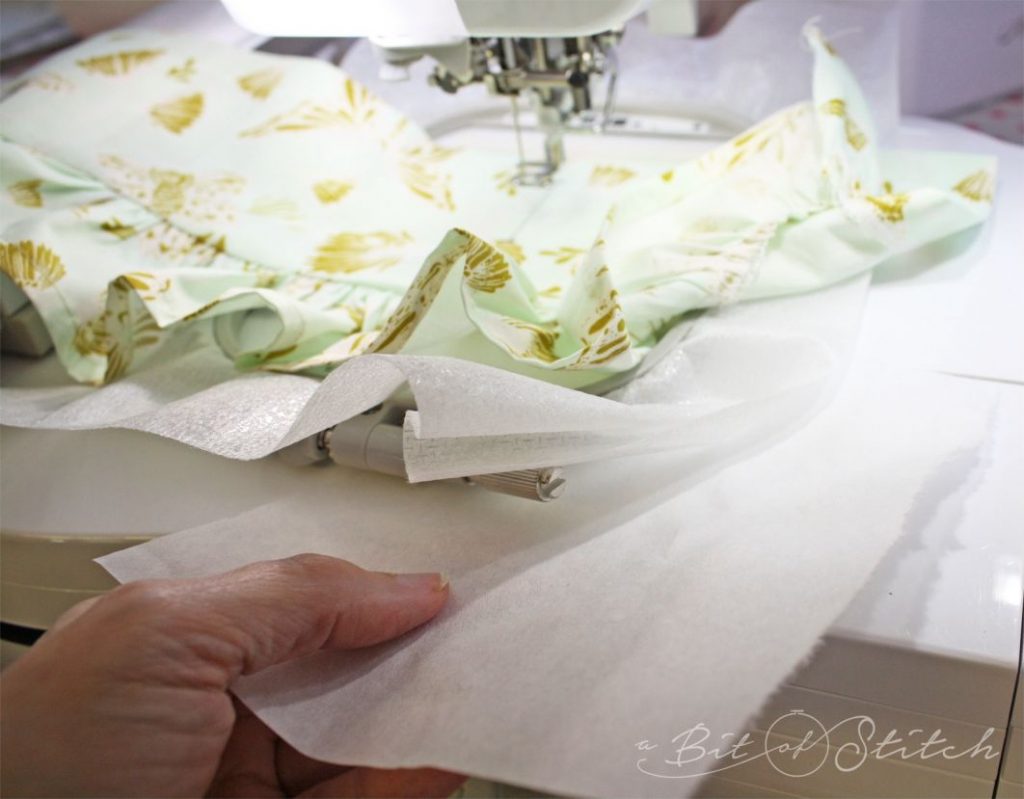
Before you begin embroidering, slide a piece of regular tear-away soft stabilizer under the hoop.
If you are using your IQ Designer onboard software to create buttonholes, follow the same hooping and stabilizing tips as listed above.
If you are zigzag stitching, place a piece of tear-away stabilizer under the fabric before sewing the buttonholes.
Rip off the tear-away stabilizer and then trim away the no-show mesh (sheer cut-away) stabilizer. Carefully cut out the area inside each buttonhole. Press from the wrong side with a press cloth.
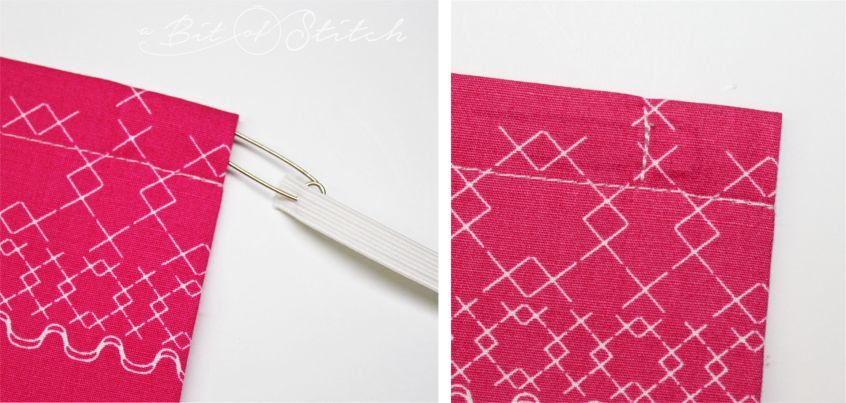
Use a bodkin or safety pin to insert elastic into the casing at the top of the dress. Pull the elastic until the other end is just inside the opening on one end of the casing. Sew across the casing through the elastic to secure.
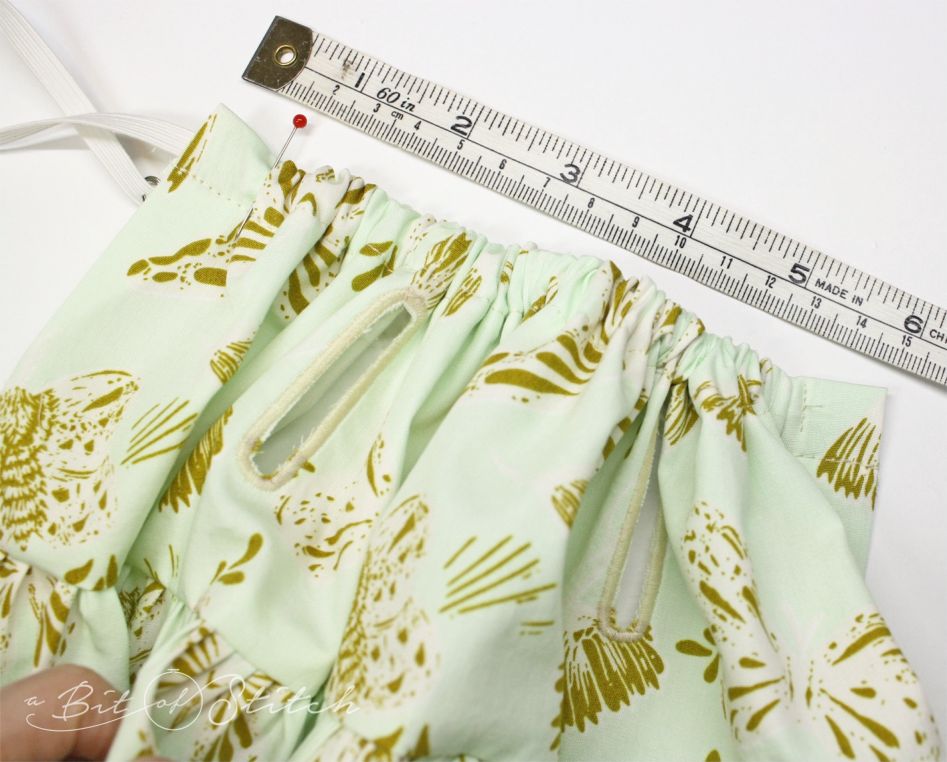
Pull up the elastic and gather the fabric until the top of the dress measures about 6″ as shown above. (Fit to your doll’s neckline; keep in mind that the dress will need to overlap 1/2″ in the back.) Sew through the casing and elastic at the other end of the casing to secure. Clip off the excess elastic tail. (If you pull the elastic tightly, you can clip it off closer to where it is secured, and the end will be hidden inside the casing.)
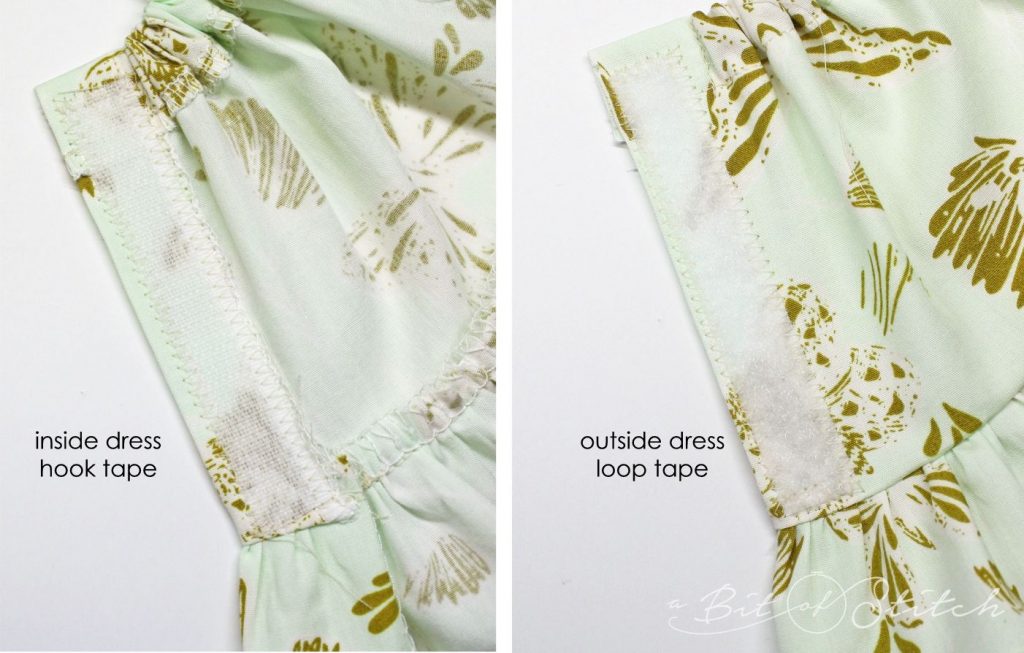
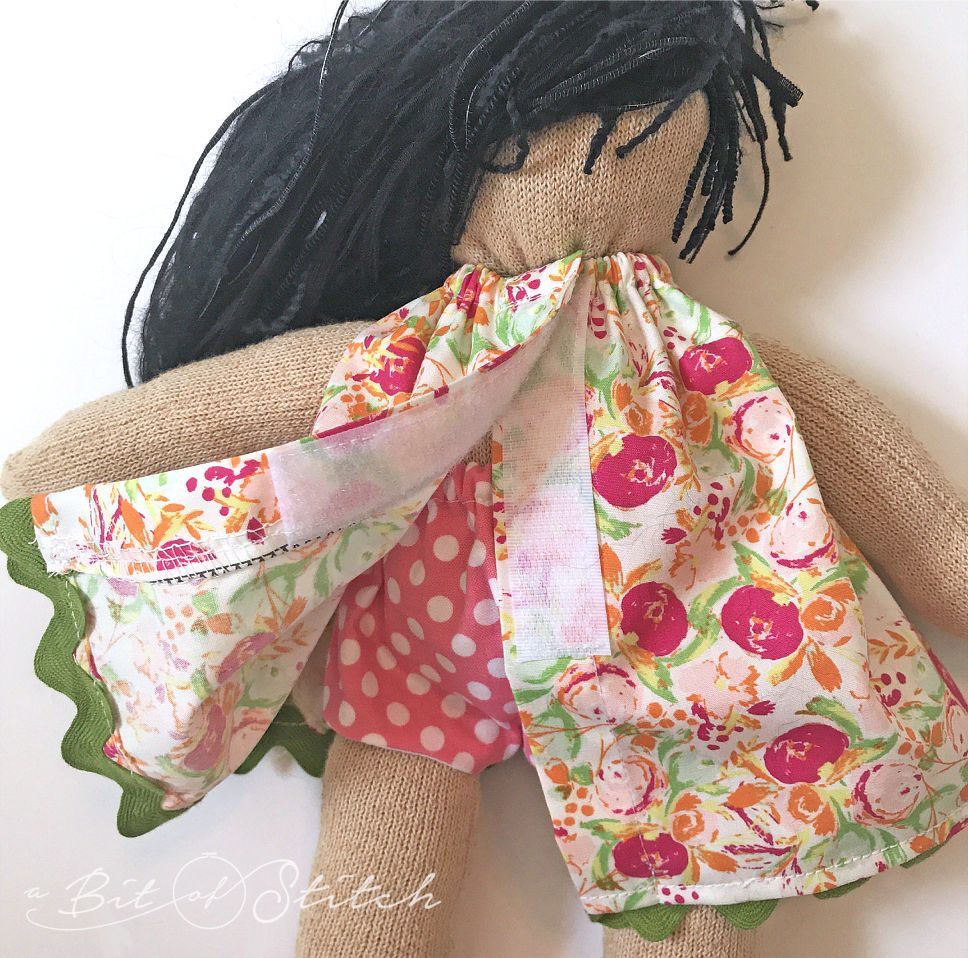
To close, the dress will flap over itself at the center back, secured with hook and loop tape. Looking at the back of the dress (right side out), the left side should overlap the right. Sew the hook tape inside the dress left side along the center back edge on the 3/4″ folded area. Sew the loop tape onto the outside of the dress right side on the 3/4″ folded area. NOTE! Straight stitching and zigzag stitching both work well; straight stitching will look a little neater, but if you have an energetic doll owner, zigzag stitching may be a bit sturdier! 😉
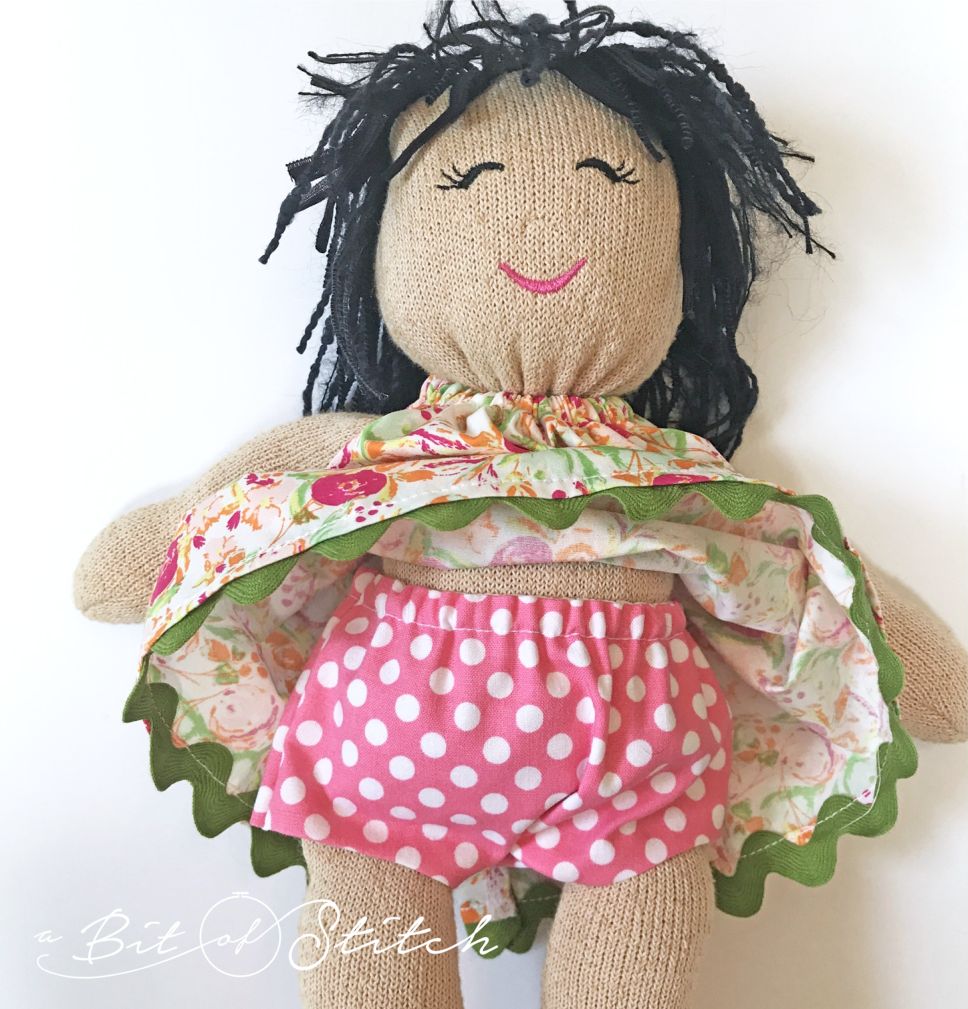
Sock dolls don’t really need underwear – and if your little one is like my granddaughter, those generally end up under the bed anyway – but if you’d like to make your sock doll some panties, the pattern and instructions are included in the same download where you got the buttonhole and sock doll face designs!
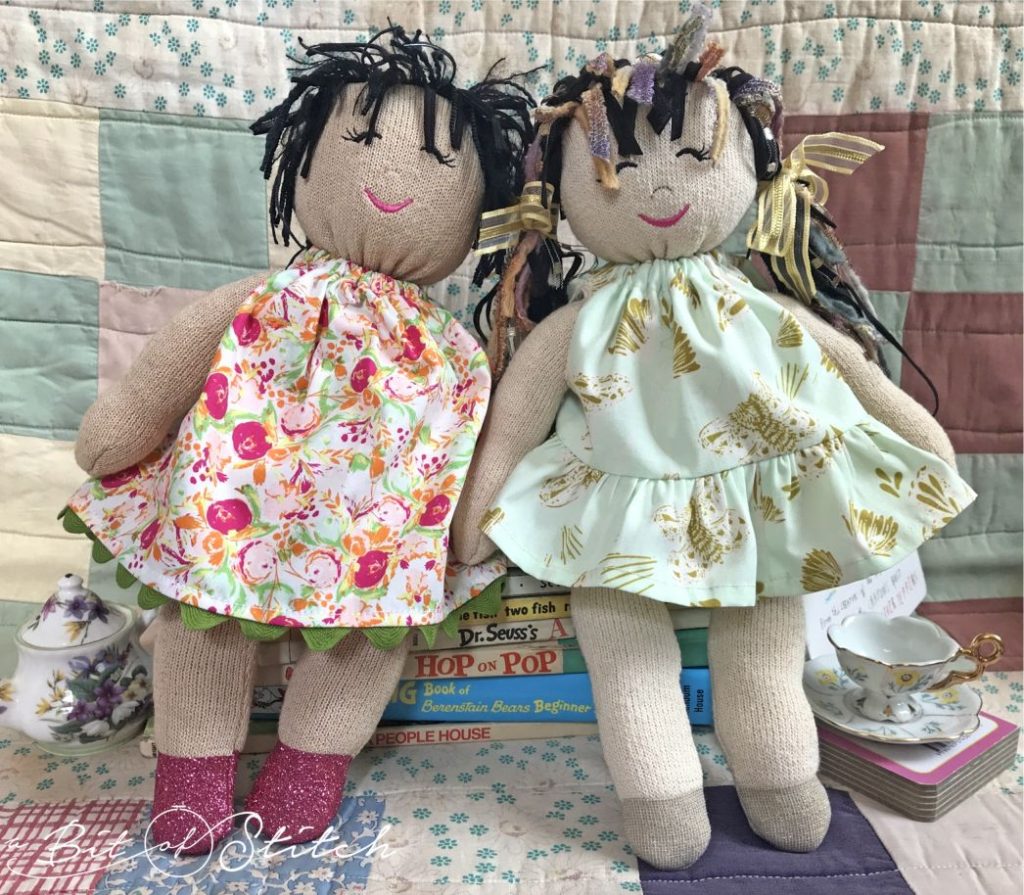
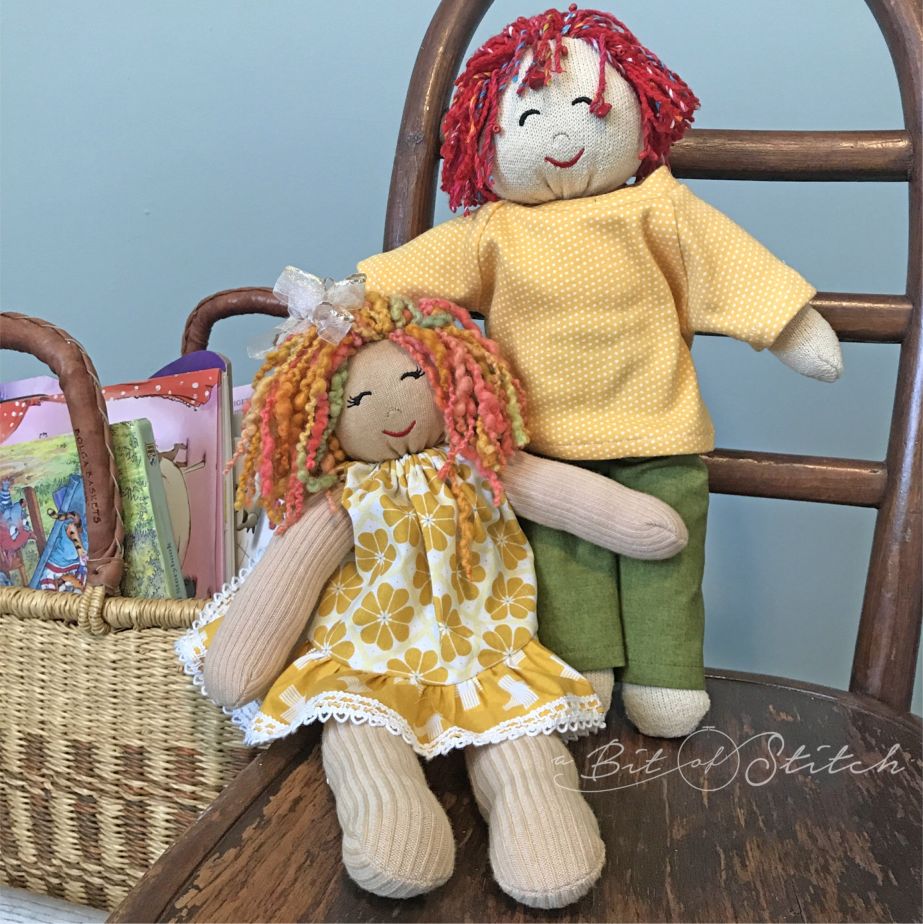
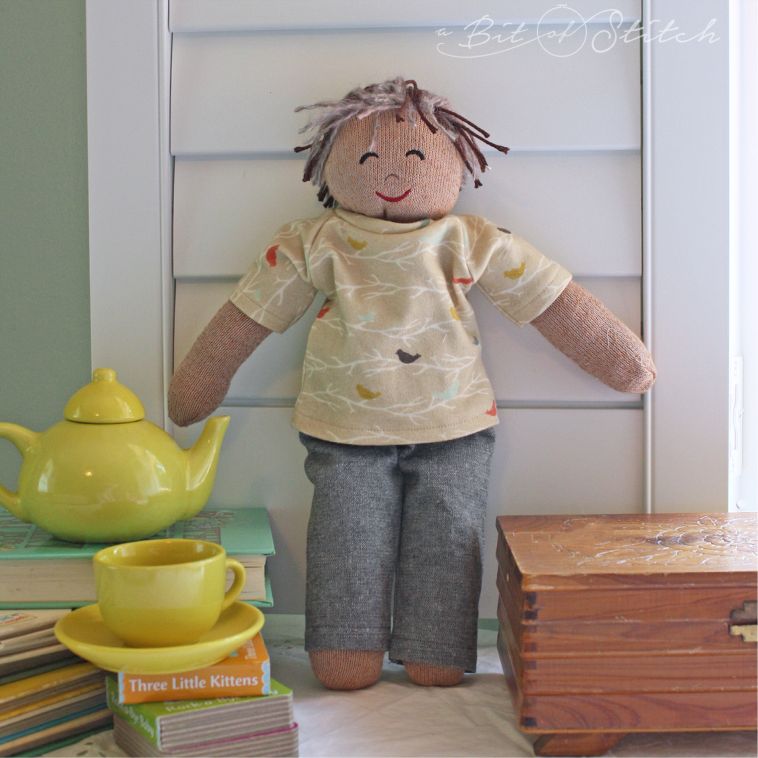
I hope you enjoyed this project! Dolls are not just for little girls… make a few for the little boys you know too! The previously mentioned download also includes boy face designs in two sizes, as well as patterns with instructions to make a t-shirt and pull-on pants as shown below. Aren’t they adorable?
Thanks for reading!
Evy