
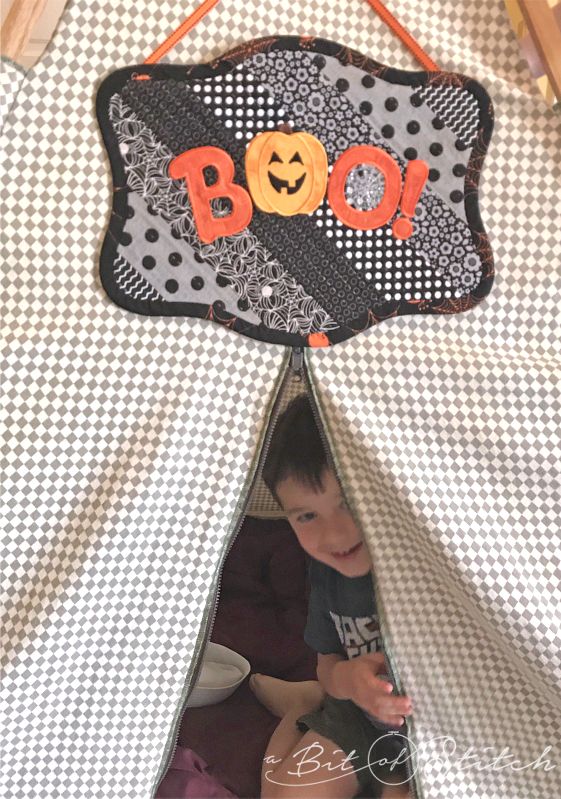
Let’s make a cutie-boo sign to hang up for Halloween! Here’s what you’ll need:
- Nine 3” x 18” strips of quilt weight cotton fabric (black & white or black & gray prints – or any color combination you fancy)
- 17” x 14” piece of quilt weight fabric for the backing
- 2.5” x 13” piece of matching backing fabric for the dowel hanger
- 2.5” x 52” (approximately) of bias cut fabric for binding
- 18” x 18” (approximately) piece of lightweight quilt batting
- 18” x 18” piece of sheer cut-away stabilizer
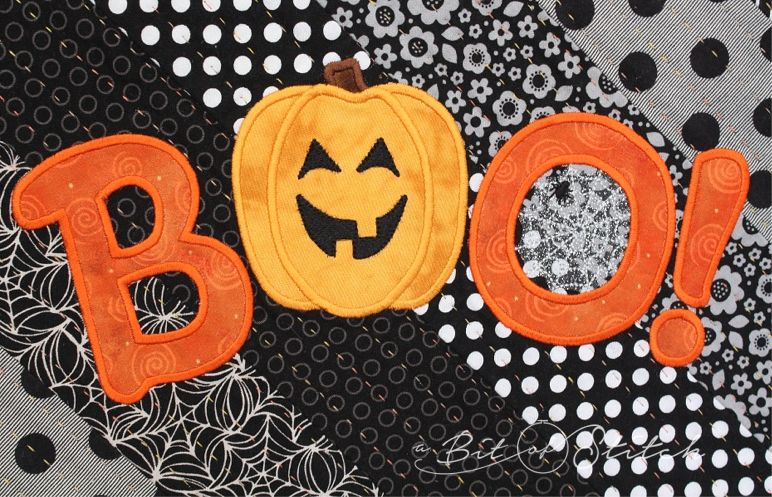
- Pumpkin Boo embroidery design – Click HERE to find the design, or use something suitable
- FREE Boo Sign pattern – Click HERE to find the download
- Fusible tear-away stabilizer
- Appliqué fabrics and embroidery thread (as required by your design)
- ¼” wood dowel (at least 13.5” long)
- 20” of narrow grosgrain ribbon (for hanger)
All the fabrics except for the bias binding should be cut on the straight grain. Note: I like to fold my bias binding in half, sew it to the wrong side of the project with a ½” seam allowance, and then wrap the folded edge around to the front where I use the hemming stitch on my Baby Lock sewing machine to secure it. If you have a favorite way of binding your quilted projects, then by all means use that instead and cut your bias binding accordingly!
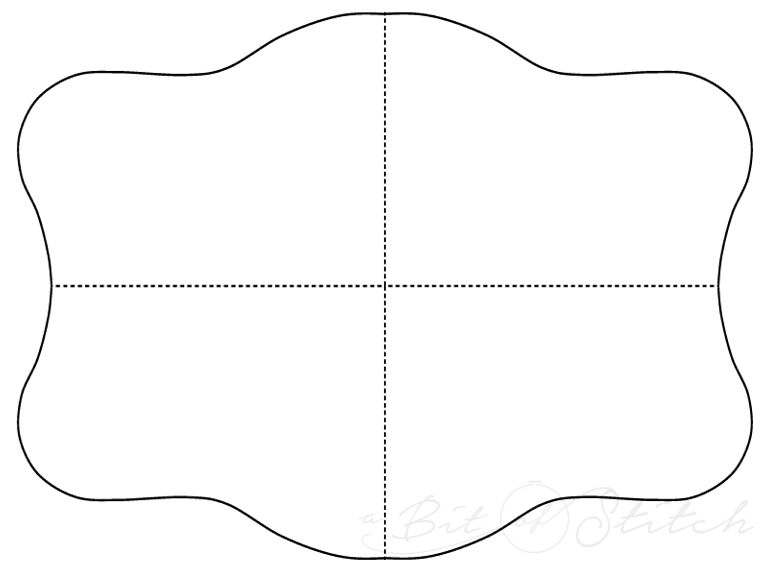
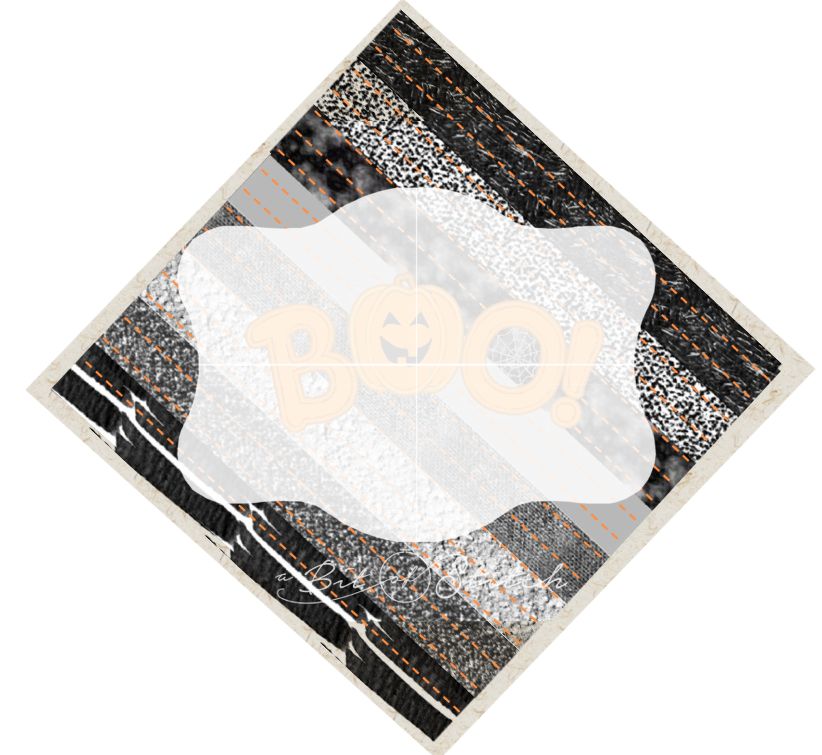
Download the free Boo Sign pattern and print out four copies. Cut them out on the dotted and solid lines. Bump the dotted lines together as shown below and tape the paper pieces together. At this point, I like to make a tissue paper pattern from my joined-together paper one. (Tissue paper is easier to see through when trying out the placement over something with embroidery on it!)
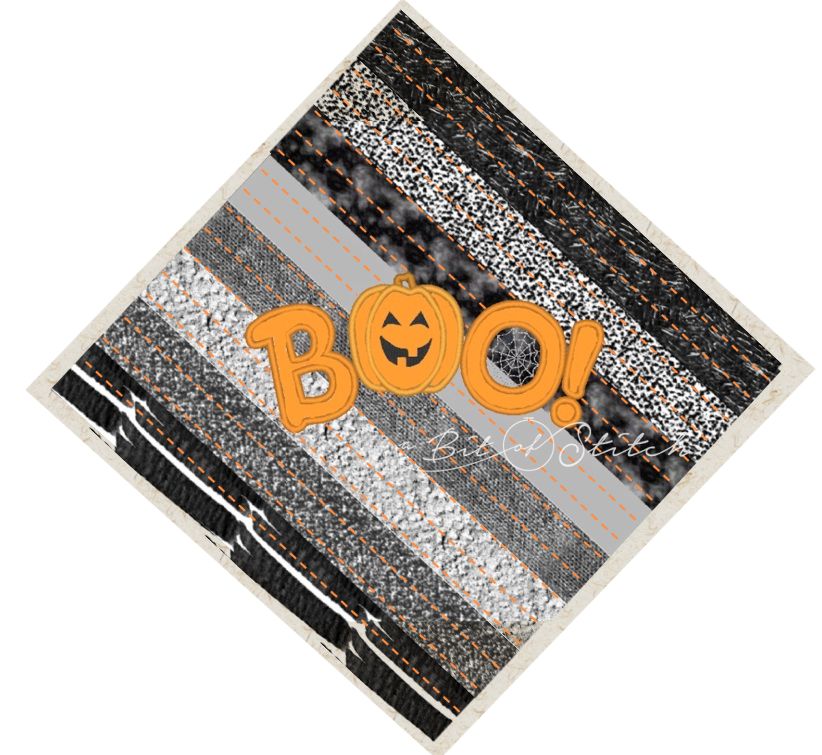
Sew the nine 3” x 18” strips of fabric together with no more than a ½” seam allowance. Press the seam allowances open. Turn the finished piece diagonally and wrong side up. Cut a piece of fusible tear-away stabilizer larger than your 6×10 hoop and fuse it to the wrong side of the fabric, centered as shown below.
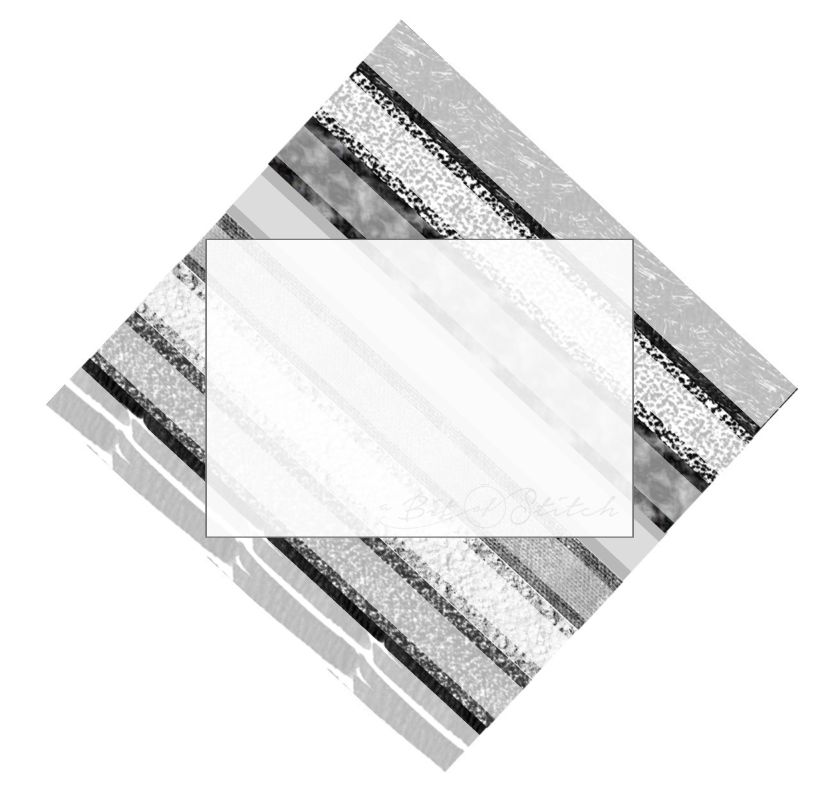
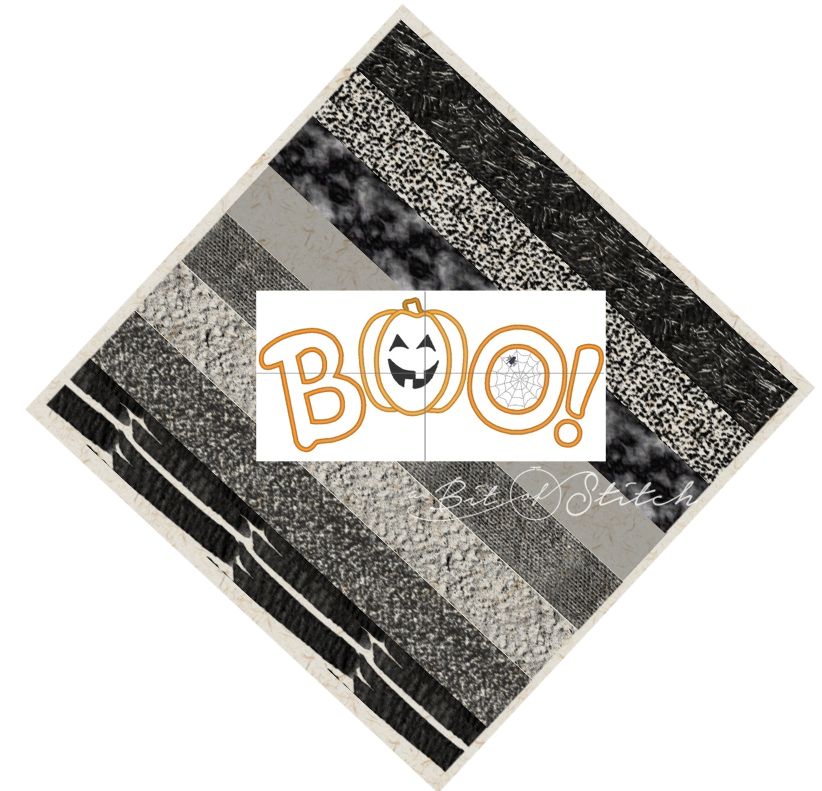
Print out the design template included with the Pumpkin Boo design. Center the printed template within the fabric block as shown below, and hoop accordingly.
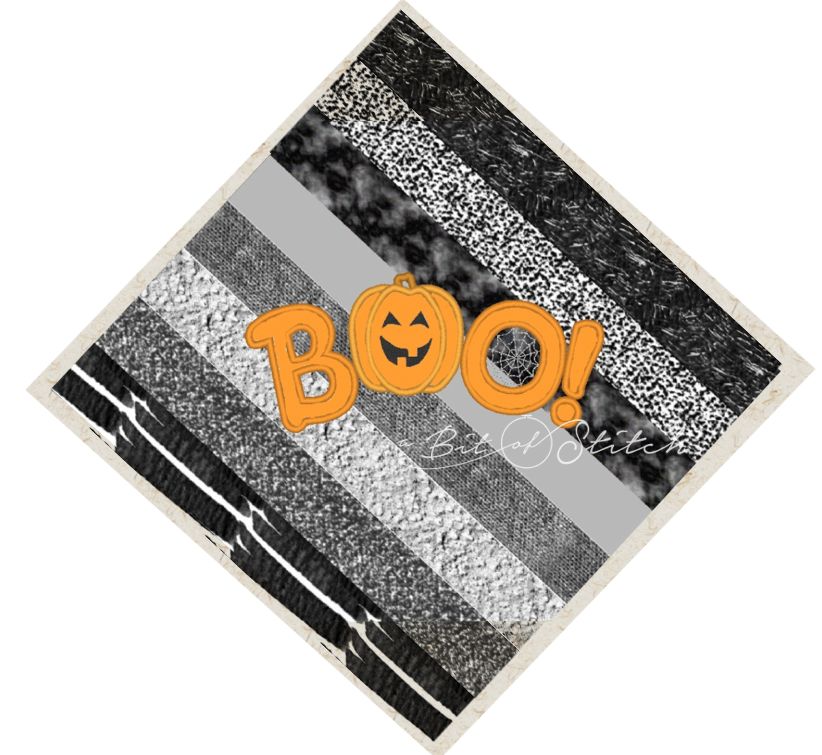
Embroider the design. Then remove the stabilizer and press from the wrong side.
Lay the block of quilt batting over the sheer cut-away stabilizer, and place the embroidered, pieced fabric block on top, right side up. Quilt as desired, skipping over the embroidery.
You know how much I love my Baby Lock Sashiko machine! Check out these sweet stitches! I used a variegated Madeira Cotona thread in autumn tones. If you’ve never done the “Sashiko Hop” while quilting over embroidery and appliqué designs, click HERE to view my little video.
Now you are ready to cut out the quilted piece according to the pattern. This is where a tissue paper pattern comes in handy.
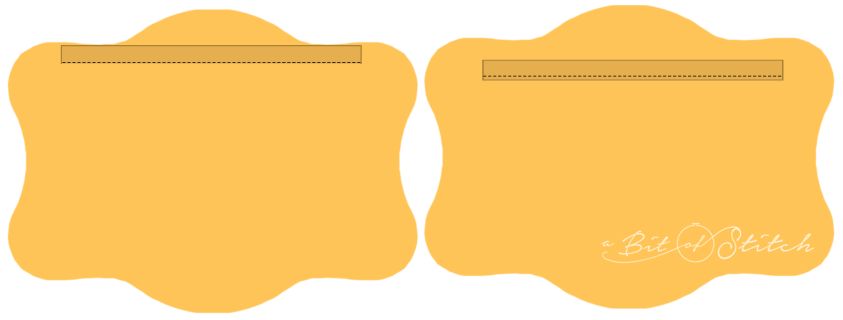
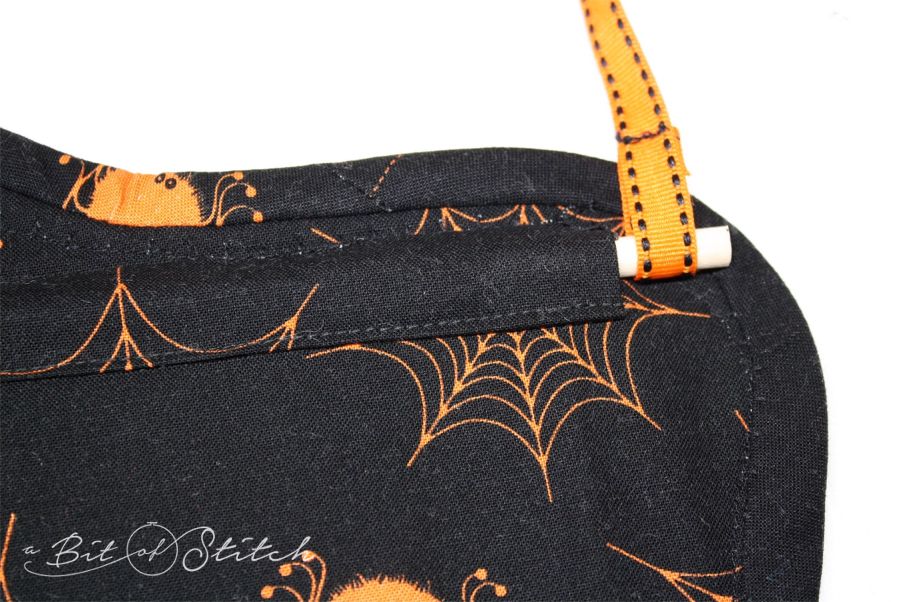
Cut out the backing fabric according to the pattern as well. Fold the 2.5” x 13” strip of matching fabric in half lengthwise, wrong sides together, and sew the short ends closed with a ¼” seam allowance. Turn right side out and press along the fold. You will now have a long, skinny fabric pocket.
Position it so that the opening is at the bottom, and then place the aligned long raw edges (of the opening) about 1.75” down from the center top edge of the backing fabric. Make sure the fabric strip is straight (horizontally), and sew the raw edges to the backing fabric with a ¼” seam allowance. Fold the strip down over the seam and sew again as close to the folded edge as you can to create a dowel cover on the right side of the backing fabric.
The illustration below on the left shows the first seam, folded edge facing up. The illustration below on the right shows the second seam.
Apply the backing fabric with the attached dowel cover to the wrong side of the quilted boo fabric. Baste together around the edges if desired. Bind the raw edges with bias binding in the binding method you prefer. (See the comments in the first paragraph about my favorite method!)
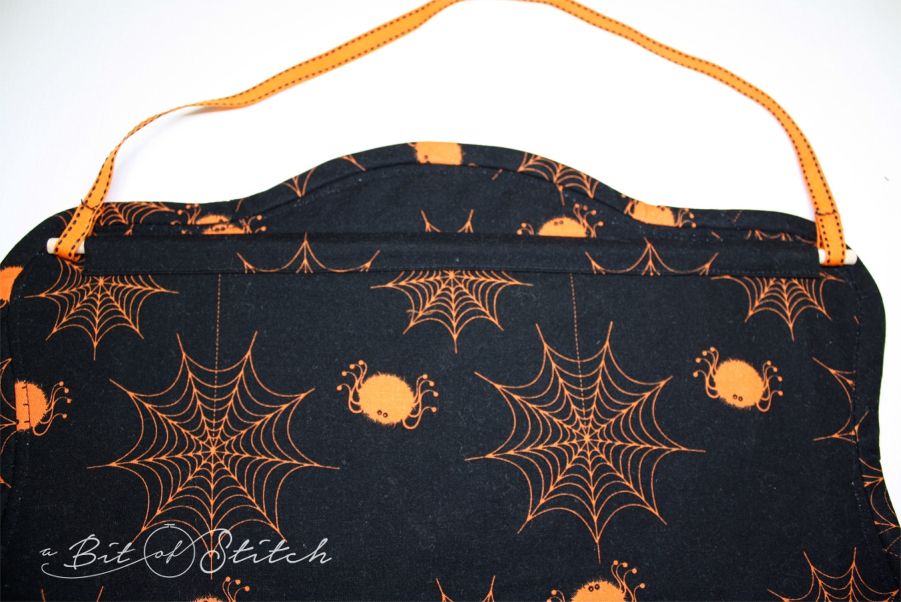
Here’s the finished back. You can see how I attached my dowel cover a little better in this photo:
Sew loops into both ends of the grosgrain ribbon, big enough to easily slip over the dowel.
Now go hang up your cutie-boo sign and delight a little cutie!
Happy booing to you too! Thanks for reading! 🙂
Evy