Let’s make straps for your tote! Everyone has their favorite way to make straps, and I vary them according to my project. I decided to go with an old standby for this one because I wanted to put Sashiko stitching on my straps. (Show off that sweet stitch you know, ha!) This meant I wanted something firm (firmer than Soft & Stable) but soft (not as rigid as a strapping product) and pretty much fool proof. This is what I did:
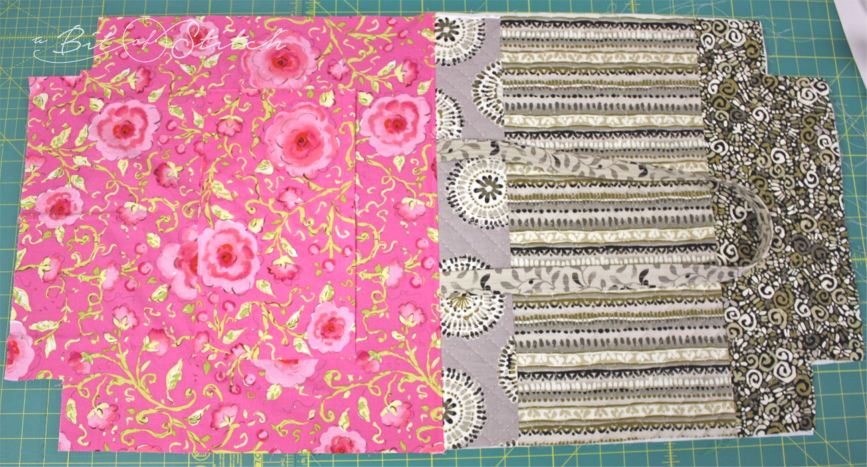
Cut two pieces of very firm cut-away stabilizer 1” x 33”. Cut two pieces of fabric 3” x 33”.
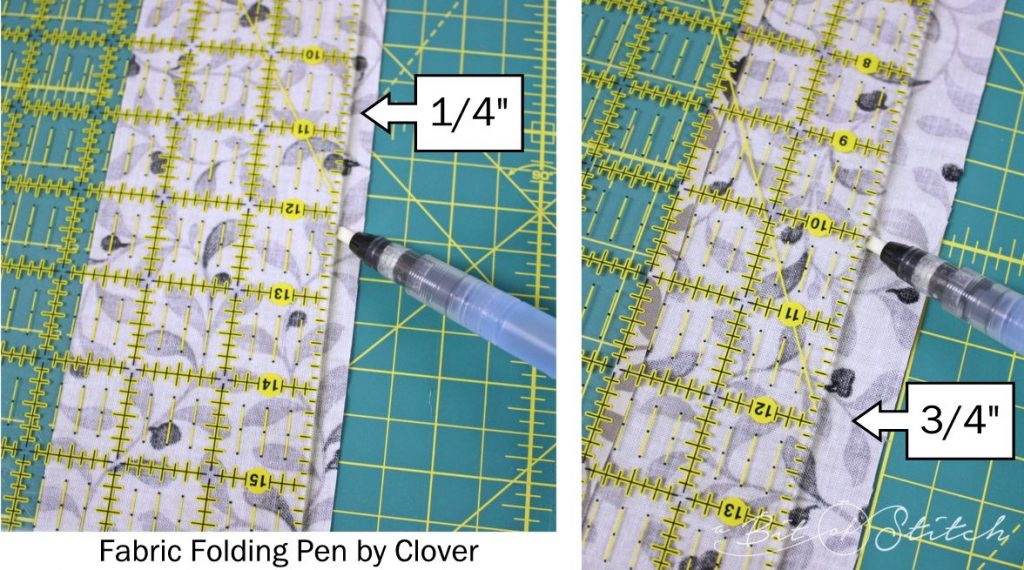
Get out your Clover Fabric Folding Pen. I’m not really a gadget person, but this is a gadget that actually does what it says it will so it’s got a place of honor in my gadget box! Draw a line ¼” away from the raw edge down one long side of each fabric strap. Then draw a line ¾” away from the opposite side. Fold under and iron firmly both edges along the marked lines.
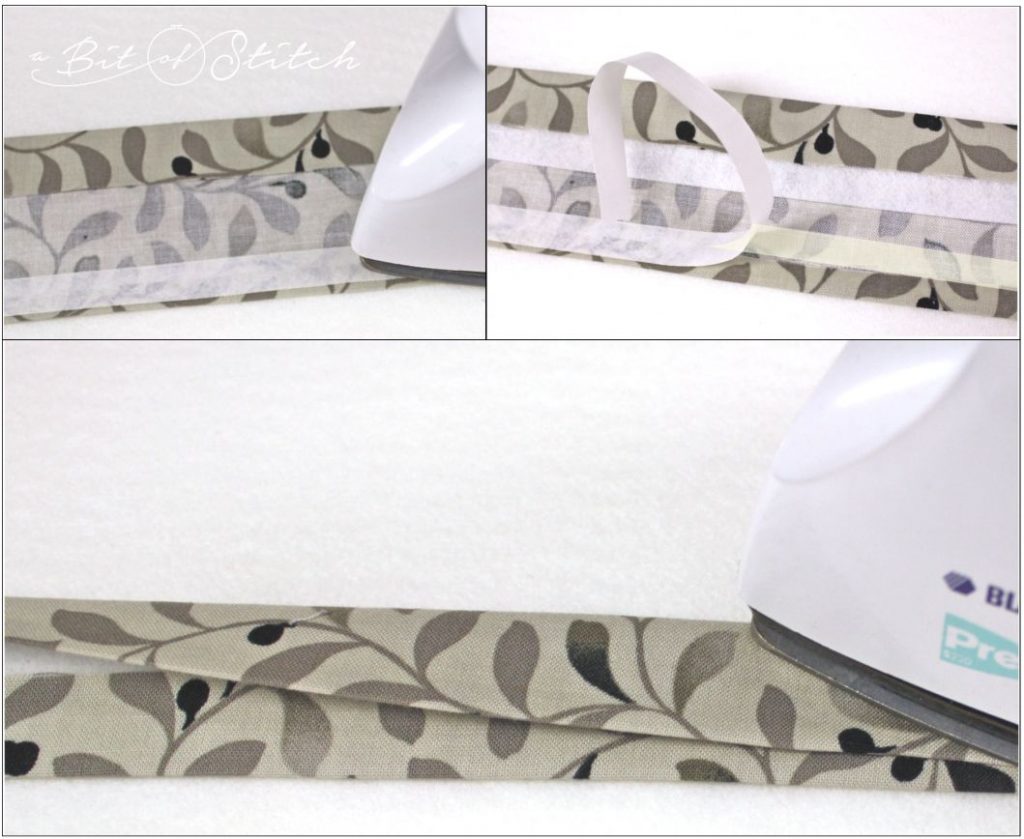
Align a strip of narrow fusible web tape on top of the ¼” folded under side of each fabric strap. Fuse it on. Tuck the 1” wide very firm cut-away strap snugly into the ¾” folded side. Peel off the fusible web paper backing; wrap the ¼” folded edge over the cut-away piece and iron to fuse the layers together. Keep the fabric wrapped snugly around the cut-away as you work.
Sometimes that paper backing has a little fit and decides to peel off in bits. ARGH. To help prevent this, peel it away slowly and keep your fingers very close to the place you are peeling. I sort of just push it off with my finger, which seems to work nicely.
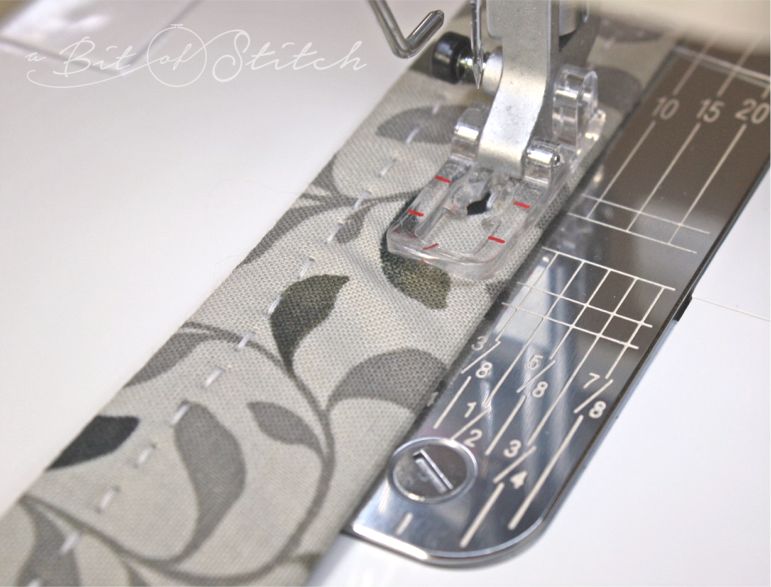
Stitch down both sides of the strap, sewing from the right side (side without the folded fabric overlap). You can use a decorative stitch or you can use your Baby Lock Sashiko, yee-ha! You’ll want to be sure that the folded side underneath is caught in one of the rows of stitching so space your rows accordingly.
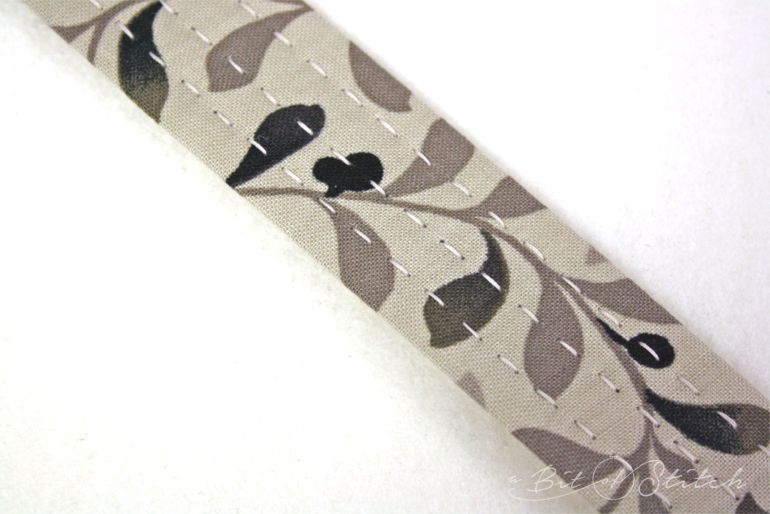
Three rows look nice, don’t you think?
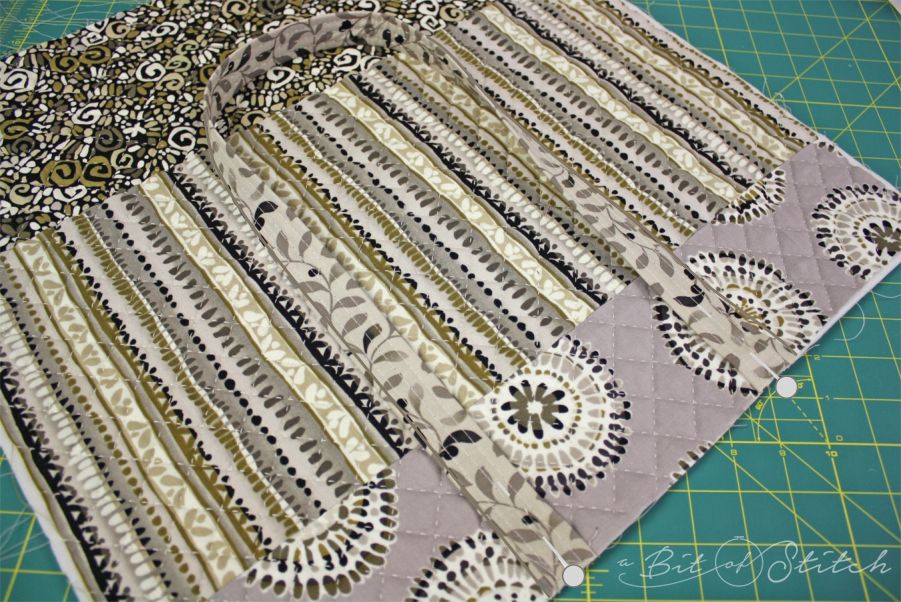
Next it’s time to work on the lining. You’ve already cut out two blocks of lining and removed 3″ at the corners for boxing plus trimmed ½” from the top edges, right? Okay, let’s add a pocket.
Cut your pocket any size you want. I made mine 8” x 13” so that I could divide it into two pockets – one for my phone, one for my sunglasses. (These are the things that always get lost in the bottom of my tote bag!)
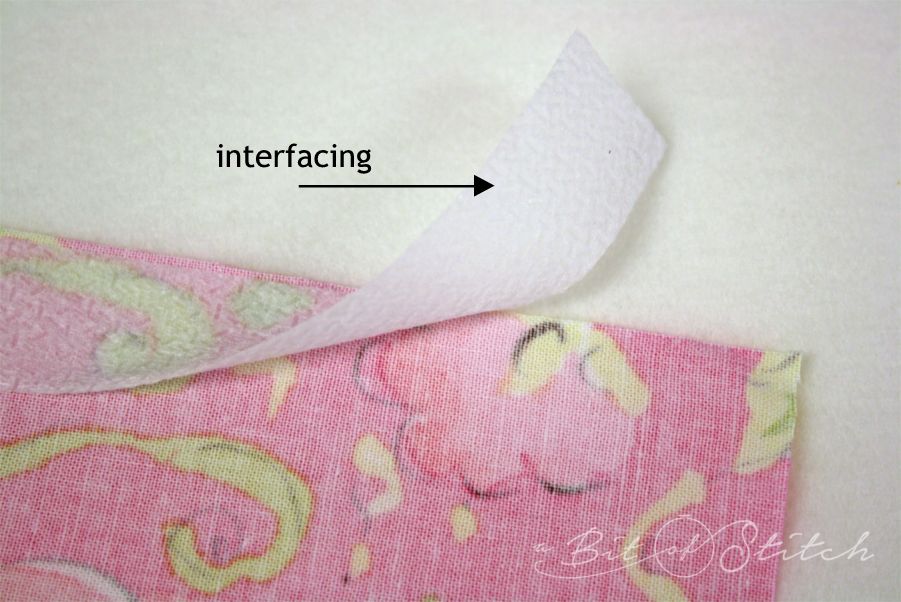
For best results stabilize the top edge of the pocket with some type of iron-on interfacing or sheer cut-away. I cut my stabilizer 1” wide and the width of the pocket, 13”.
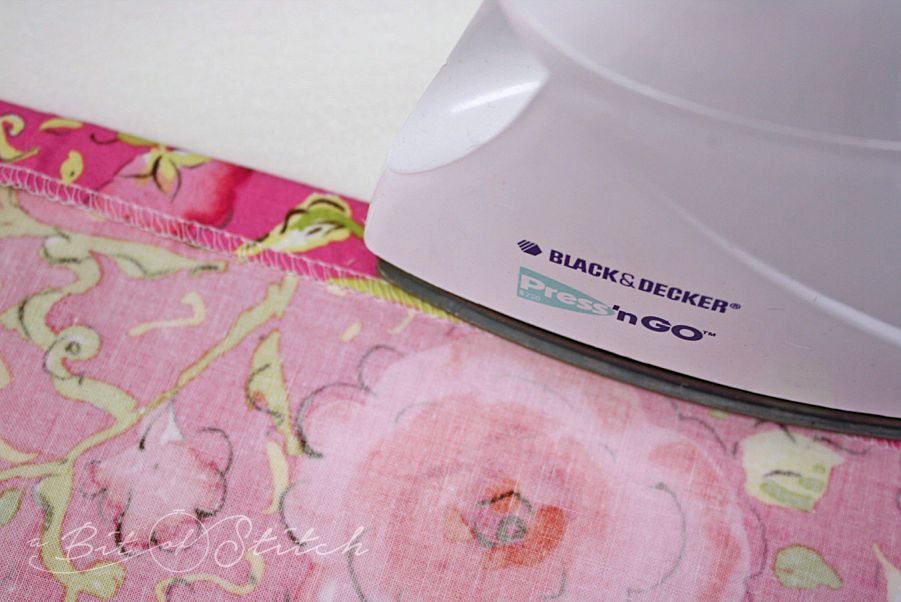
Serge or zigzag across the pocket’s top edge. Fold over and press.
Use your fabric folding pen again to draw lines ½” from the three raw edges of the pocket. Turn under and press.
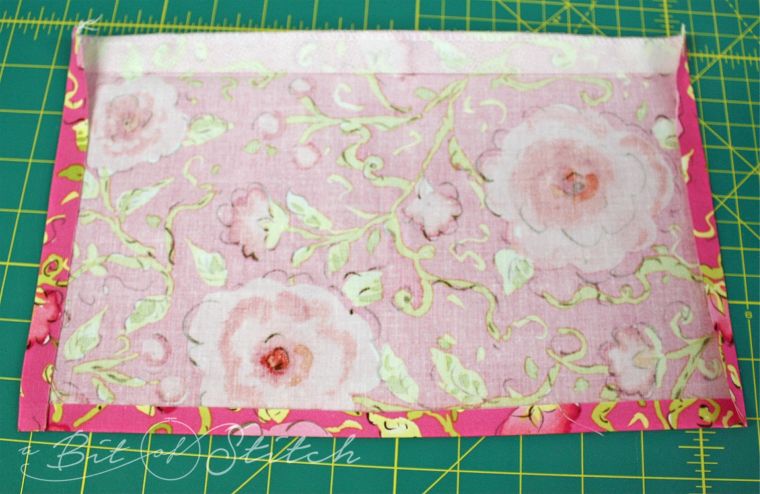
Turn back (right sides together) the stabilized top edge of the pocket and sew down with a ½” seam allowance. (Use the fold mark as a guide. Be sure to back-tack. Clip the corner and turn the top edge right side out. Press firmly. Sew across the pocket top about ¾” from the top edge to finish.

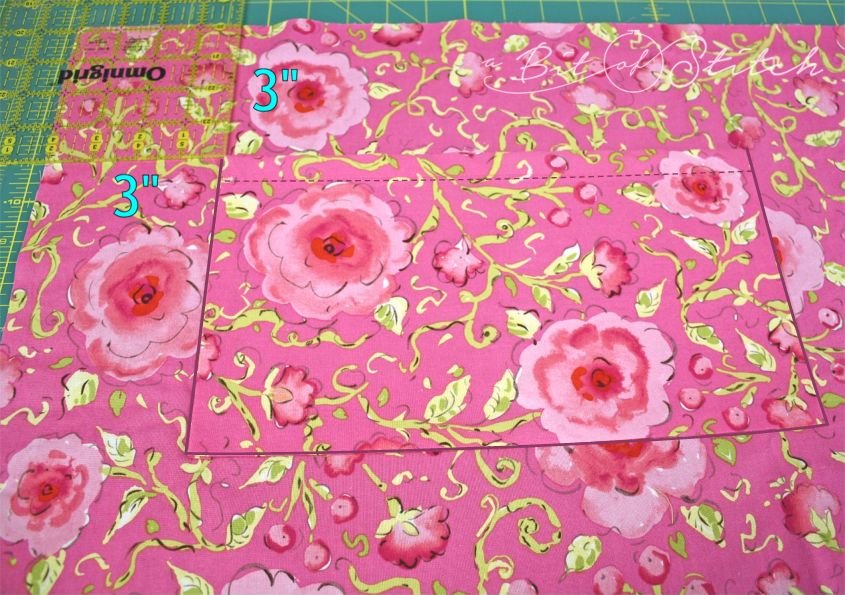
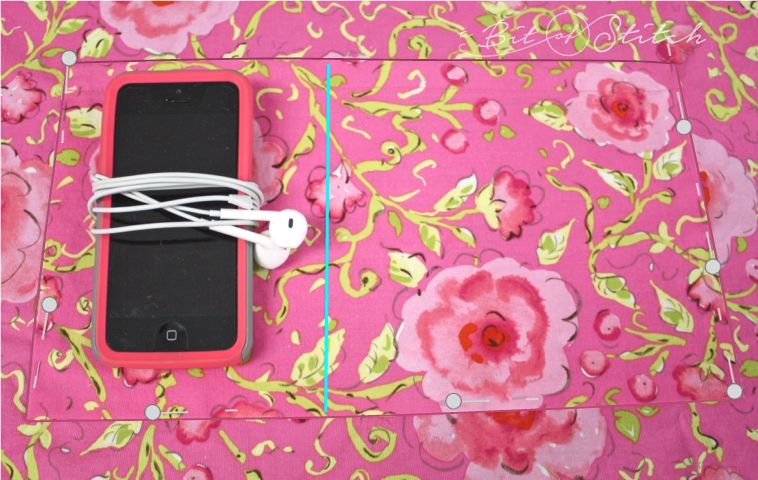
Center the pocket on one lining piece and pin in place. I didn’t want my pocket to be too far down into my tote so I chose to drop only 3” down from the top edge of the lining. That also made it about 3” from either side, but your pocket may be different. Just center it within the area above the cut-out boxes.
Draw a dividing line (with a wide pocket you’ll want at least one) to form sections. I auditioned my phone to be sure I made the pocket fit it correctly. Pin the pocket to the lining and sew in place. You may wish to sew two lines of stitching close together around the three pocket sides. Be sure to back-tack at the top edges.
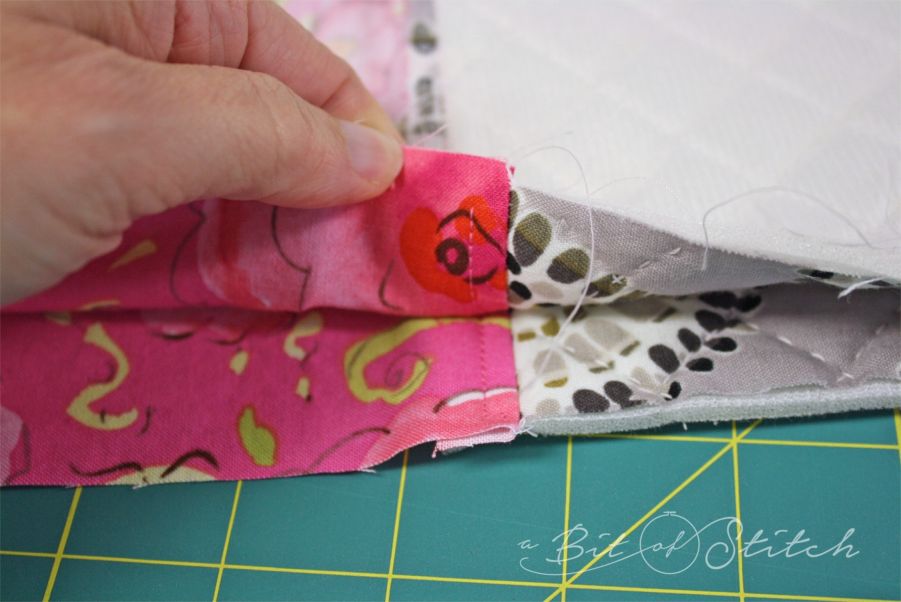
Position the straps on the top edge of the quilted bag sides. Measure over 6.25” from each side and place the strap right side against the right side of the quilted tote. Pin and tack in place. Make sure the straps are not twisted and the wrong sides are up facing you as you pin them in place.
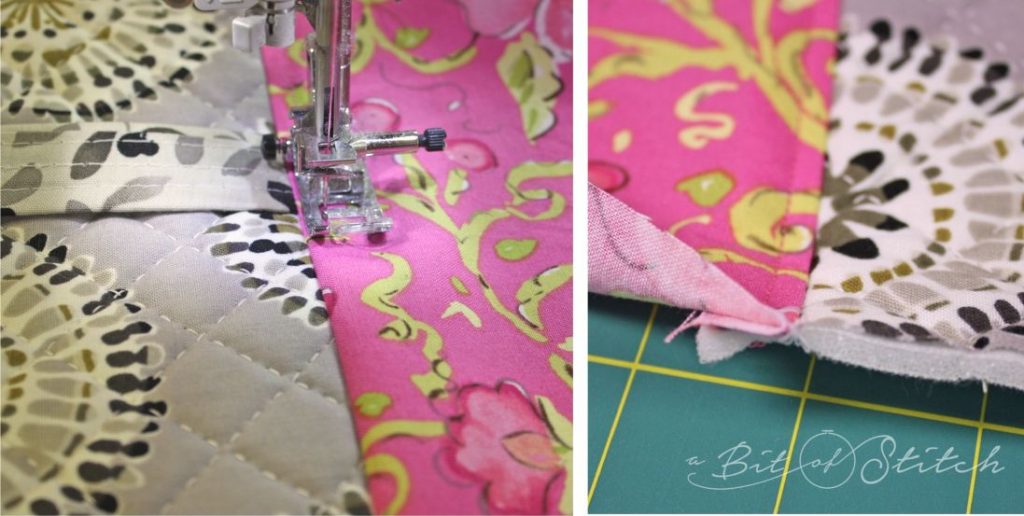
Sew the lining pieces to the quilted bag pieces at the top edges enclosing the strap ends between as shown below.
Top stitch along the lining side sewing through all layers of the seam allowance selvage about ¼” from the seam.
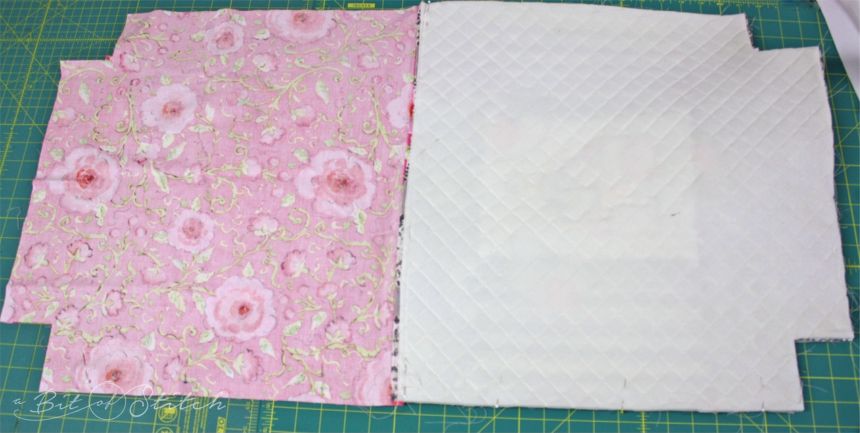
Align the bag sides, lining to lining and quilted to quilted. Be sure the seams line up properly.
Pin along the sides only and sew with a ½” seam allowance.
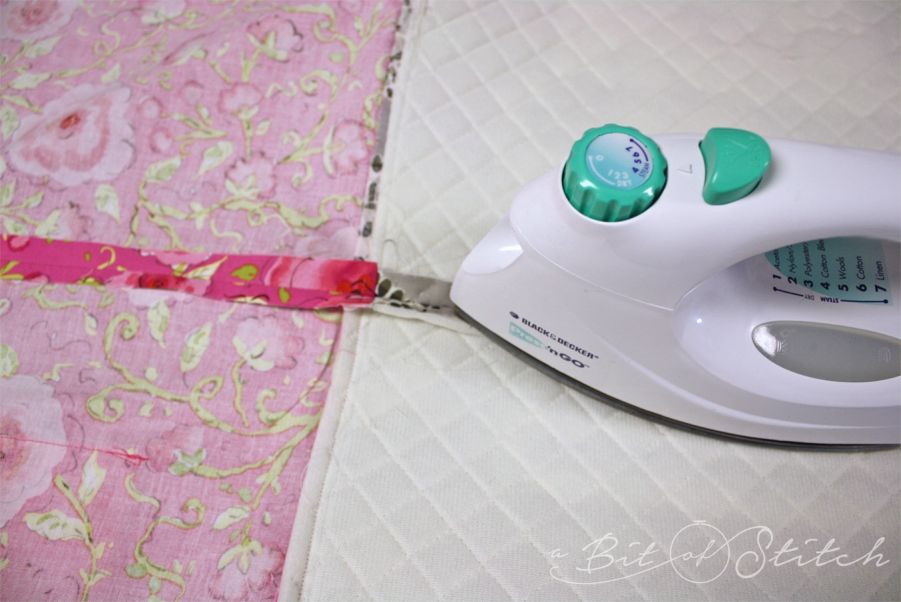
Slip the tote over your ironing board and press the side seams open firmly.
Now go have a cuppa tea and piece of chocolate. Good work! You’re almost done!
Now go check out part 3!
Evy
P.S. Are you having fun yet? 😀