It’s the most sew-y-ist time of the year! This is when I have a long, long list of projects and a very short amount of time left in which to make them. Sound familiar? Yep. So, yay for quick projects, right?!
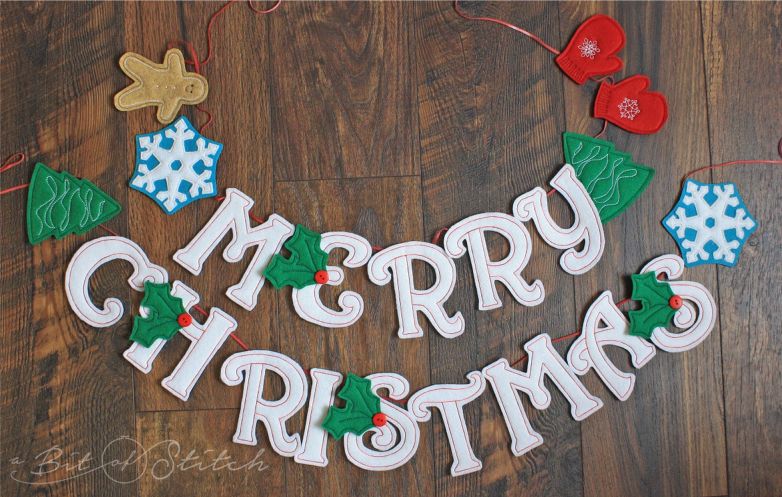
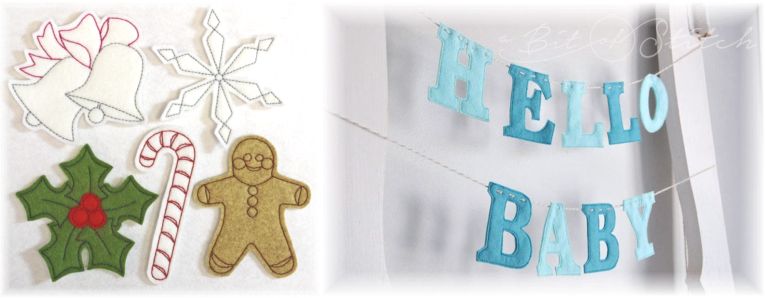
Here’s a super quick Merry Christmas bunting for you. Click HERE to find the designs used in this one, but feel free to substitute any suitable designs that you may already have in your stash. You’ll need some letters, preferably just outline. (If you don’t have bean stitch outlined letters you can always use the first stitch sequence of appliqué lettering – just stitch it twice so it will show up!) And you’ll need some festive motifs.
Click HERE to find bunches of sweet bean stitch designs, many of which are very suitable for free-standing cut-outs for buntings too.
Click HERE to find lots more bean stitch lettering. If curvy isn’t your style, there are also block and knobby letters!

Gather your supplies. You’ll need good felt. I highly recommend rayon/wool felt – we have lots of colors available HERE in the A Bit of Stitch shop. You’ll also need a nice firm stabilizer if you want to conserve felt and use just one layer for your bunting pieces. I like Pellon #926 Very Firm as it’s soft but very, very firm, just like it says. So it’s easy to cut but plenty sturdy for projects like this. If you have a cut-away that you really like, by all means use that. Pick out the thread you plan to use, keeping in mind that you want the stitching to show up. So if you are sewing green on green, like for the holly motif, choose a darker shade of green thread than the felt color. I love using regular sewing thread for felt projects. My two favorite brands for this are Madeira’s Aerofil or Cotona and Maxi-Lock Swirls. Variegated is so pretty for letter outlines!
Find a pair of nice sharp scissors with short, curved blades. Click HERE to see my favorite Snips. I love them for projects like this! You’ll also need a nice sharp pair of scissors with short, straight blades like my squeeze handle Fiskars.
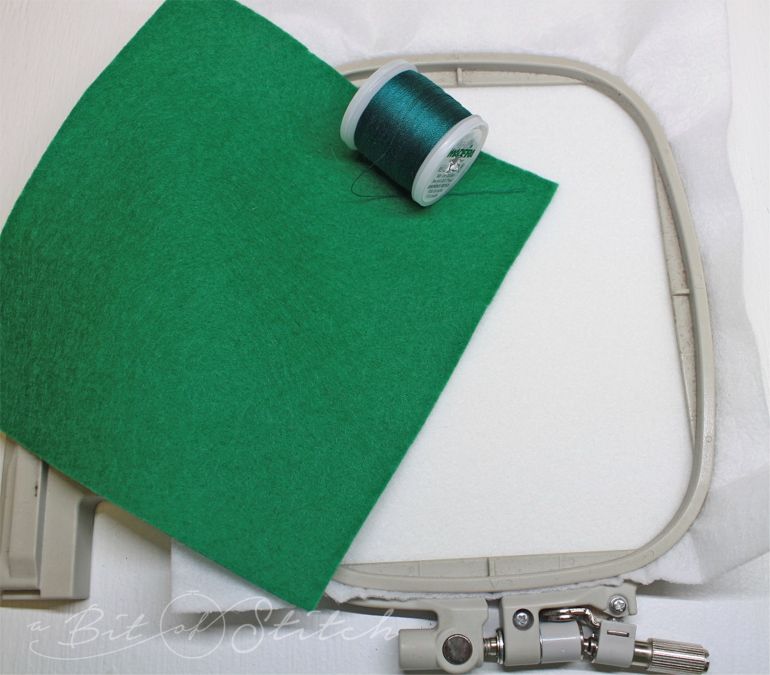
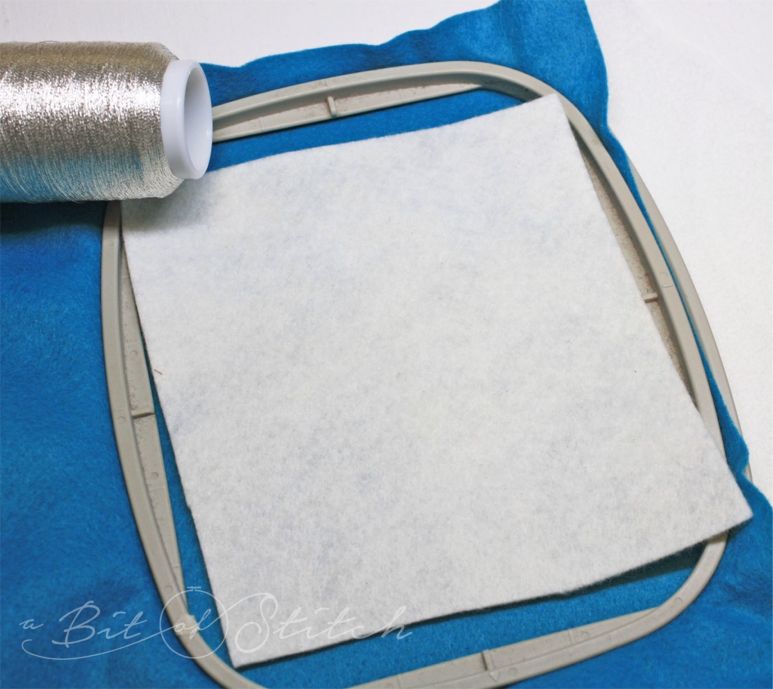
Rayon/wool felt is more expensive than acrylic craft felt, but oh my, so much nicer! You can conserve felt for a project like this by hooping one layer of very firm cut-away and then placing a felt block (cut larger than the design area) on top.
Or you can hoop one layer of felt and then place another on top and sew your design through both layers. If you choose to use this method, you can make your bunting pieces neat and pretty on the wrong side by sewing all the inside detailing of the motifs – if there is any – first, then adding a second layer of felt to the wrong side of the hoop before sewing the outline of the motif. Use the same color and type of thread in the top and bobbin for that outline and your piece will be lovely on both sides!
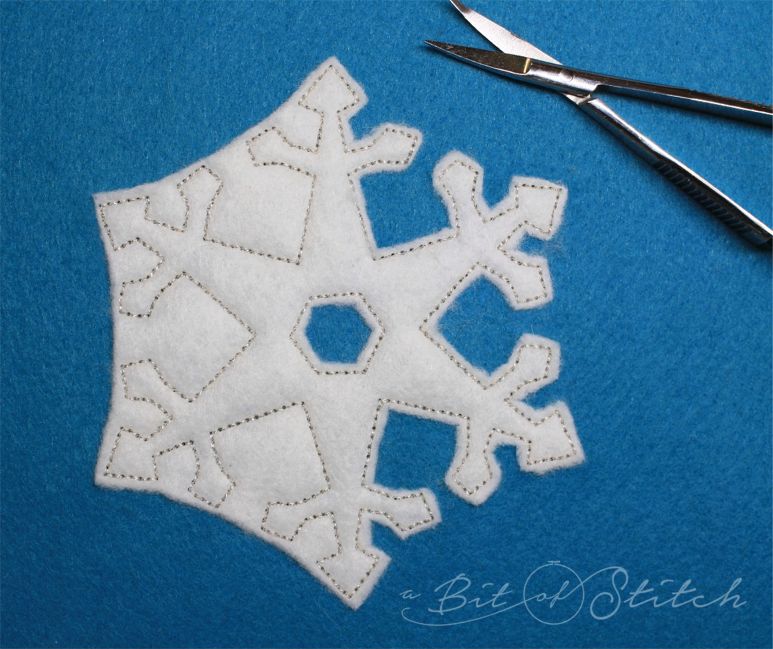
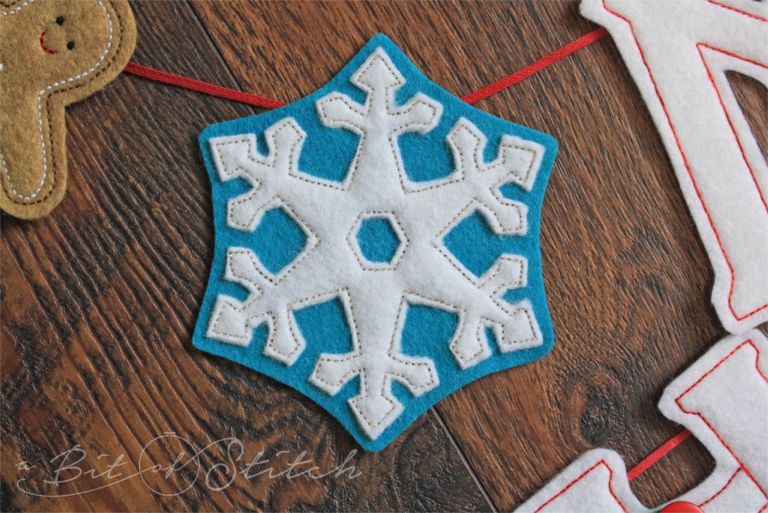
You can also use two different colors of felt like I did for my snowflake. I wanted that white snowflake to stand out, so I backed it with aqua blue felt and then trimmed away the felt around the snowflake outline stitching.
If you choose to conserve felt and hoop stabilizer, trim away the excess stabilizer by cutting as close to the stitching line as possible.
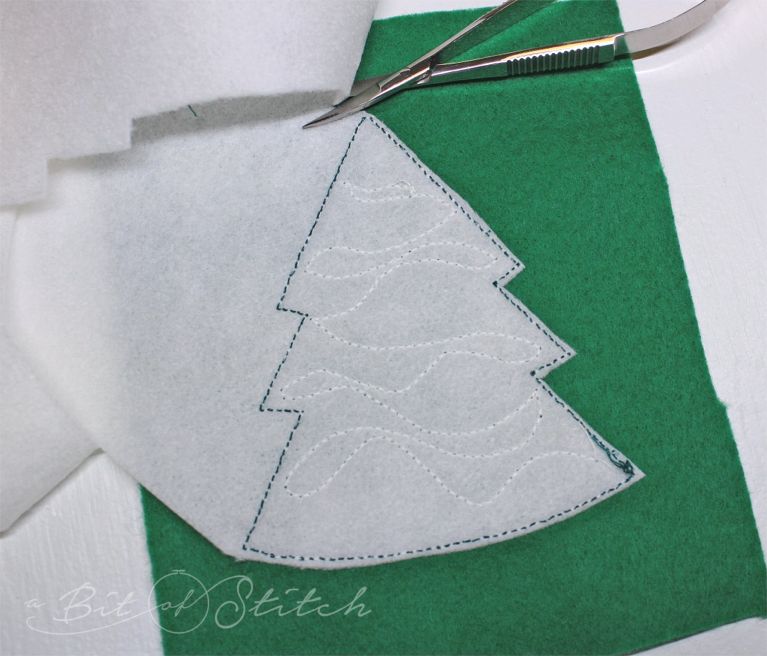
Do this before you cut out the motif.
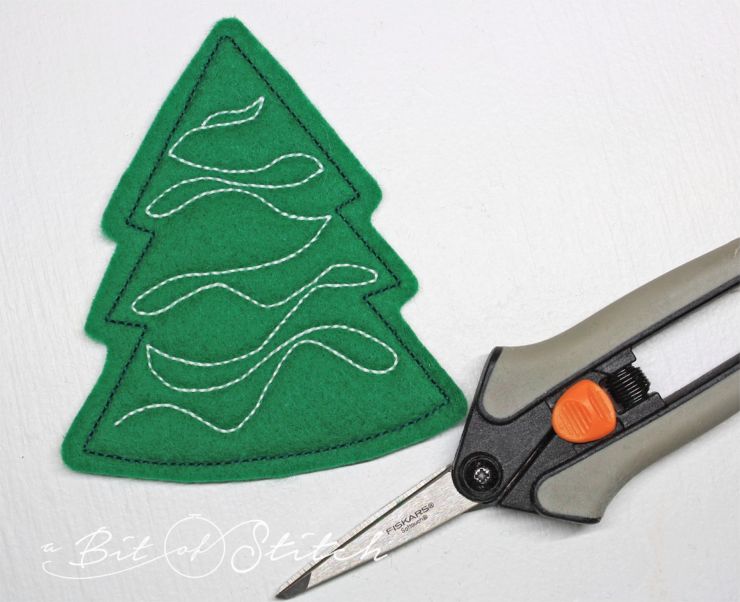
Cut out the motif leaving a nice selvage edge past the outline stitching.
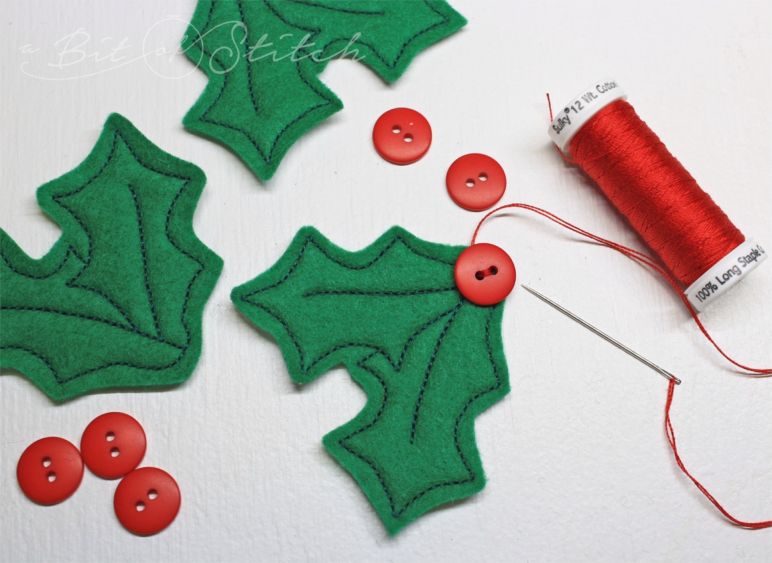
Add pompoms, beads or buttons to the holly leaves for berries. I love to use my Sulky Petites cotton thread for sewing on buttons! It’s such a nice sturdy thread which is awesome for hand embroidery and great for things like buttons too.
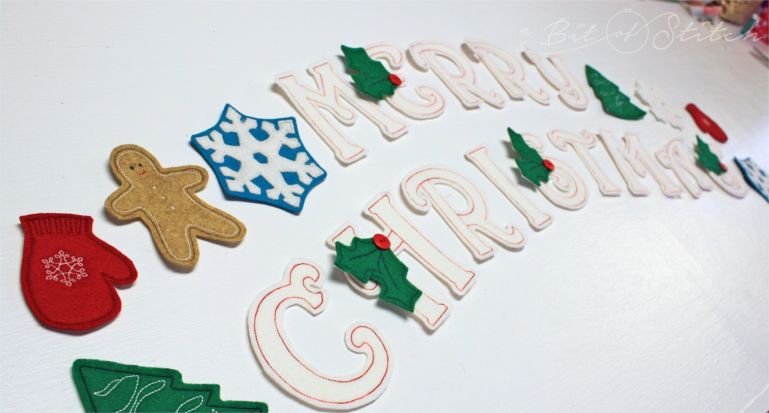
Once you have finished stitching and cutting out all of the letters and motifs, audition them on your tabletop to see how they should line up.
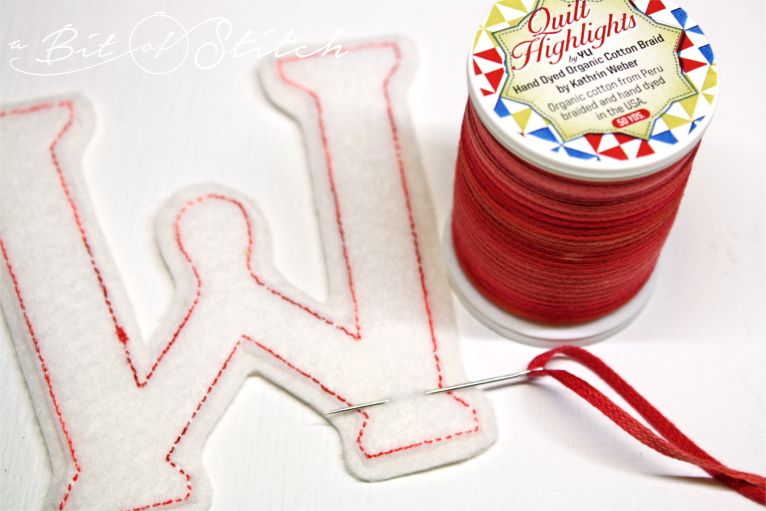
I’ve had some of YLI’s hand dyed cotton braid in my stash for some time. This is the coolest cord as it’s beautiful and strong and packed so neatly on spools! Not to mention that it’s made in the USA, pretty close to me! So choose something for your cording. If you can insert the cord into the eye of a needle, you can sew it to the wrong side of your letters and motifs. Be careful to sew to just the back layer of felt or stabilizer. Sewing it on is preferable, I think, because then you can slide the pieces on the cord to move them if you need to later. Otherwise, use fabric glue to glue the pieces to ribbon or cord of your choice. Make sure you leave plenty for hanging up! (I love Beacon Fabri-Tac Permanent Adhesive for projects like this. It’s like hot glue in a bottle, but better! It’s washable and doesn’t dry hard.)
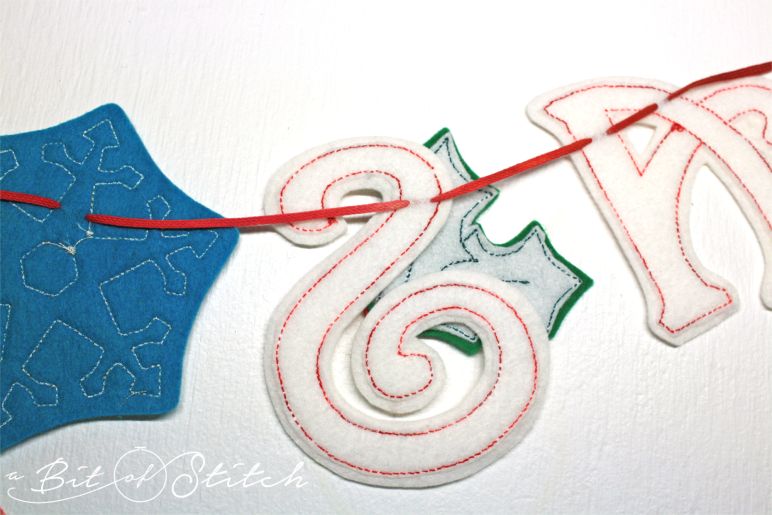
Make sure to place each letter and motif so that they will hang evenly when hung up. I pinned them on the cord to see where they needed to be in order to hang correctly before I sewed.
There, done! Go hang up your pretty bunting – and Merry Christmas, y’all!
Evy

Want more bunting and banner how-to’s? Click HERE to visit the Telafante blog, she’s got lots of fun stuff. Scroll through all her older posts, there’s several different bunting and banner ideas!
One reply on “Merry Christmas Bunting”
Adorable, like all she does, & easy.