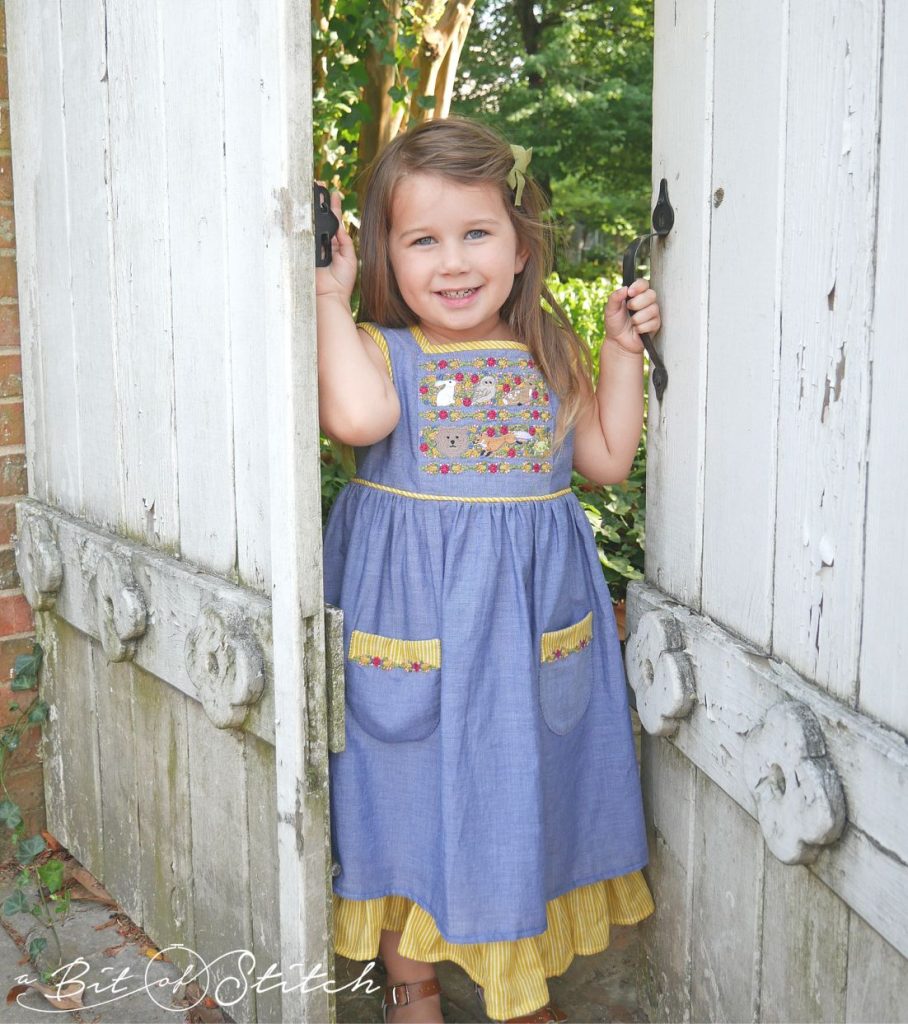
Pockets! Everyone loves pockets, especially wee ones who have things to treasure and tote!
Hidden pockets that are just utilitarian are awesome, but how much fun it is to make pockets that are part of the scenery – right out there, flaunting their prettiness! This is when I LOVE having an embroidery machine. (Okay, that’s an understatement… I always love having an embroidery machine, who am I kidding? You too, right?)
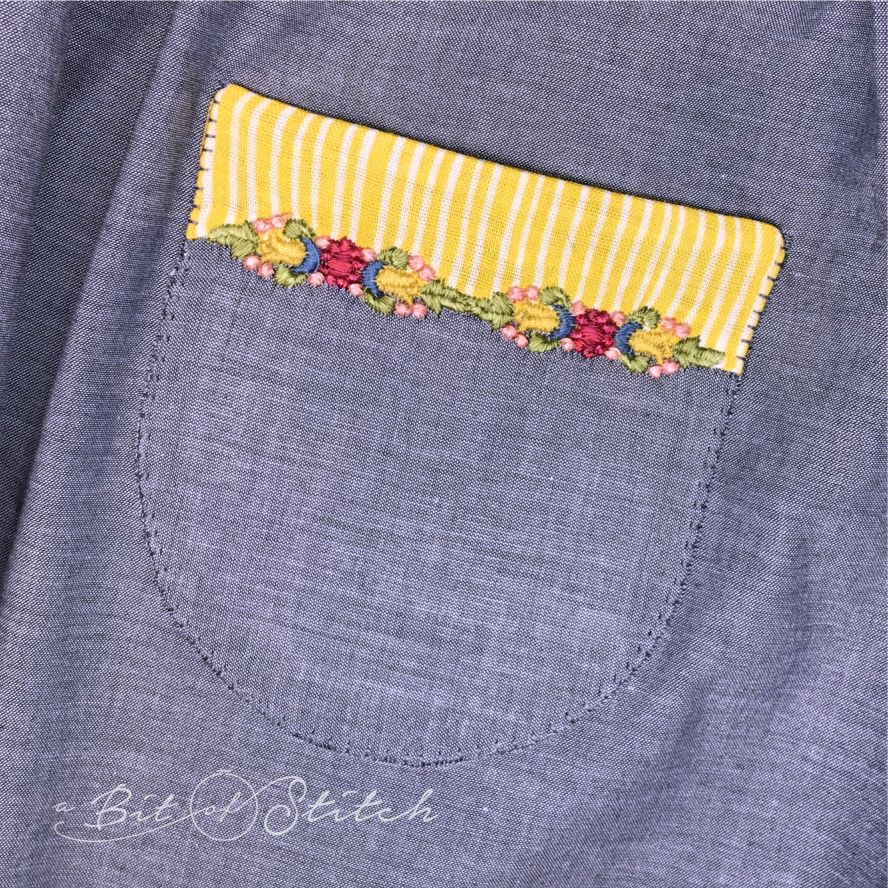
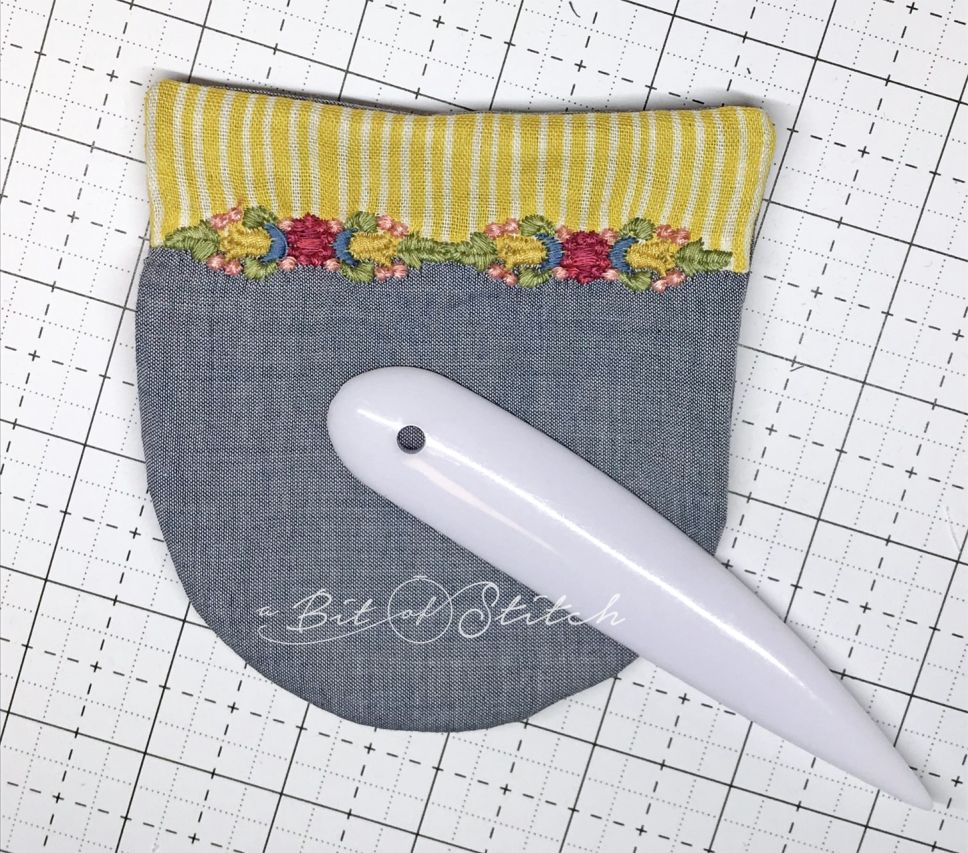
Making pockets is a lot less stressful and a lot more fun when made in the hoop. The machine does all the “sewing” for you, and if the pocket has a curved edge, it will be a perfect curved edge! Plus, you can add bits of fancy embroidery on the fly like the little border across the top of this pocket.
Want to make one? Here’s what you’ll need:
- Banded Pocket design found HERE (free until June 25, 2019)
- 1 piece of pocket fabric cut large enough to fit in your 5×7 hoop (this design measures 4.82” x 5.06”), stabilized with a crisp fusible tear-away; I recommend Baby Lock’s Tear-Away Firm which you can try a sample of in my package of favorite stabilizers HERE.
- 1 piece of pocket fabric cut approximately 6″ x 7″ and interfaced with a very lightweight fusible woven interfacing (Find the perfect interfacing HERE at Farmhouse Fabrics.)
- 1 piece of contrast pocket band fabric cut approximately 6” x 3” (interface if very lightweight)
- Sewing thread to match the pocket fabric (bobbin and top)
- 1” to 2” piece of narrow fusible web tape
- Embroidery designs of your choice if you choose to embellish the pocket (Find the Woodland Folk designs I used HERE.)
- Sharp scissors
- Dritz Point Turner Tool (Find it in sewing stores or HERE at Farmhouse Fabrics online)
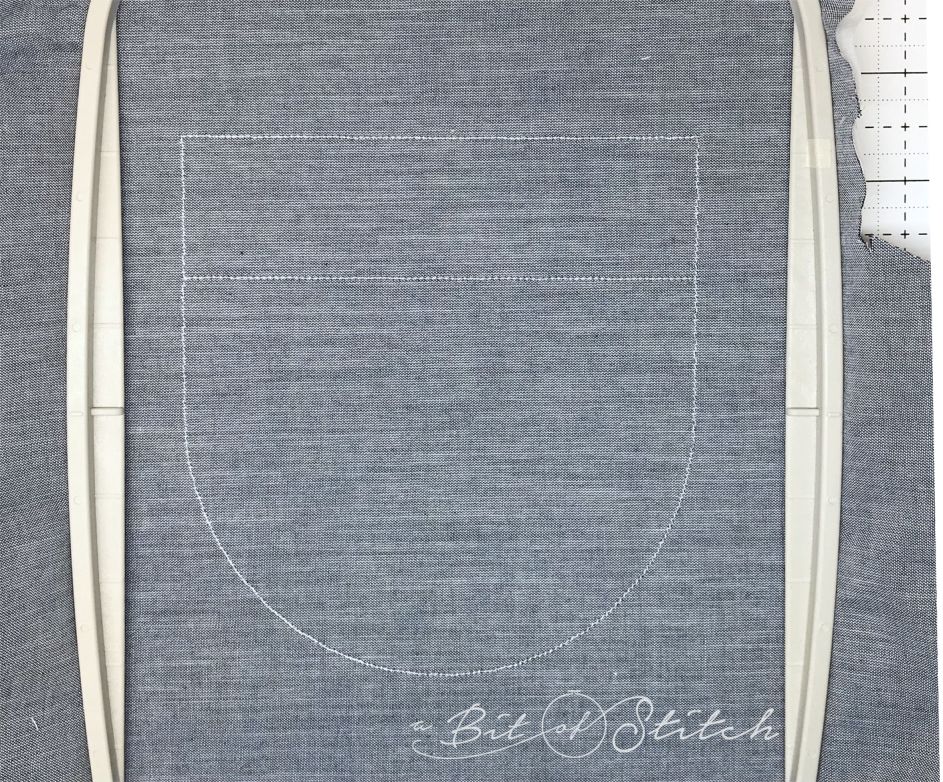
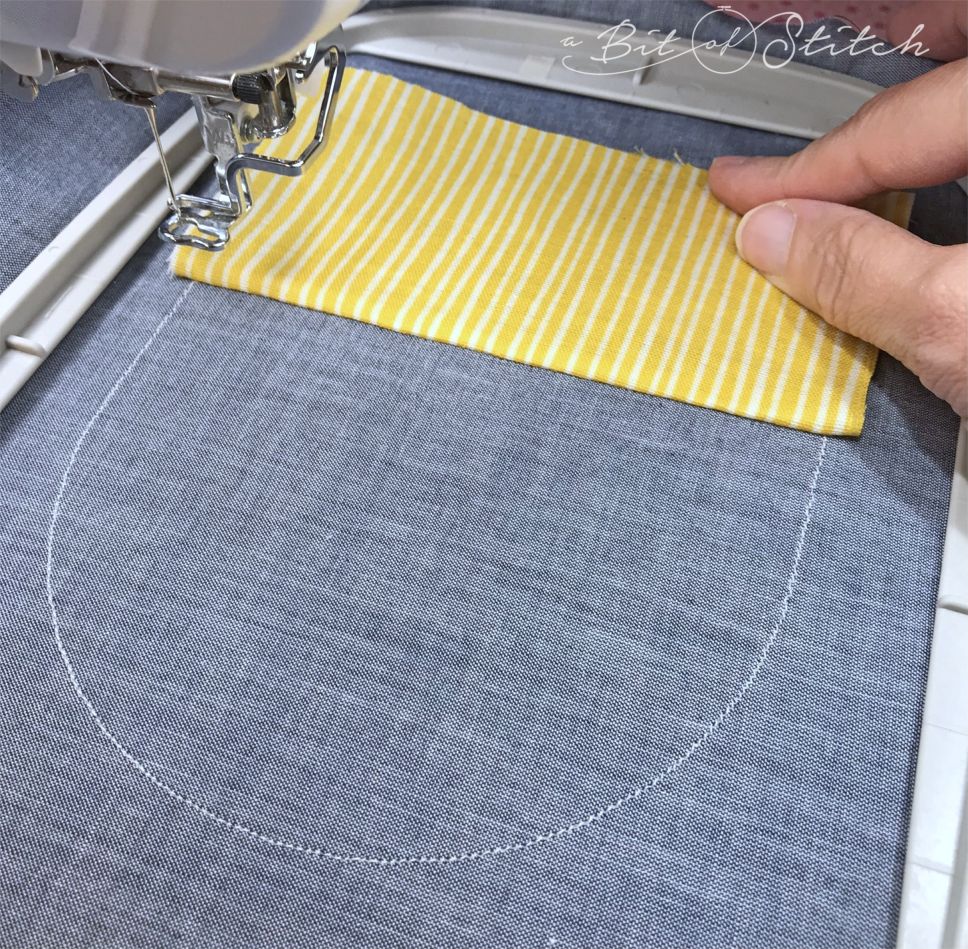
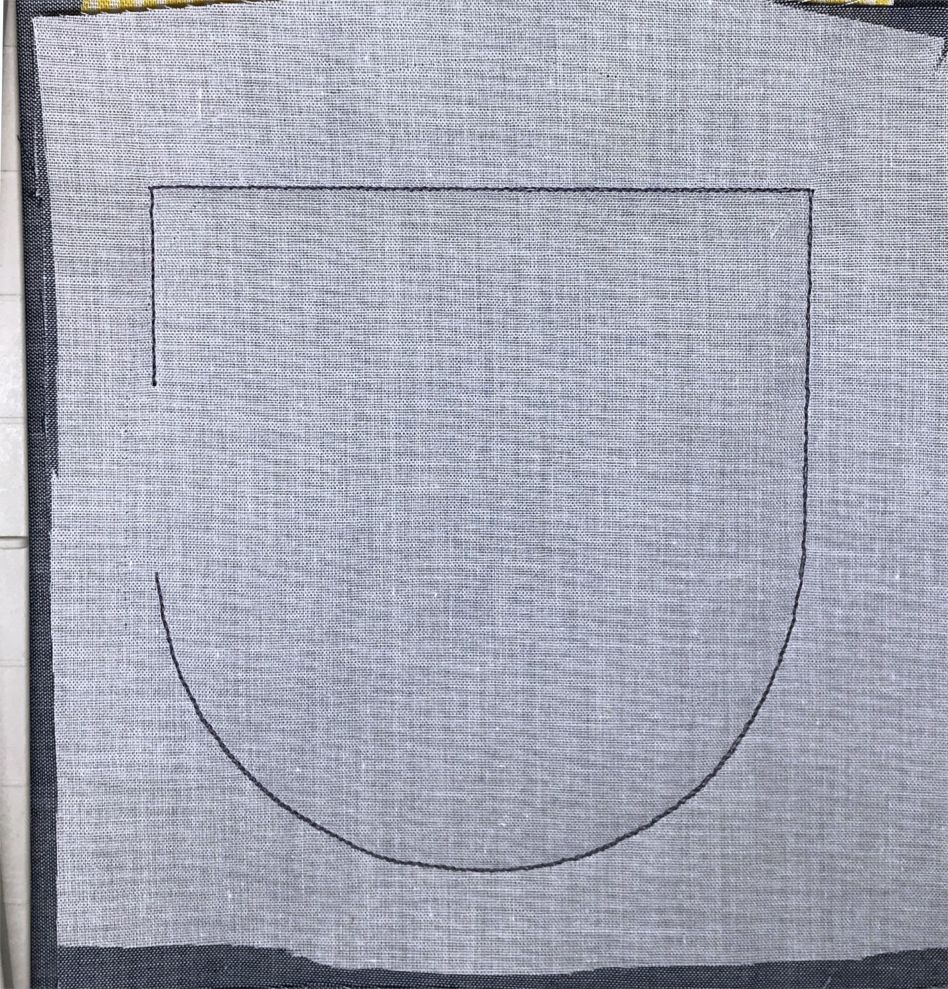
Stabilize the pocket fabric with crisp fusible tear-away and hoop right side up in the 5×7 (or suitable) hoop. If your pocket fabric is woven, try to keep the grain line of the fabric straight in the hoop. Sew the first stitch sequence. This will be the outside pocket cutting line and horizontal alignment position line for the band.
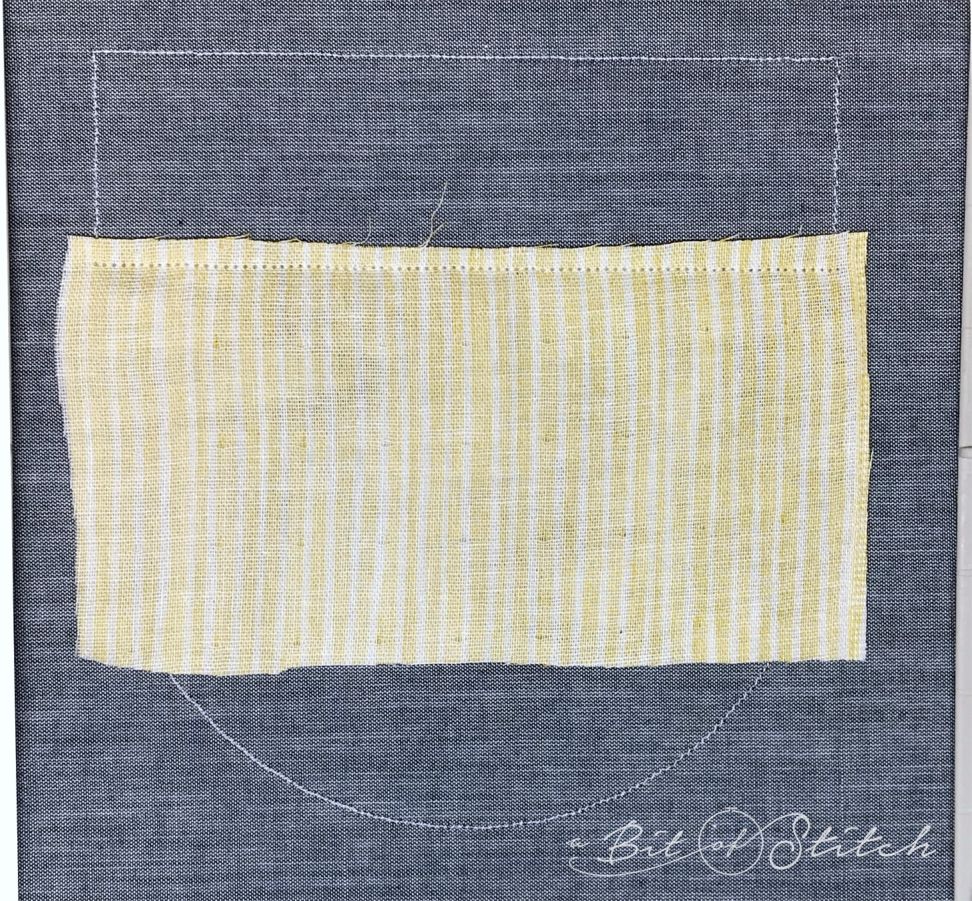
Place the band fabric wrong side up over the hooped fabric, aligning one long edge approximately ¼” above the horizontal band placement line.
Sew the second stitch sequence. This seam attaches the band fabric to the pocket fabric.
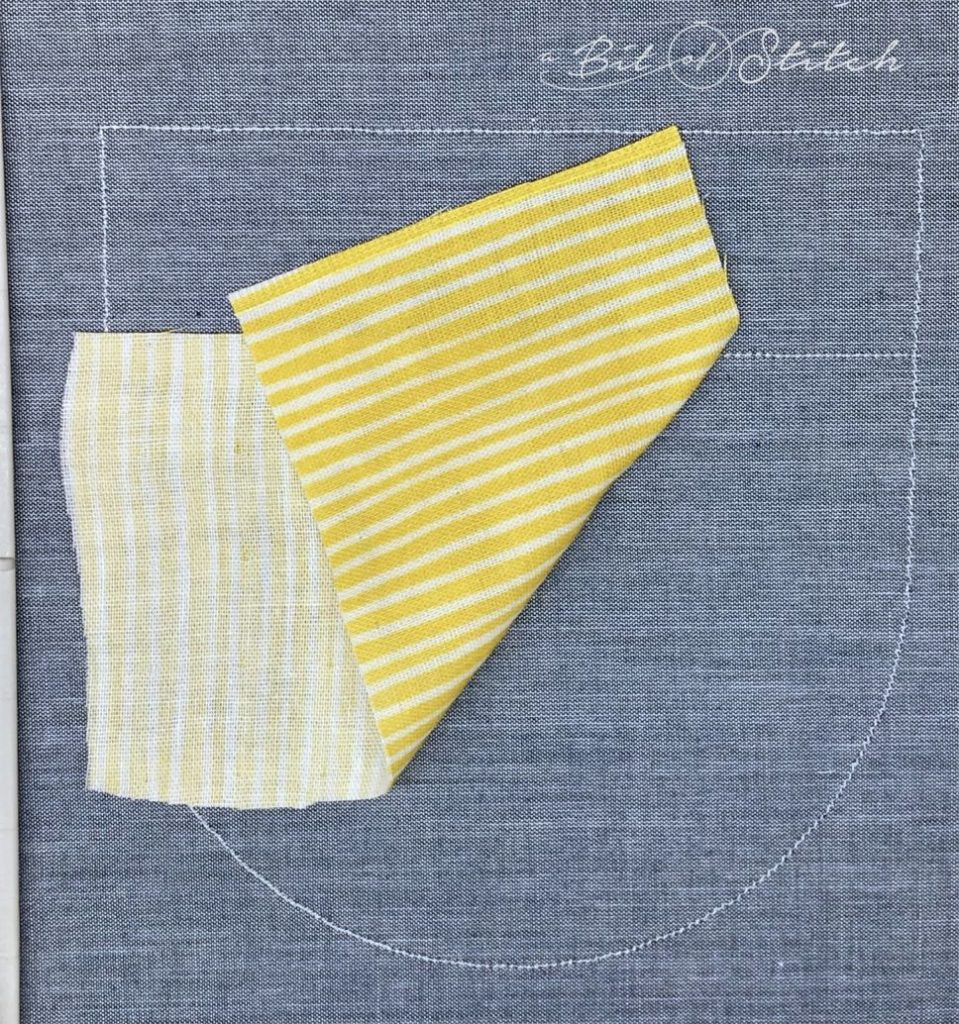
Flip the band fabric right side up over the seam. Use the flat edge of your Dritz Point Turner to crease the seam OR use a mini-iron or small iron to press the seam nice and flat in the hoop on a heat-protected surface. (That’s optional… I’m usually in too big of a hurry to do it, but it’s helpful especially if you are adding embroidery over that area!)
Sew the third stitch sequence to tack down the band fabric.
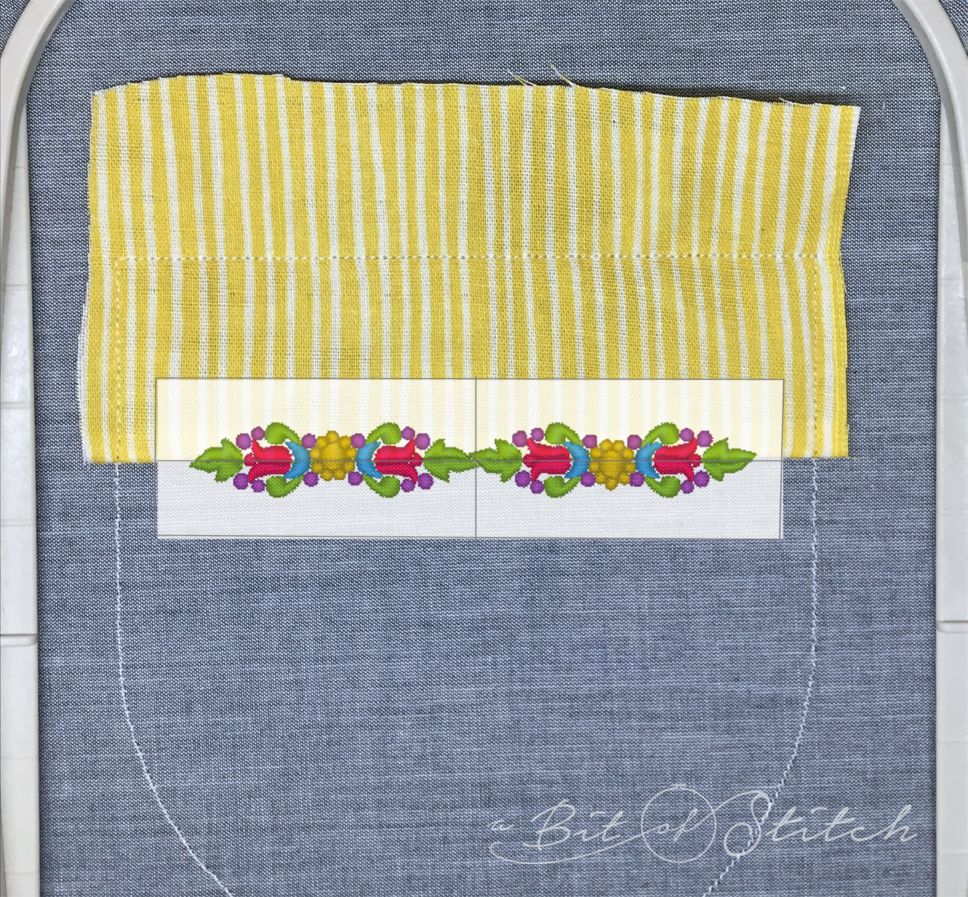
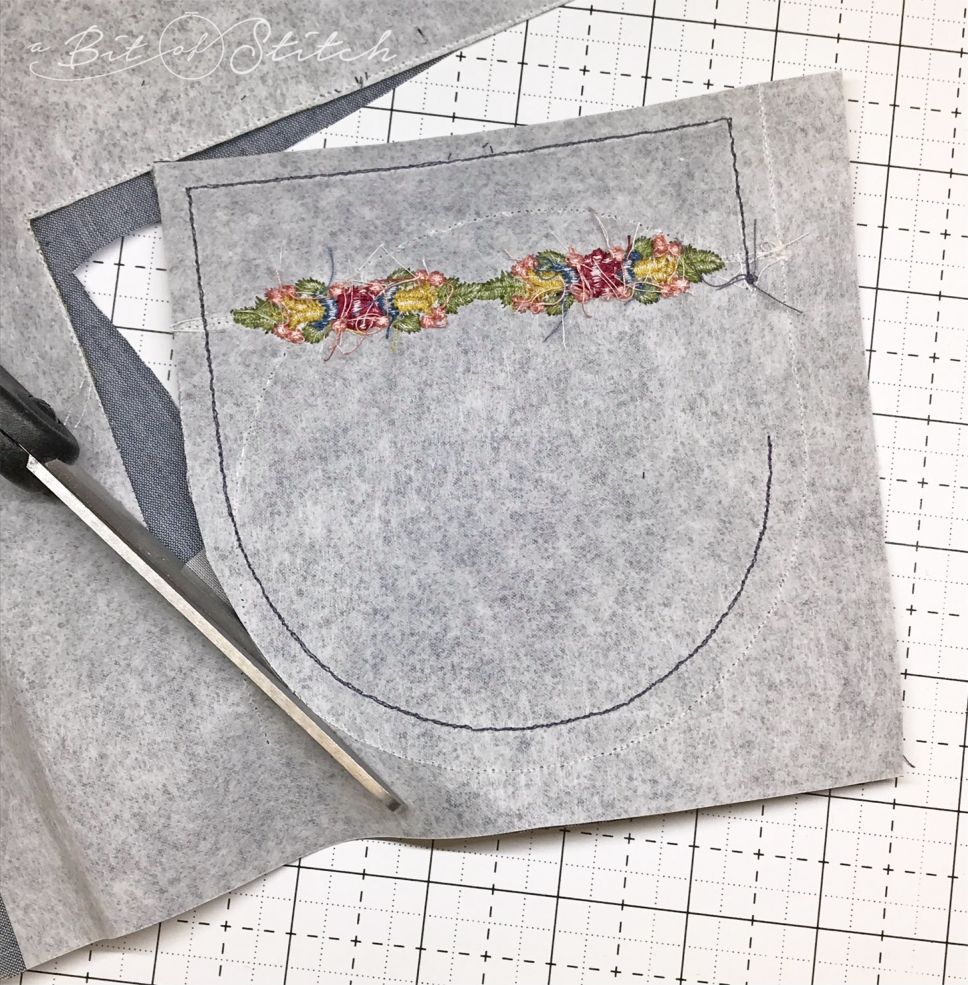
Now’s your chance to add embroidery! If you have a fancy machine that can scan what’s in your hoop or project the image of your design onto the fabric (I know…WOWSIE!), by all means do that. Click HERE and HERE to see two of those awesome machines by Baby Lock. Otherwise, print a paper template of your design, place it where you want the design to stitch on the pocket, and align the design accordingly. Taking into consideration the seam allowance of the finished pocket, the actual width of the pocket across the top at the band is 4.35”, so make sure the design is centered within that area.
When using a printed template, I find it helpful to use my machine’s design tracing tool or perimeter tool to travel to the center and four corner points of my design, dropping the needle (unthreaded) into those points and adjusting accordingly if needed. Click HERE to read a blog post that details those steps clearly.
If the design you are using is dense or covers a large area of the pocket, you may wish to float an additional layer of soft tear-away under the hoop before embroidering the design.
After the embroidery has been completed, change the top and bobbin thread to regular sewing thread in a color that matches the pocket fabric. (You may need to tighten the top tension a bit to keep the stitching even – it’s advisable to test stitch to see what settings work best for your machine.)
Place the 6” x 7” piece of interfaced pocket fabric WRONG SIDE UP over the hooped fabric, generously covering the pocket outline. If your pocket fabric is woven, try to keep the grain lines of this pocket fabric straight and aligned with the grain lines of the fabric in the hoop.

Sew the final stitch sequence; this is the actual pocket outline seam. It will begin on the left side of the pocket just below the band and travel around the pocket, stopping about 1.25” away from where it began, and then travel back to the beginning to create a nice, sturdy, double stitched seam.
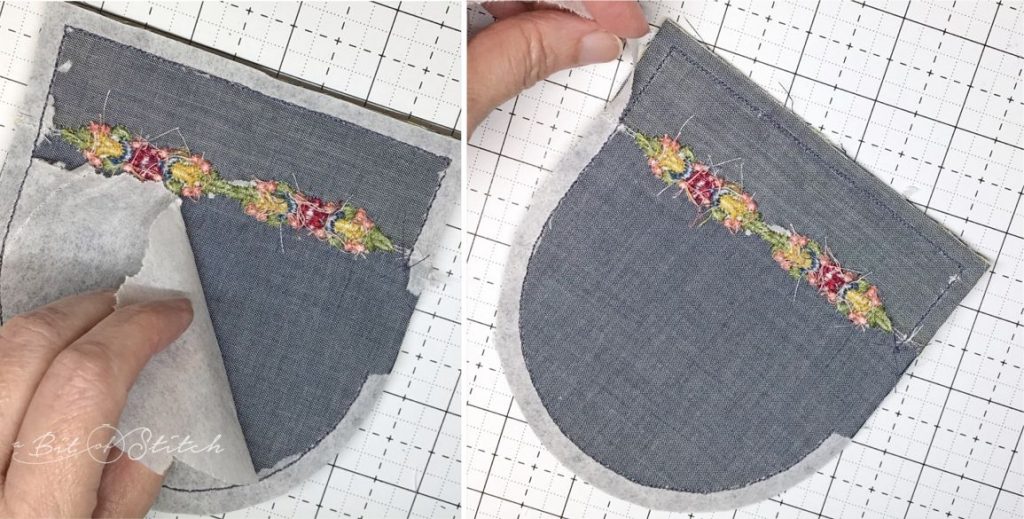
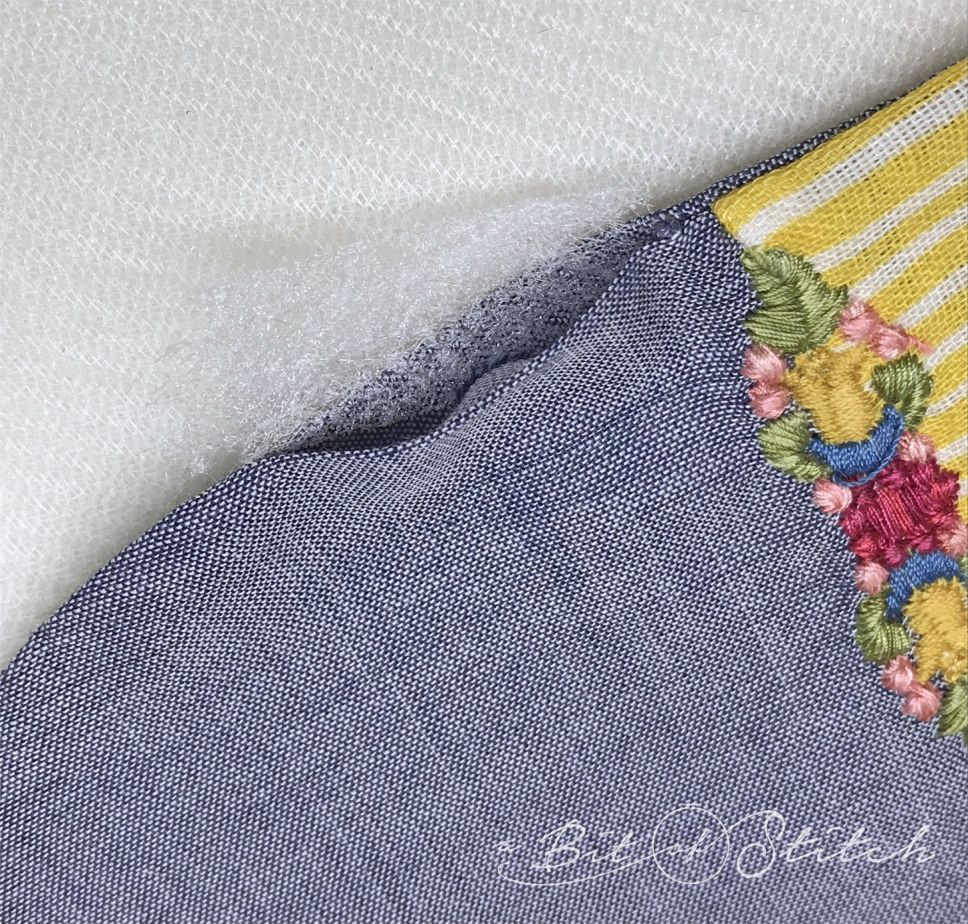
Remove the fabric from the hoop. Cut out the pocket by cutting right ON the outside pocket outline stitching (the “pocket cutting outline” from the first stitch sequence) which is visible from the stabilized side of the pocket.
Tear away the stabilizer from within the pocket first. Then you will be able to easily tear off the bit along the selvage edge.
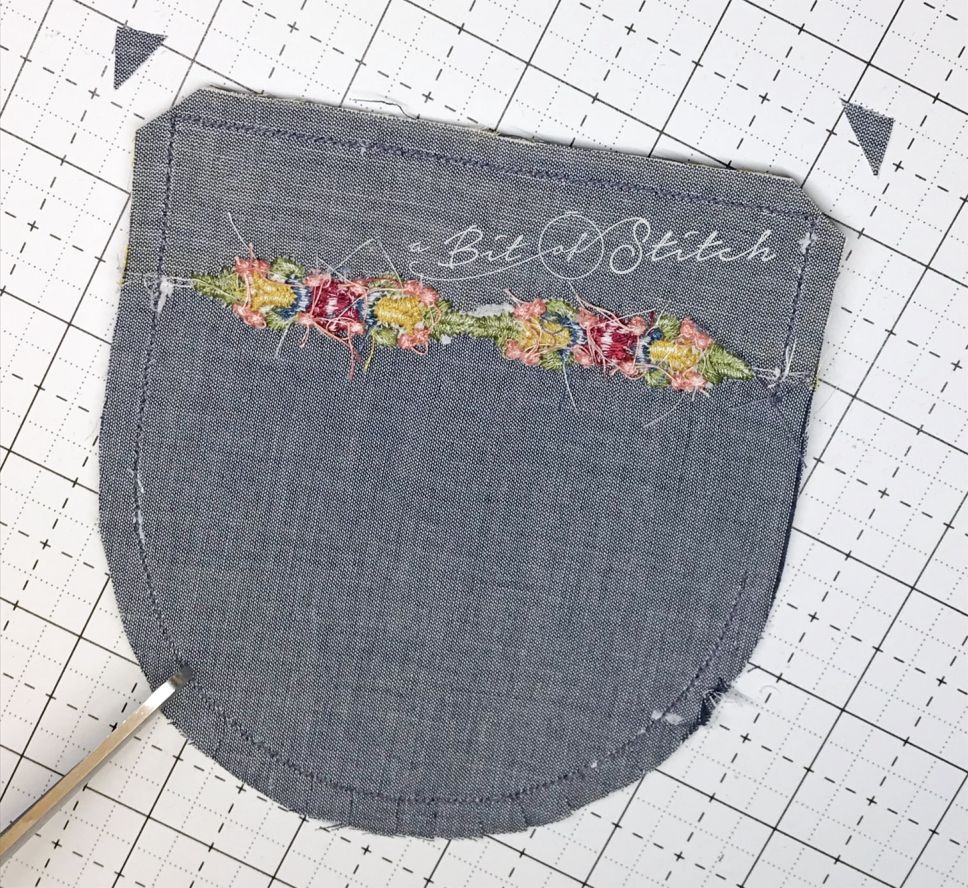
Clip the top corners slightly as shown below. Then clip the curve thoroughly, but be careful not to cut into the stitching.
Turn the pocket right side out through the little opening on the left side. Use the curved end of the Dritz Point Turner tool to smooth out the curve, and use the pointed end to carefully poke out the corners.
Tuck in the selvage edges at the opening to make that side smooth, and press the pocket well. Insert a small amount of fusible web tape at the opening and fuse to close it. Try to keep the fusible tape only on the seam allowance fabric; don’t let it extend into the pocket if you can help it.
Your pocket is ready to attach!
I like to use the shell stitch on my Baby Lock sewing machine to attach pockets. I start with a back-tack with regular straight stitching, switch to the shell stitch, and then when I reach the end point I switch back to a straight stitch so I can back-tack again securely. It’s helpful to experiment on a scrap to get the settings right for your pocket. Here’s a little video of that:
A blanket stitch, some hem stitch motifs, a straight stitch or a narrow zigzag stitch all work great to sew the pockets on too. I find it helpful to stabilize my dress fabric with a block of fusible tear-away behind the area I’m applying the pocket to. After the pocket is attached, I remove the excess stabilizer. Of course, if you want a really beautiful pocket attachment, slip-stitch it in place by hand! Click HERE to view a video clip of me demonstrating the slip-stitch.
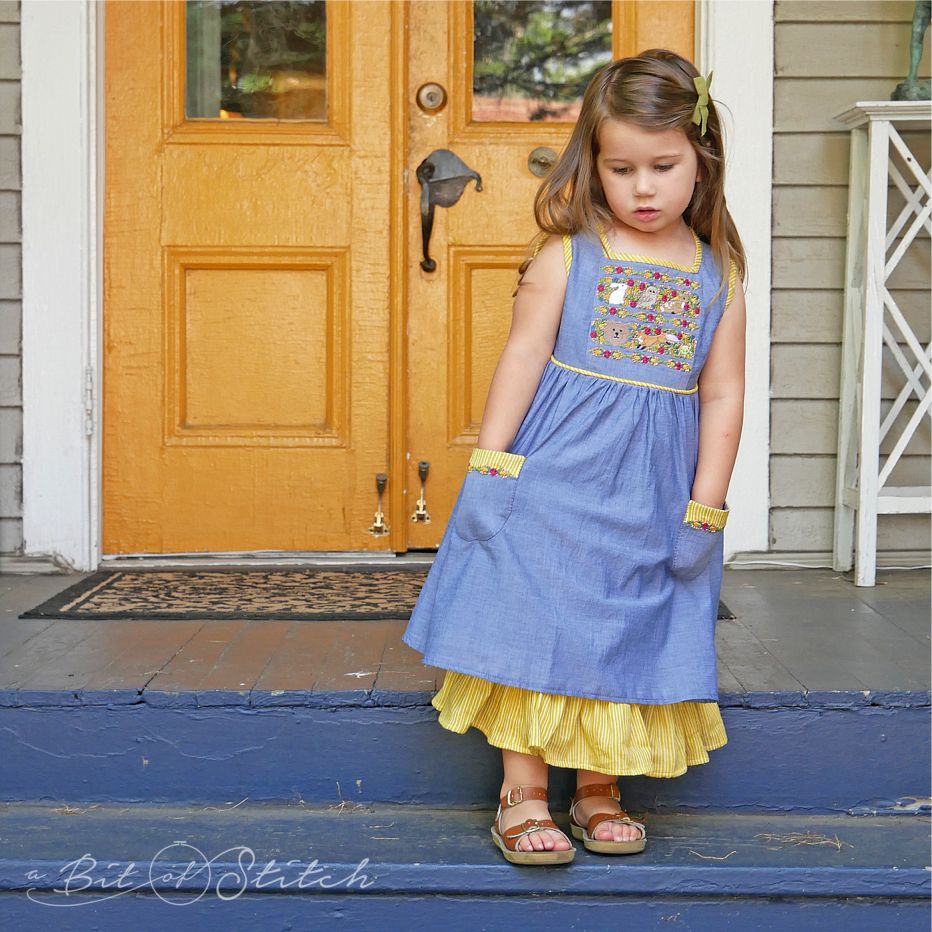
Pockets are for treasures and treats!

And wee little hands, of course!

Happy pocket making!
Evy
3 replies on “Dandy Bandy Pockets”
Totally adorable in every way!!!
Your wee one is precious and the perfect model for this adorable dress. I'm looking forward to trying your pocket design.
Precious in every way!