Awaiting baby is making this Gramma antsy. I’m finding it best to keep busy, and best part of being busy is there’s a pile of pretties for this baby-to-be stacking up quickly!
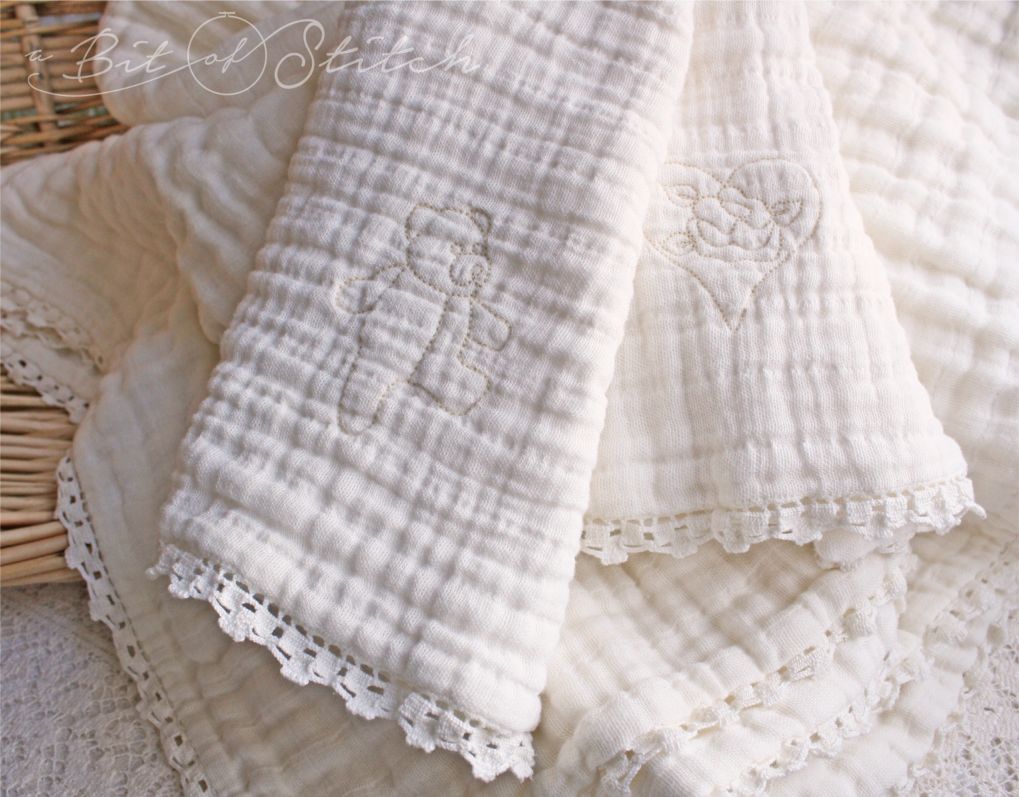
I’ve discovered the delight of stitching heirloom worthy burp cloths from organic double gauze. (Gramma’s are crazy like that.) After making several 36” swaddling blankets I ended up with big chunks of scraps too good to waste. Perfect for burp cloths as it doesn’t really matter if they are all the same size. They just need to get the job done. Looking nice while doing so is an bonus! Check out Organic Cotton Plus for awesome organic double gauze and other fine natural fabrics.
There are a few things I learned about sewing with double gauze. First of all, this is not a fabric that you should pre-shrink. So no washing to begin with – wash AFTER the project is finished. And yes, you will want to because washing makes this fabric so very soft and cushy!
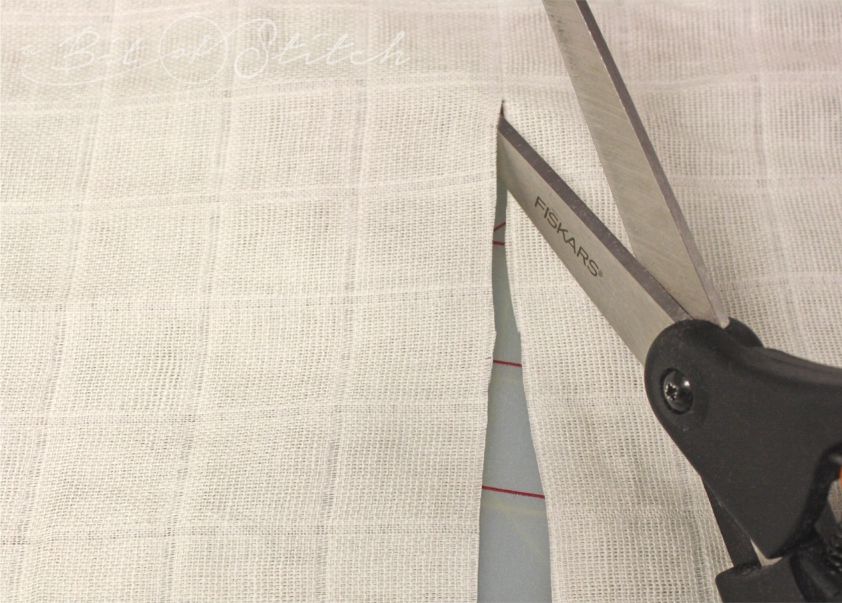
Unlike simple gauze, double gauze has a nice block looking weave which you can actually see. This makes it very easy to cut on the grain – straight and true – even though this fabric is stretchy and delicate.
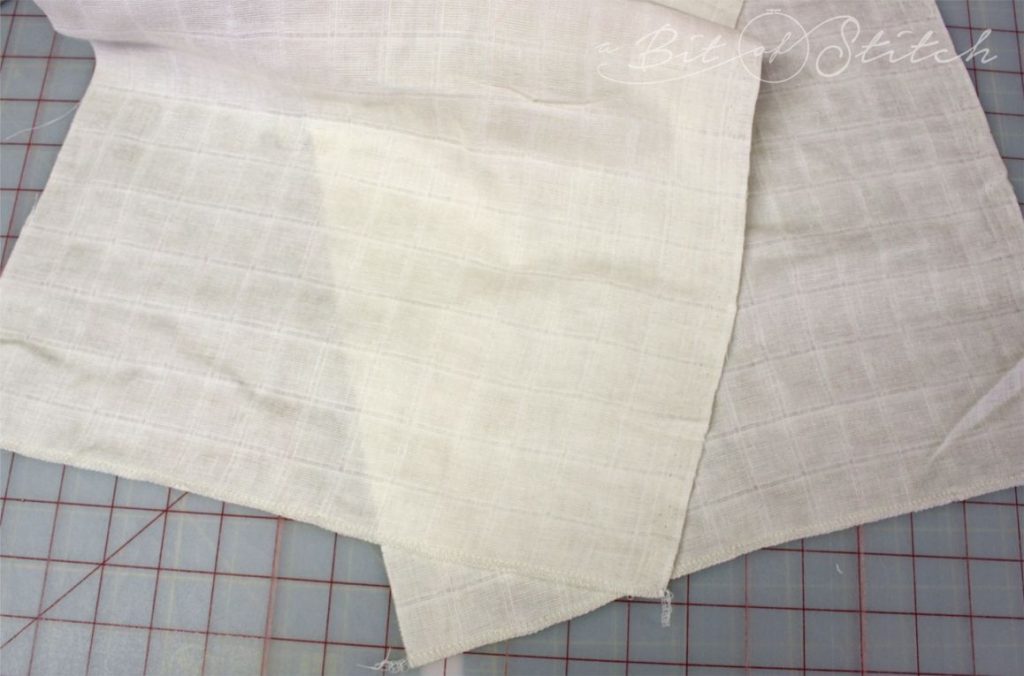
Burp cloths are best double layered. I cut two 22” x 14” blocks from my leftovers and serged two short ends – one on each block.
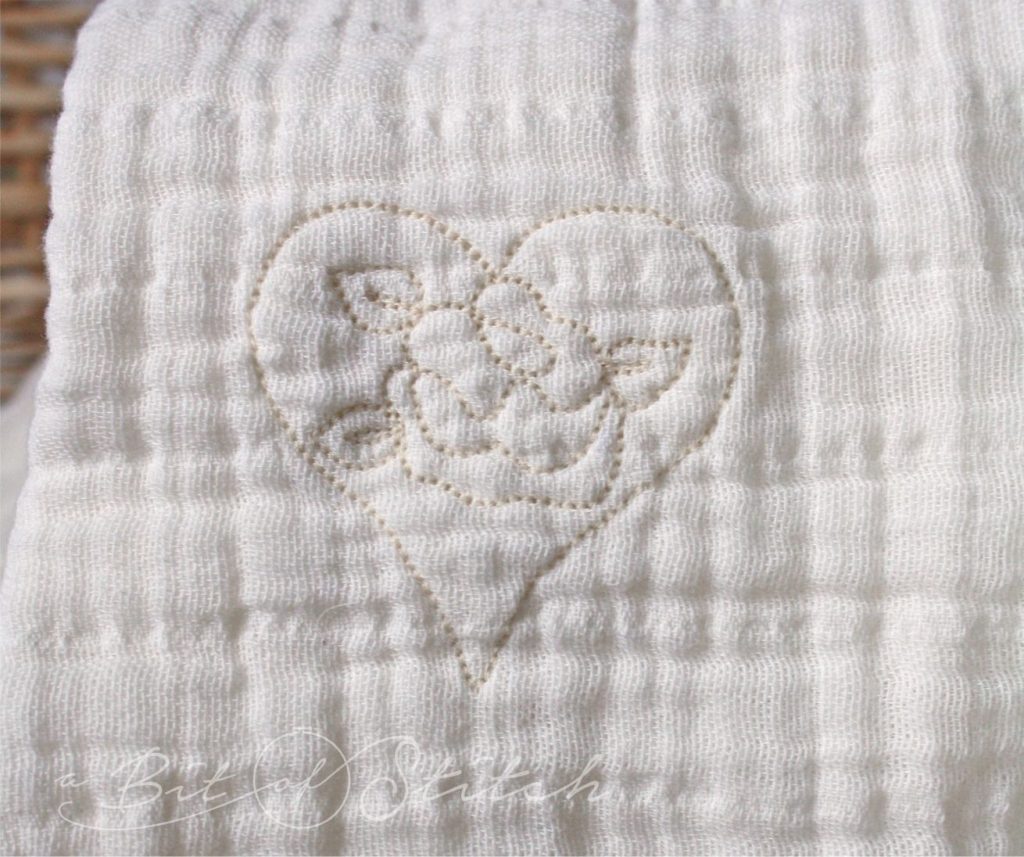
It just so happens that I have this stash of machine embroidery designs, ahem. So, of course I had to add a bit to these burp cloths. I found that the best design choices for fabrics like gauze are those that are lightly digitized with the least possible amount of fill or satin stitching. My “Happy Day Motifs” designs (an older set that is now retired) worked perfectly!
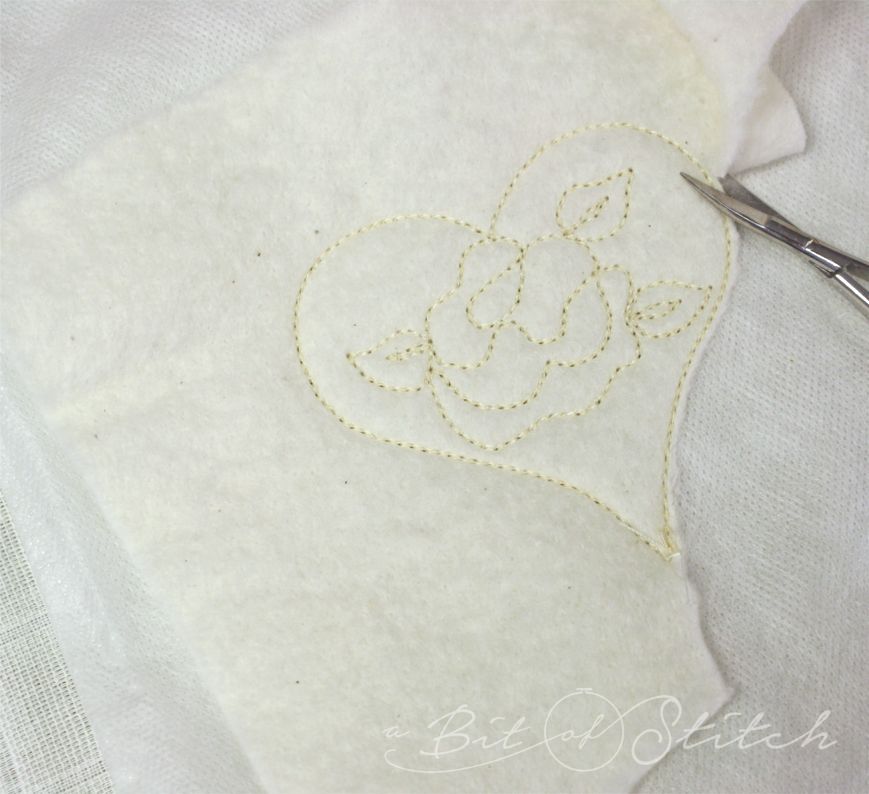
I stabilized one layer of double gauze with wash-away (Vilene) stabilizer – just placed it behind the gauze, no sticky needed – and hooped the two together. To help keep the design from disappearing into this soft fabric after washing, I put one layer of cotton quilt batting (Quilter’s Dream Cotton) under the hoop. Then I stitched my motif using regular sewing thread. Embroidery thread looks nice too. My Happy Day Motif designs have an appliqué step which I didn’t need. I skipped that stitch sequence and went straight to the motif stitching. Once stitched, I trimmed away as much of the batting around the design on the back as I could and rough cut away the wash-away stabilizer.
This is what the finished diaper looked like once washed. You can see that the batting behind the design helped keep the motif from disappearing into the texture of the gauze.
Okay, back to construction. I stacked the two layers together (not worrying about a right or wrong side), aligning the serged ends with each other. I sewed the layers together with a ½” seam allowance leaving an opening on the serged end and then serged the remaining three sides.
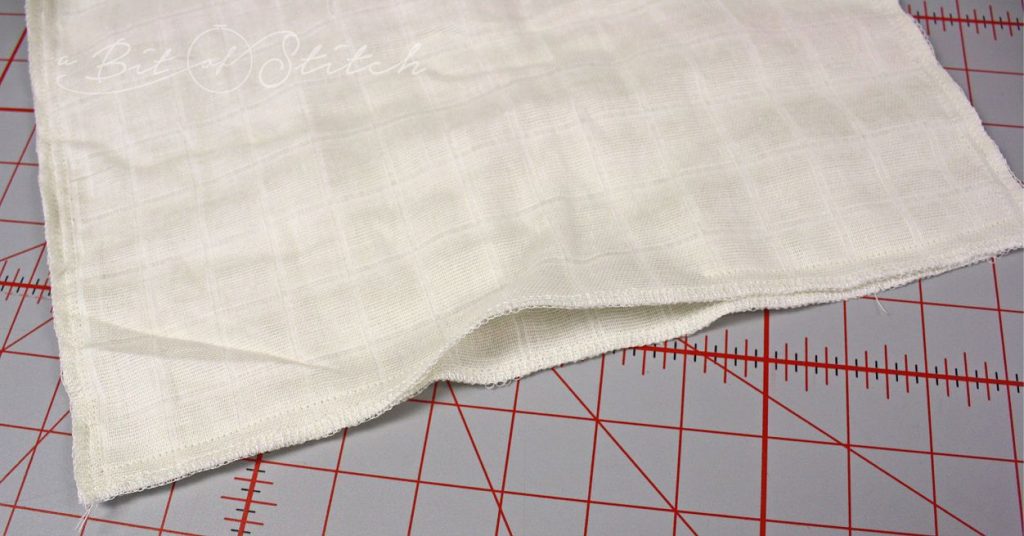
First time I did this I clipped the corners. NOT such a good idea. This stuff tends to ravel. And when serging, best to cut away the least amount possible of that ½” seam allowance too. Turn right side out; press the opening and all the other edges to even up. You could machine sew the opening shut but I don’t mind hand sewing 🙂
At this point you should top stitch the burp cloth about ¼” away from the edge unless you plan to add lace.
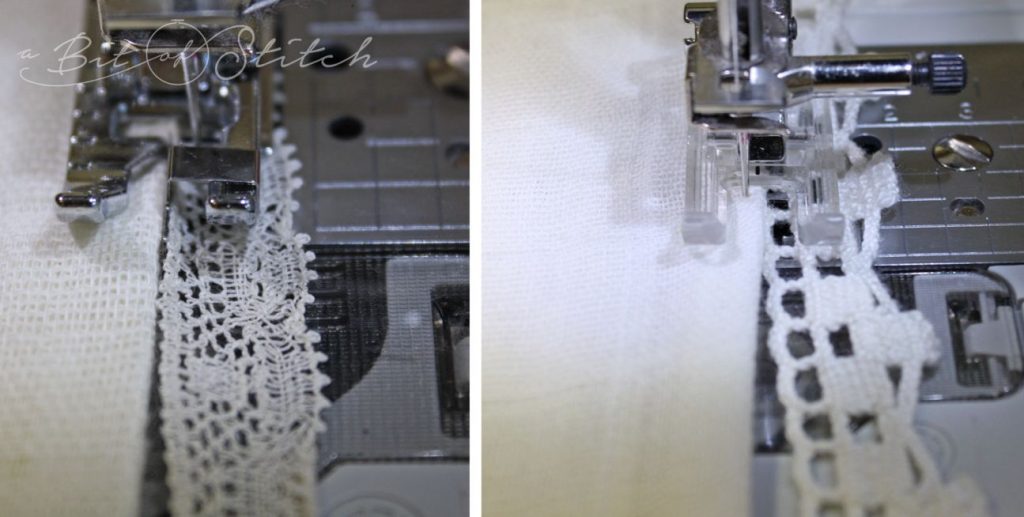
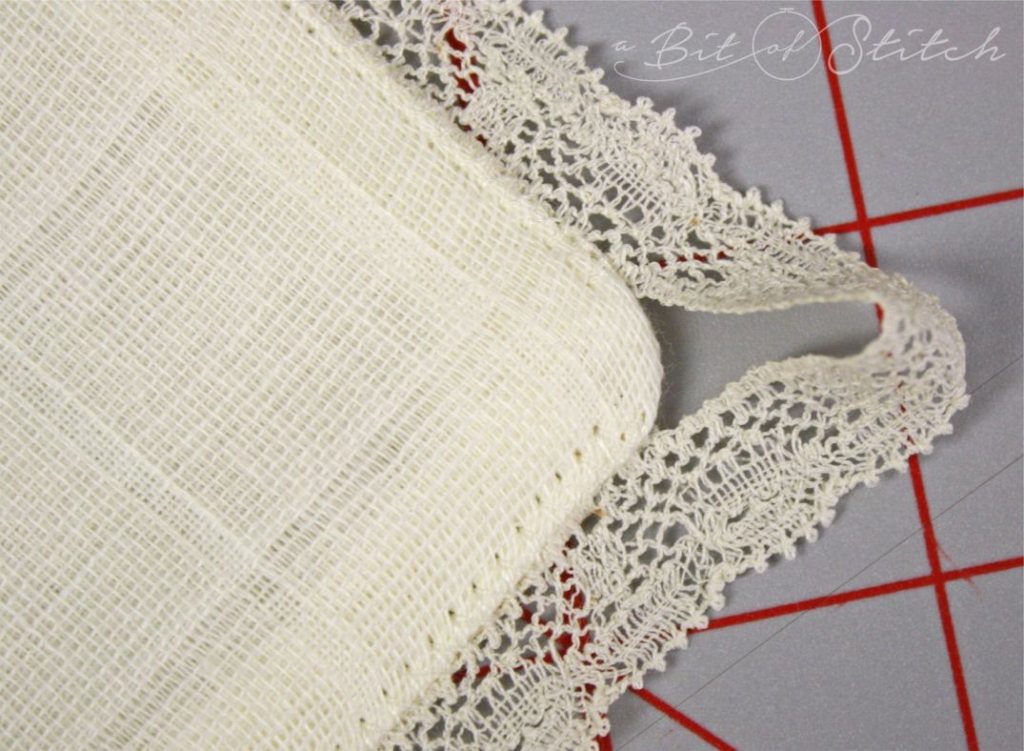
You know me, I wanted lace! Cotton, crochet type lace pairs up lovely with organic gauze. If your lace is nice and wide you may have good luck sewing it in the seam while stitching the layers together. Mine wasn’t very wide so I opted to attach it with a wide zigzag stitch. I did a little experimenting to find just the right width and length. On my Baby Lock Ellegante that ended up being the default for length and 4 for width.
First I tried my Edge Stitch Foot. This foot is recommended for this type of application and it did work very well, however I found that my clear open toe foot gave me even more control so that’s what I ended up using. I recommend you try both to see what works best for you. Pictured below – Edge Stitch foot on the left and Open Toe foot on the right.
When I got to the corners I left a loop of extra lace there and just continued on around the other side. (I did back-tack and cut the thread, moved to the next side and began again, back-tacking once more. No unraveling happening on my burp cloths!)
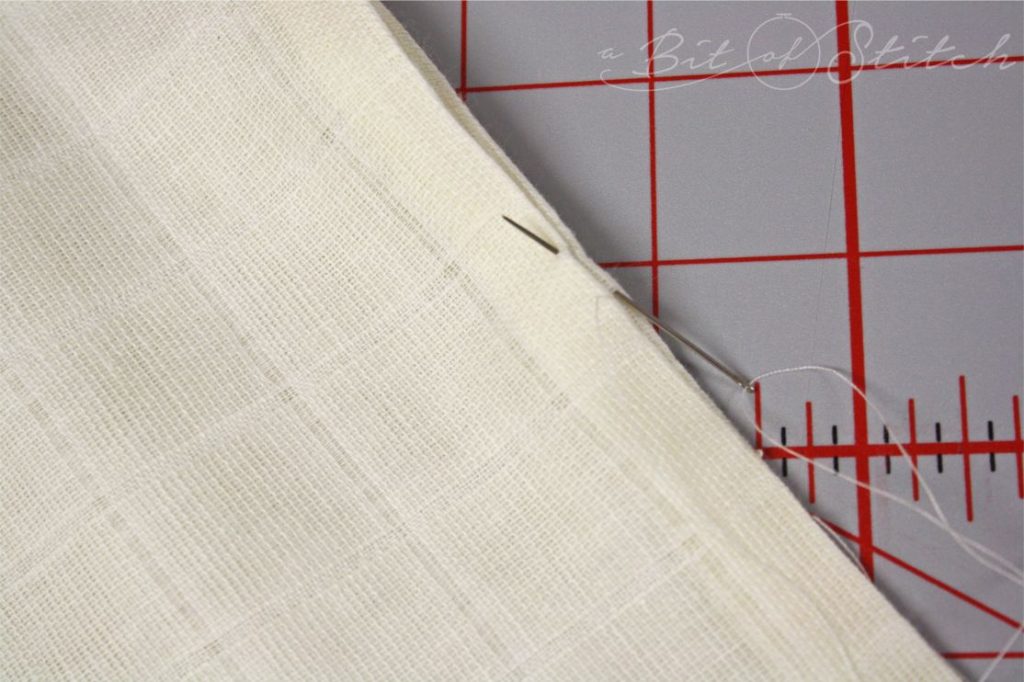
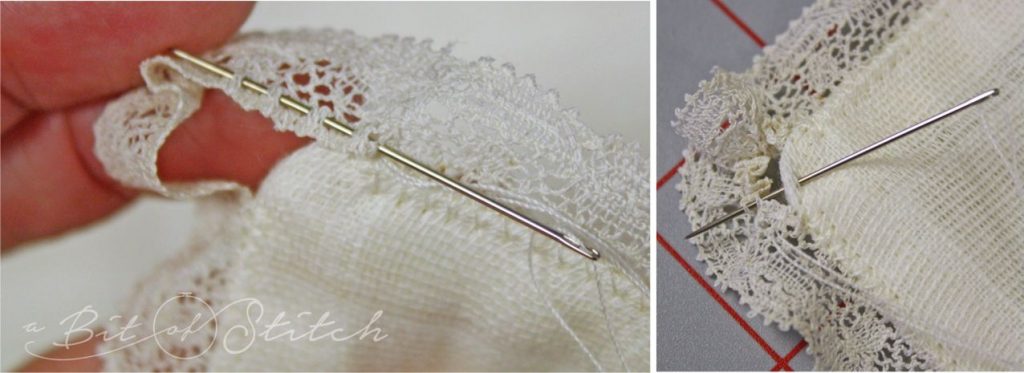
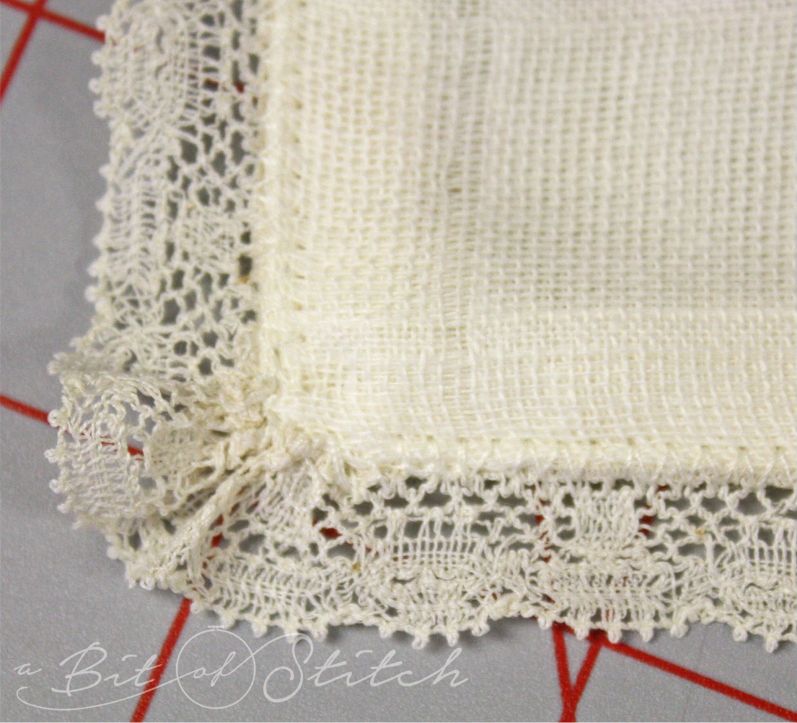
This is persnickety, I know, but I like persnickety details. There, confessed! So, to finish I gathered up the little lace loop at each corner and hand stitched it to the edge, smoothing the gathers around the corner.
Looks very neat and sweet, doesn’t it?
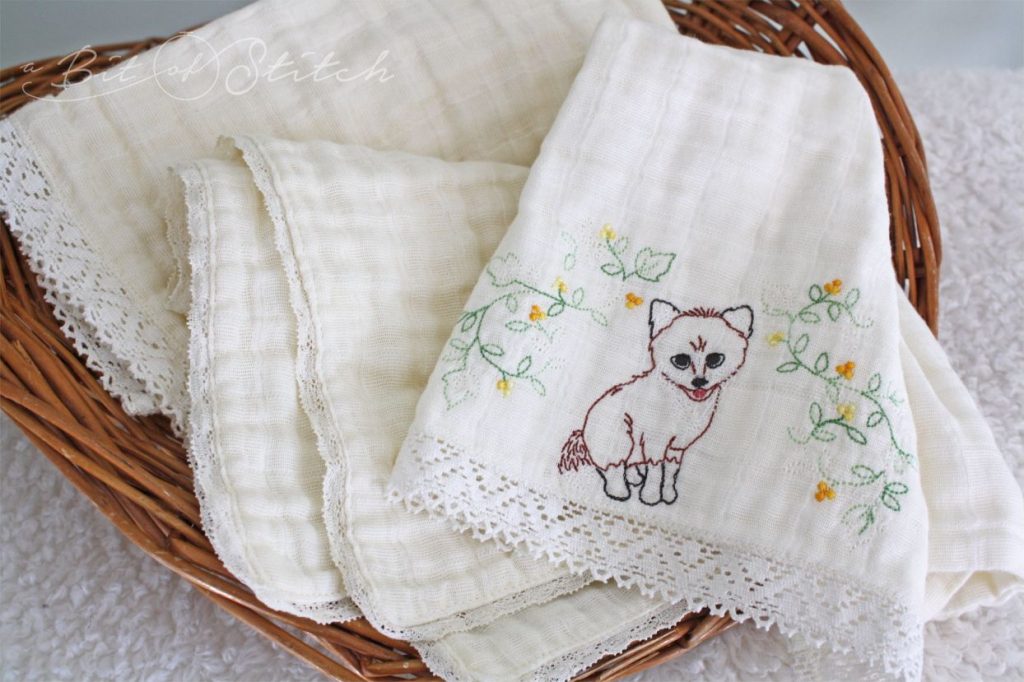
I’m on a roll! Baby better hurry or she will be swimming in blankets and burb cloths! Here’s a basket full of pretty, washed and waiting on little miss. The outline designs in the Baby Fox and Baby Rabbit collections worked nicely on double gauze too. Next try – an outline stitched, padded monogram with my Curly Line Letters!
Stay tuned, more coming! I’ve got a few tips and tricks for those of you who want to stitch up some of those ever-so-popular double gauze swaddle blankets!
Evy
15 replies on “Double Delight – Double Gauze!”
Thanks Evy for the instructions, everything looks great. Trust your waiting won't be to long for you and especially for mom and little Miss.
Mary
I love these!!! Thanks for the tutorial.
Adorable. I love giving handmade gifts for babies. I plan to do several of these! Many thanks.
You have gotten this lady excited about making these wonderful sewing projects! Thanks for sharing. You’re a smart girl! Great ways of doing these shower gifts. You’ve explained it so well! Thank you!
Gretta Hewson
Apollo Luxury Architecture
Would that be a total of 4 layers of double gauze, or just 2? Beautiful work!
Thank you! I loved making these 🙂 I used two layers of double gauze and they turned out really nice but I did use high quality double gauze. If your gauze seems a little thin it might be nice to add one or two more layers. I hope you make some!
Thank you!
HI! I'm not very experienced at sewing and don't have a serger. How would you suggest that I adapt this to a regular sewing machine? I'd love to try this! Thanks for any suggestions!
A zigzag stitch on your sewing machine would work pretty well!
what a great idea. I've used double gauze backed with flannel before for burp rags, but didn't embroider on it. I will say though, that when I've used double gauze for garments, I do preshrink it. Made my youngest granddaughter a darling little pants suit from double gauze for the baby shower a few months ago.
I have some odd pieces of the double gauze left from sewing swaddle blankets, and making more burp rags like this sounds like a good way to put those remnants to use.
Hello! Can you please share which fabric you used for this project? was it this: https://organiccottonplus.com/products/double-gauze-natural-56 or this: https://organiccottonplus.com/products/double-gauze-60
Do you know of any other places where I can buy good quality double gauze? I see some stores also sell heavier-weighted gauze blankets (something like this: https://willabyshop.com/collections/blankets-bedding/products/organic-gauze-throw), do you know if you would just double or quadruple this fabric? Sorry for all the questions, thanks in advance! 🙂 🙂
So sorry to be so very long replying! We have not been able to receive notices, but now that we have moved our blog we are getting the comment notifications! I have used both of the double gauze fabrics from Organic Cotton Plus, one is very white and the other is not white but not really off-white either. Soft white I guess I’d call it. They used to have a very beige one which I have used in the post, but I don’t see it now. Maybe they’ll bring it back. I just doubled this gauze as it is already double. However I have made blankets like the Willaby one and used 3 layers of double gauze for a nice thick blanket. That works well too! Hope this helps!
where do you buy double gauze? I remember seeing gauze diapers a long time ago. i wonder if these are still for sale…
Loving your tutorials! Such clear instructions and explanations. Thank you so much.
You’re very welcome – I’m so glad you’re enjoying them! 😊