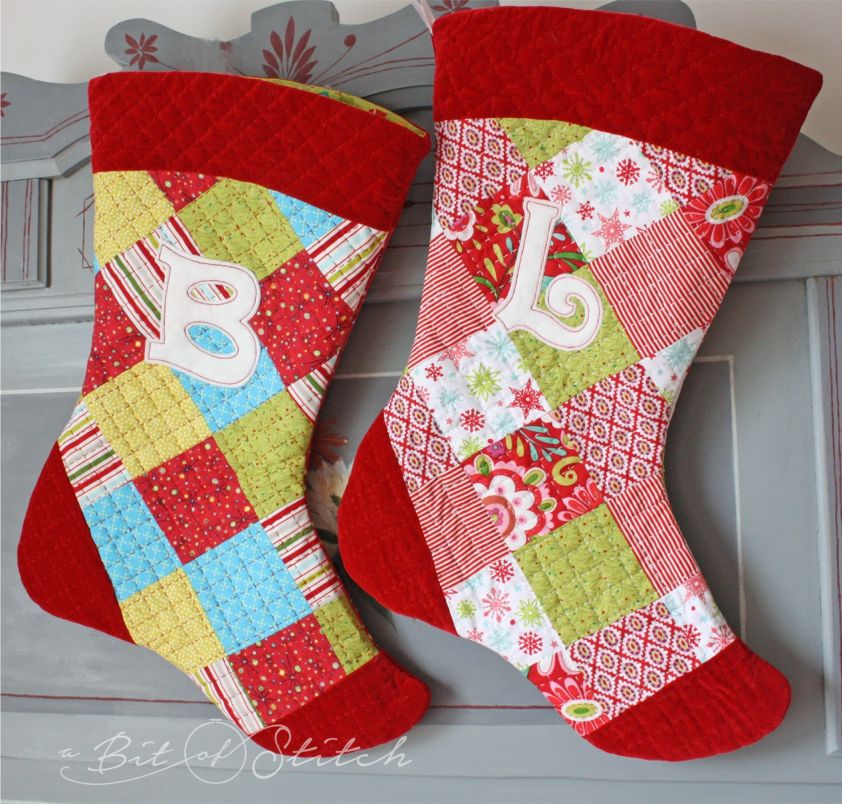
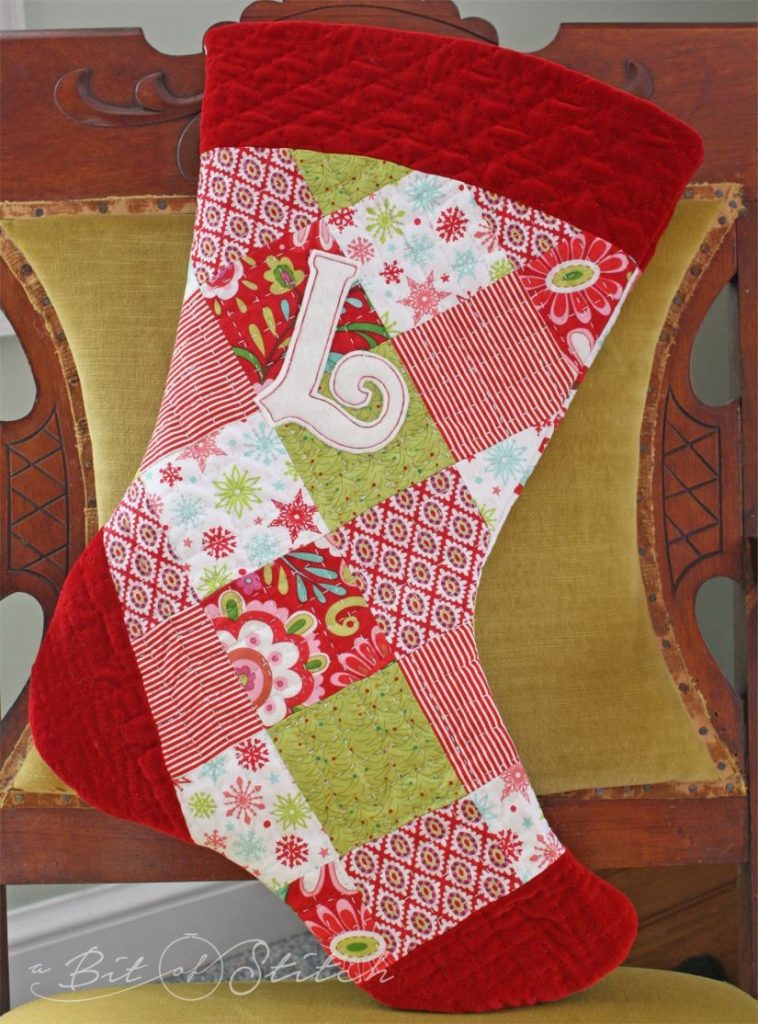
I love lined things, don’t you? Lining just makes the difference between a nice project and a really LOVELY project! I love little lined dresses, lined purses, lined totes and even lined Santa stockings like these.
But lining things can be challenging. For one thing, they don’t always like to stay in place. Have you ever had trouble with your linings trying to crawl out of whatever they were stitched into? If so, here are some tips for making your linings lie down and behave.
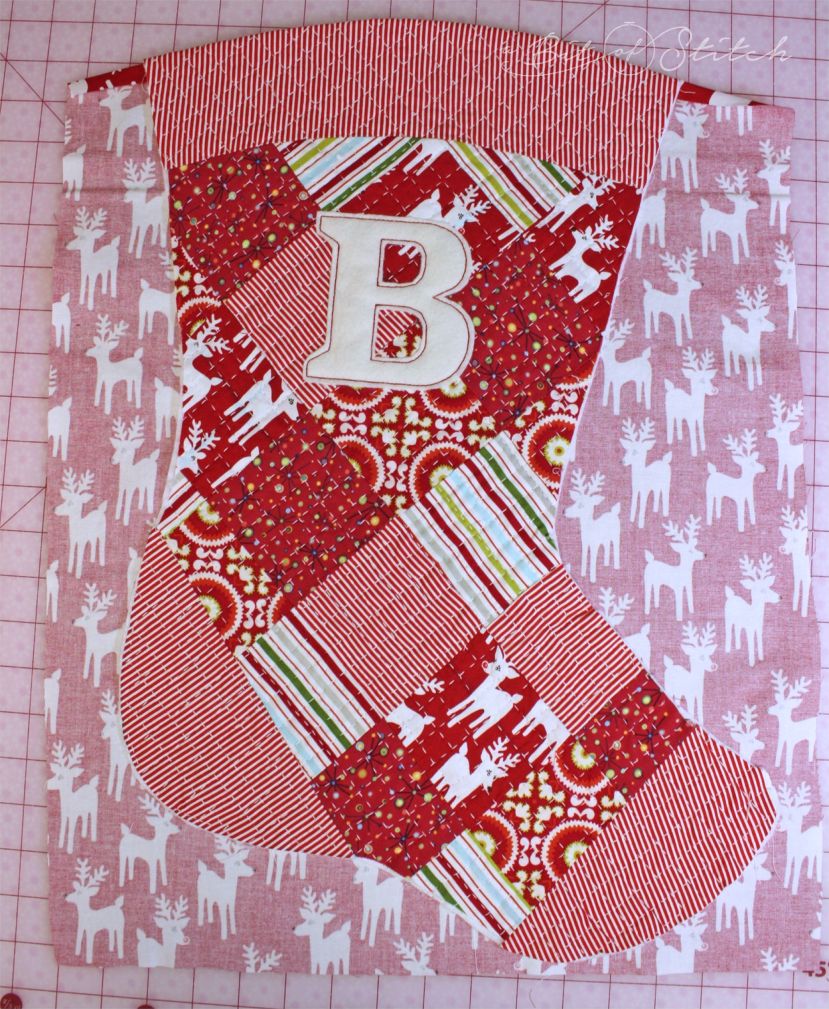
First of all, if at all possible, don’t cut out the lining until you have attached it to the top edge of your project – if your project has a top edge. For instance, instead of cutting out the lining pieces to match my stocking pieces BEFORE I joined them together, I placed the stocking on a block of lining fabric cut slightly larger than the stocking piece. Like this:
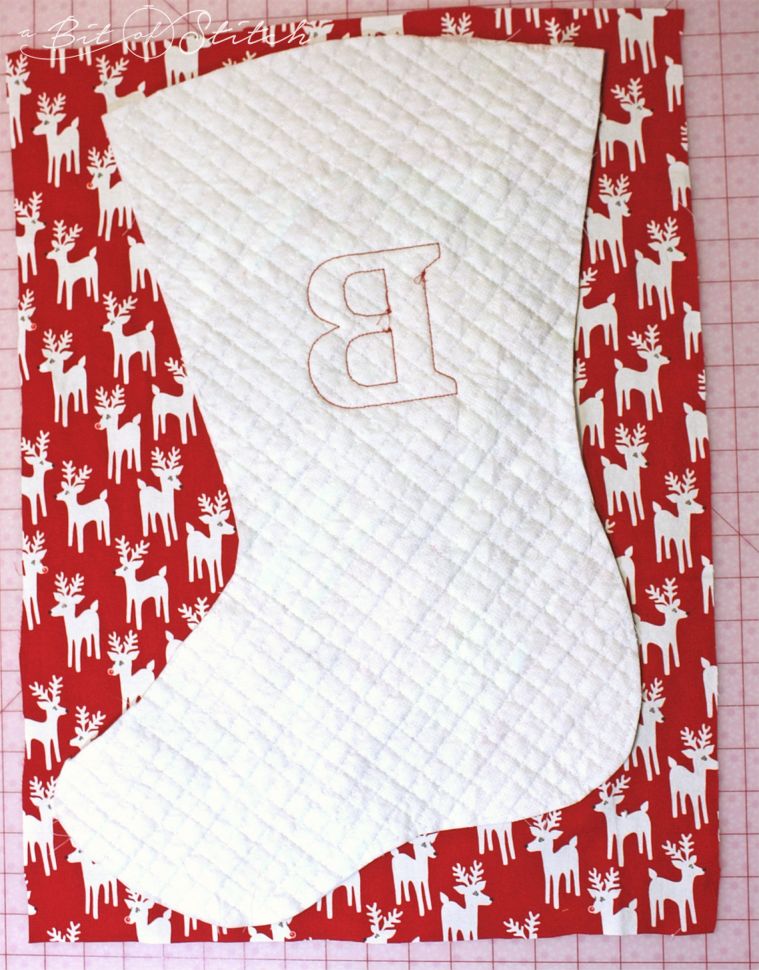
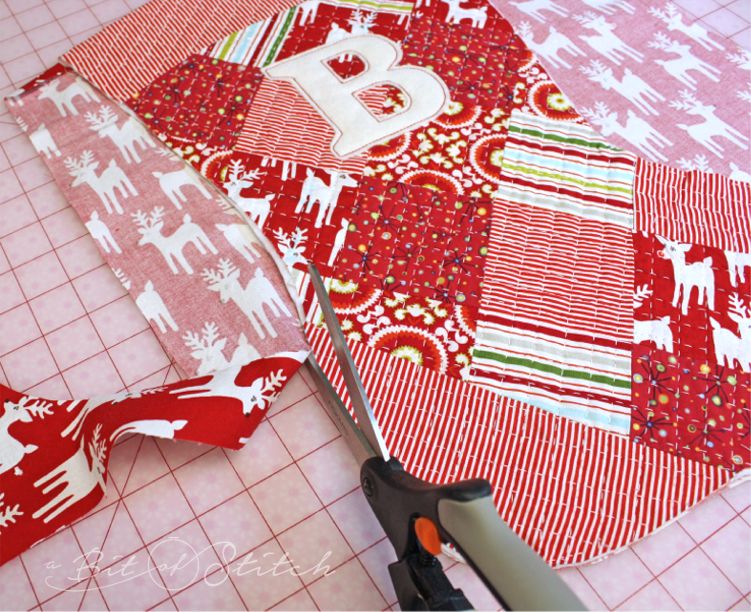
The stocking is wrong side up on the right side of the lining block. I then stitch across the stocking’s top edge using whatever seam allowance I normally would, just ignoring the extra lining fabric. Then I cut off the excess lining, trimming the seam allowance selvage a little, matching the lining and the stocking pieces together. Next, I clip along the curve on the selvage edge, up to but not through the stitching. Then I edge stitched the lining down.
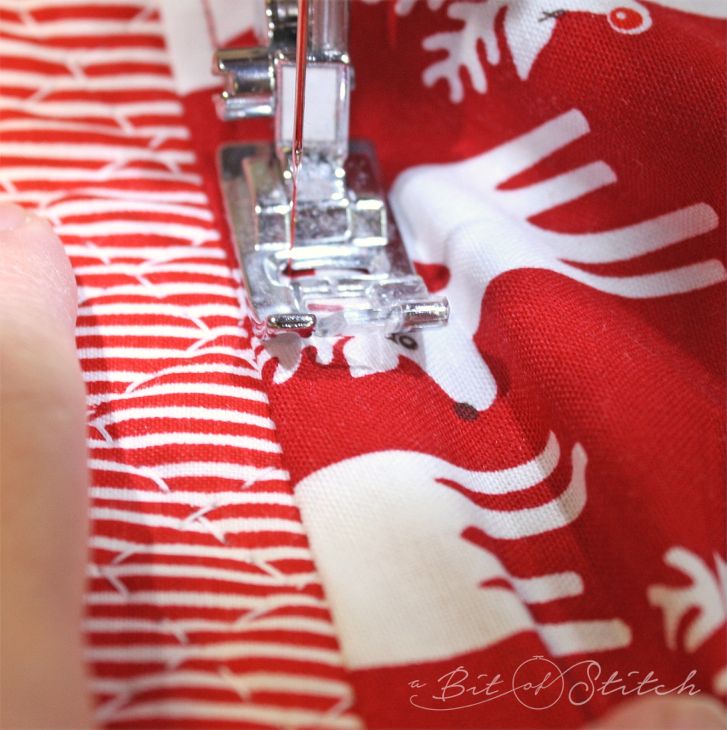
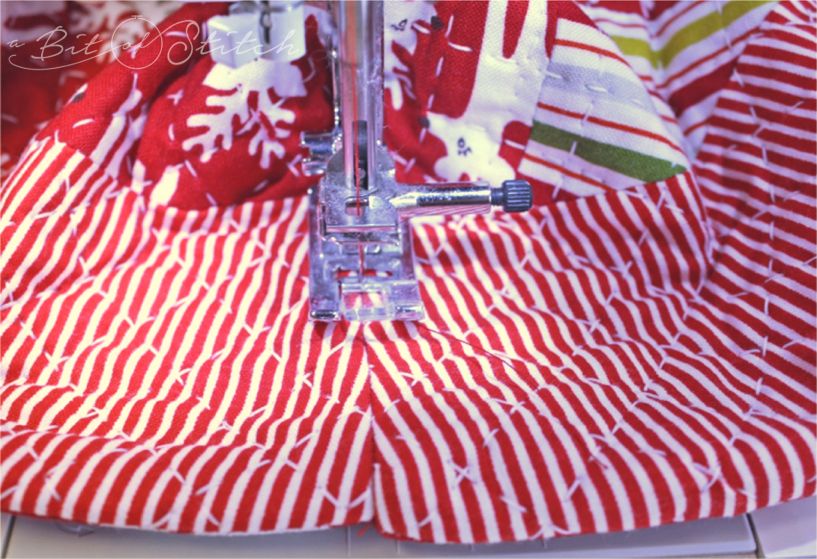
Edge stitching is probably the nicest thing you can do for most linings. It really makes them behave and keeps them from crawling up over the edge of the item they are backing. Edge stitching is not like top stitching – it doesn’t show on the right side. You are sewing only on the lining side, through all layers of the seam allowance selvage underneath. This means you need to open out the project – push the lining and ALL seam allowance selvages under it to the right and the project fabric to the left. Slip the project under the machine foot and align the left edge of the foot with the seam as shown above. With my Baby Lock Ellegante’s “J” foot I can put my needle in the left position, align the foot with the seam to make a perfect line of stitches just far enough away to keep everything underneath nice and neat.
The trick to doing this neatly is to put a little tension on the fabric on both sides of the foot. Actually pull the fabric right and left a little as you sew. Don’t hinder the movement of the foot or you’ll get crooked stitches, but do make sure the lining is pulled taut away from the seam so no wrinkles happen while you stitch.
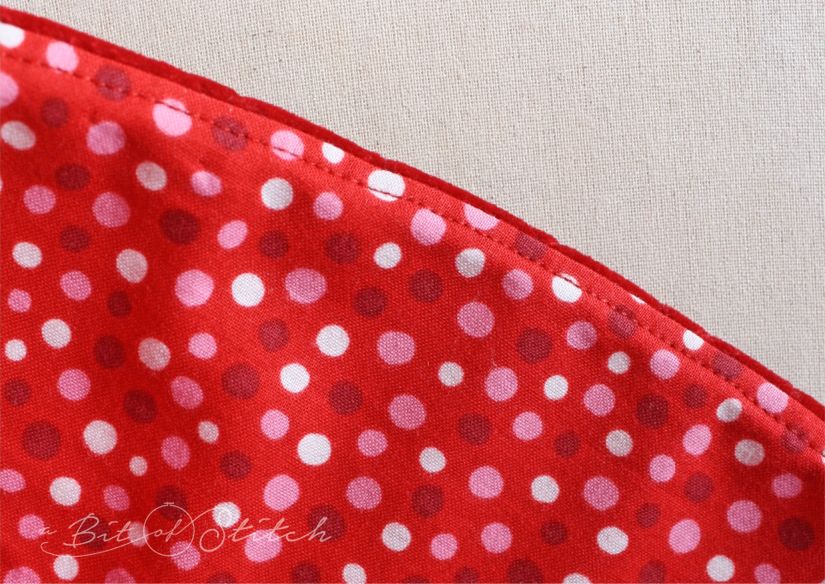
Looks nice, doesn’t it!
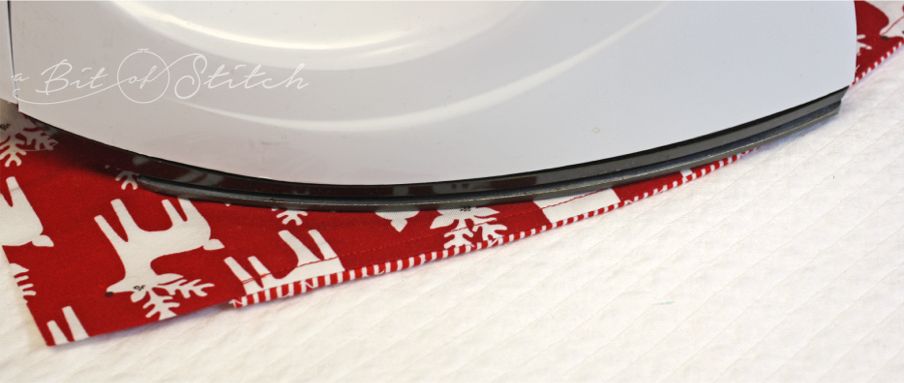
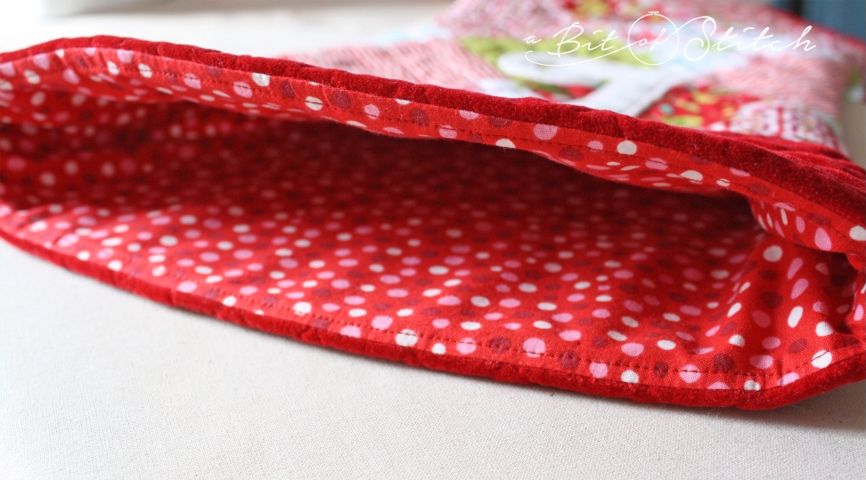
Now it’s time to press. I give a good one, making the top edge nice and neat. You’ll notice that the lining automatically wants to roll under the top edge. Let it!
NOW it’s time to cut out the lining.
What’s the advantage of waiting till now to cut the lining? You have very effectively removed any excess lining. If you’ve ever had a lining that wanted to be bunchy and floppy inside a project – like a purse for instance – you’ll know exactly what I mean by excess. A lining cut the same size as the project tends to bunch up inside, especially if your project fabric is a good deal thicker than the lining fabric like this quilted stocking. By waiting till now to cut the lining you have made the lining smaller so it will fit neat and snug inside your project!
The next good trick to making linings stay where they ought to and mind their manners is to “stitch in the ditch” on a seam or two connecting the lining to the outside project fabric. It’s not always possible to do this with your project, but it’s a good step to take whenever you can.
To make the lining stay neatly in place for my stockings I stitched right along the seam on the outside of the stocking through all layers. It’s easiest to do this starting a couple of inches below the top edge where all the bulk is and sewing toward the top, back-tacking at both ends of the short line of stitching. You don’t need to sew far, 1 or 2 inches will do nicely or even less for smaller places.
Try to stitch RIGHT on the seam – that’s the ditch – so that your stitches will be hidden in there on the right side of your project.
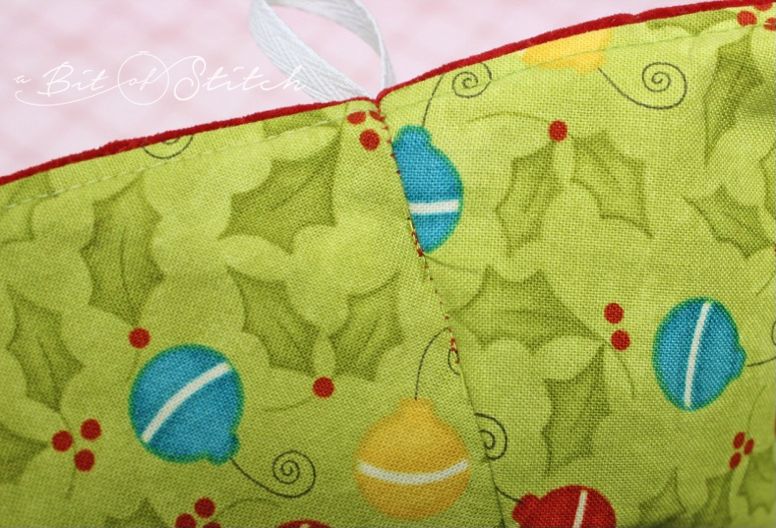
If your lining fabric is a different color than the right side fabric, match the bobbin thread to it. So much prettier! I know that’s being picky, but you know sometimes the angel is in the details! 🙂
These little tricks have helped me keep my linings in line for years. Collars, cuffs, pockets, facings, you name it, whatever I’m lining. I hope they’ll help you too!
Evy
P.S. Click HERE to find the Christmas Sock Pattern used to make the stocking below, and click HERE to find the Curly Line Letters machine embroidery designs.
6 replies on “Lie DOWN, linings!”
ncie
This comment has been removed by a blog administrator.
Another great tip from a master of all things stitching!!! Thanks Evy!
Thank you, Kim! 🙂
Dear Evy,
Another awesome creative idea, I admire because you’re very talented, Love to create & share with us. Keep on being blessed, really appreciated.
Happy Thanksgiving with your loved ones & be safe.
Thank you, Sarita! And Happy Thanksgiving to you too! 🙂