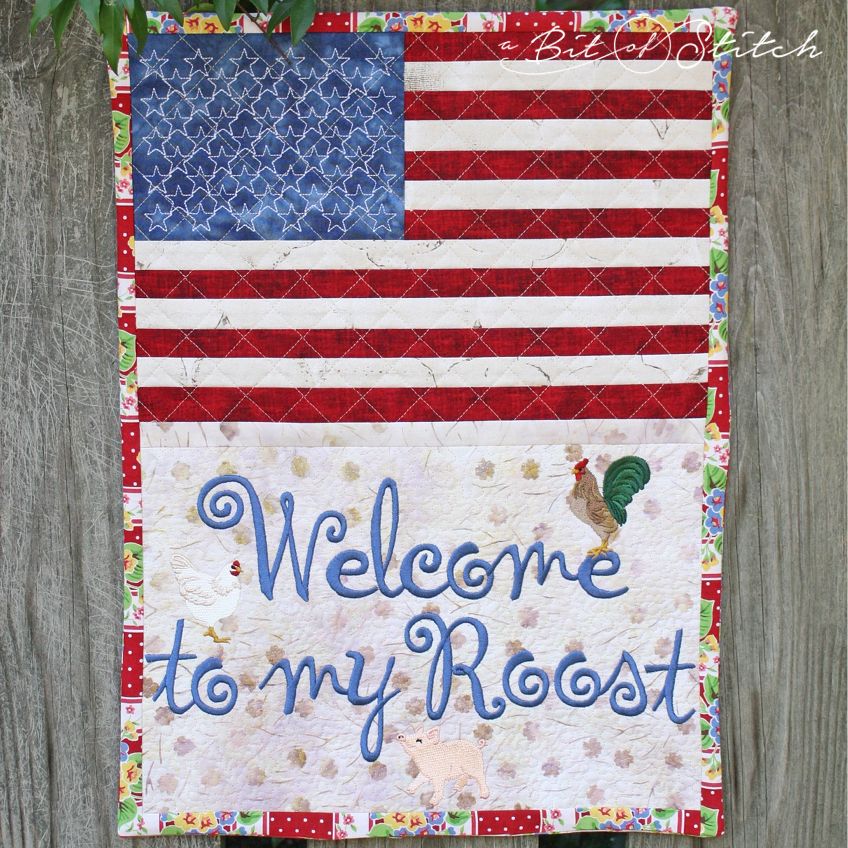
Whip up a FAST wall hanging using in-the-hoop quilted, pieced, stippled and/or embroidered block designs! This is my hands-down favorite way to finish up a quick wall hanging. All of my in-the-hoop quilt block designs will work for this type of project – click HERE to view them! You can use more than two blocks too if you want! Just add more sashing strips to join the blocks in the centerpiece, easy as that! The size and number of blocks determine the size of the finished wall hanging. The wall hanging shown above is 19″ x 14″ – a really nice size for my foyer wall. 😊
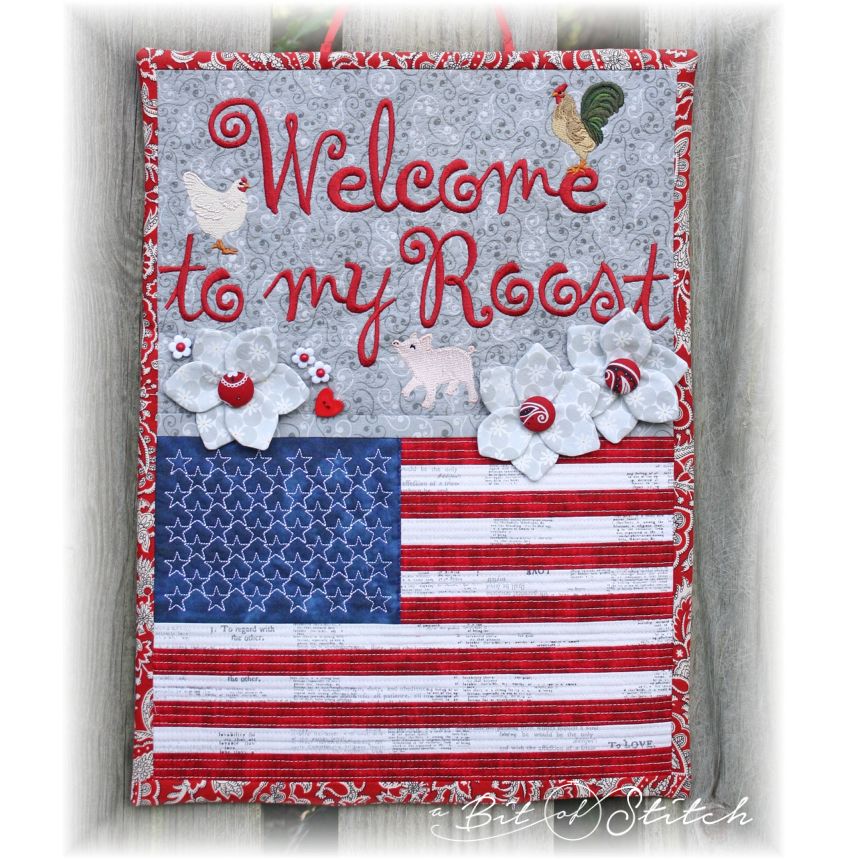
I added some sewn-in-the-hoop fabric flowers to this version and a scattering of fun buttons from my button stash! Click here to see the “Pretty Posy” design set – more flower options that are perfect for quilted projects.
Are you ready to whip up a wall hanging?
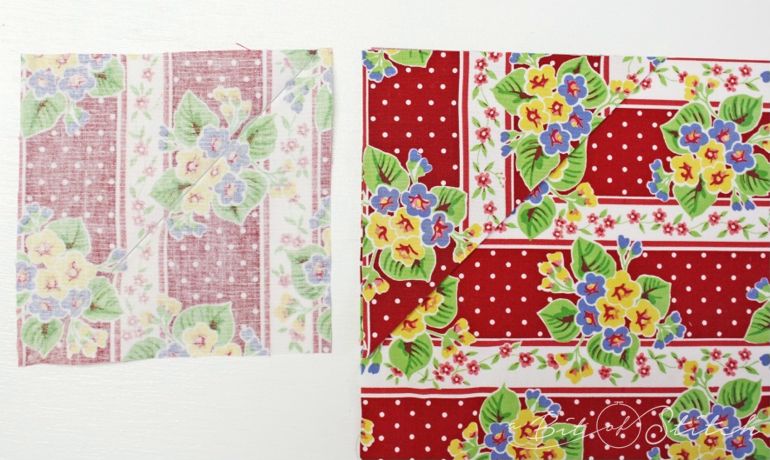
1. Stitch two same-sized quilt block designs. (They only need to be the same size in the dimension where you plan to join them.) For this sample I used the 9.5 x 14 flag block design from the Old Glory set and the 9.5 x 14 Welcome to my Roost farm block design.
2. Trim the finished blocks leaving 1/4” selvage past the block outlines.
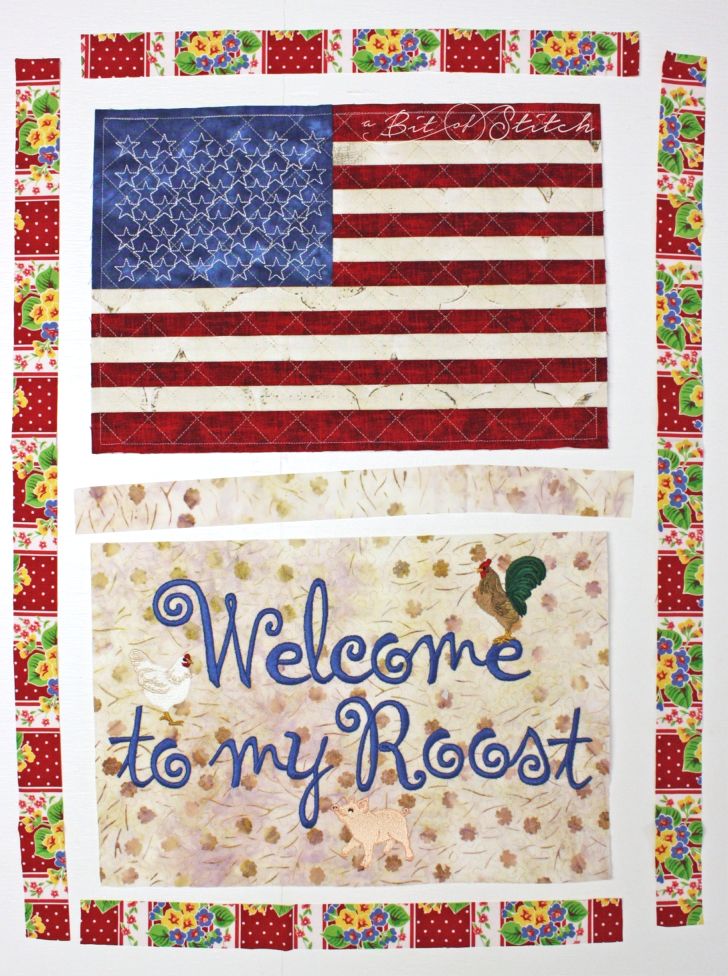
3. Cut strips of 1.25” straight grain sashing. You will need three pieces that are at least the width of the trimmed blocks and two pieces that are at least the length. For this sample, the same fabric that was used for the Welcome scene was also used for the strip joining the two blocks.
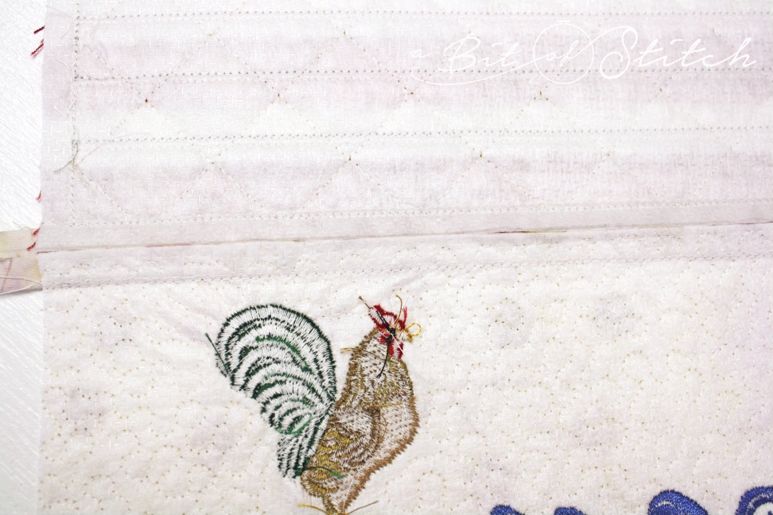
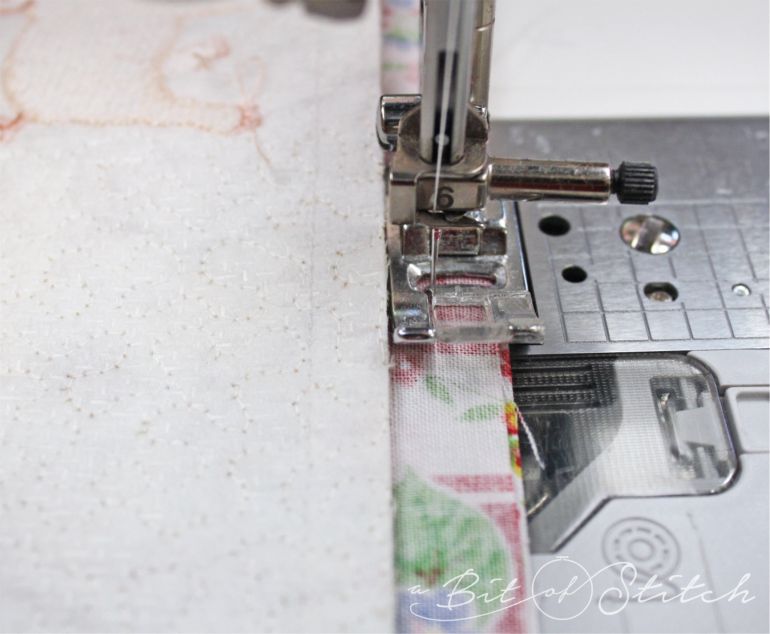
4. Join the two blocks together with one strip. Use 3/8” (or just slightly more than a 1/4″) seam allowance. Once both blocks are joined together, the selvage edges of the blocks should support the sashing fabric nicely. There should be no gap between the two blocks under the sashing, as shown in the photo above.
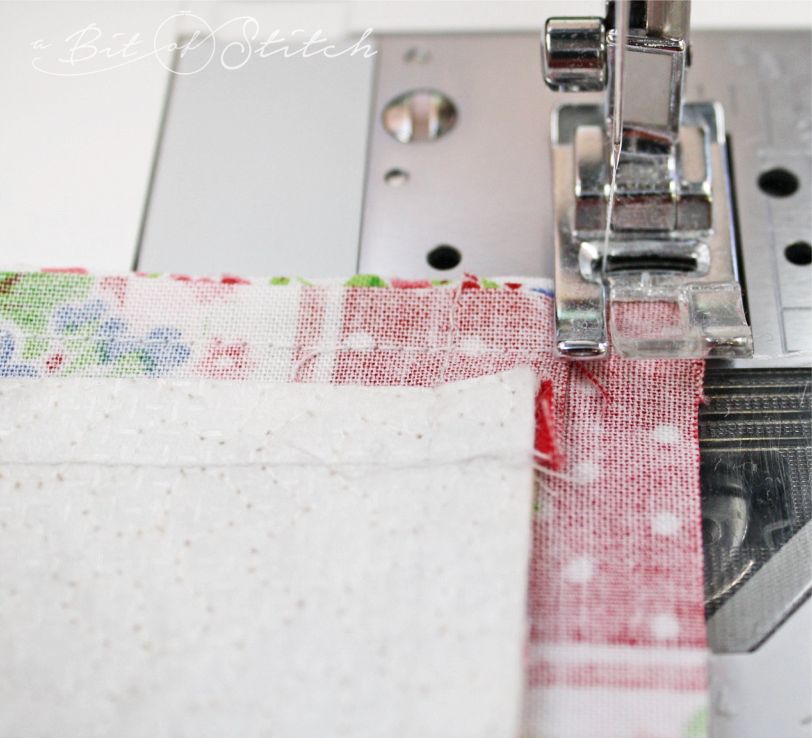
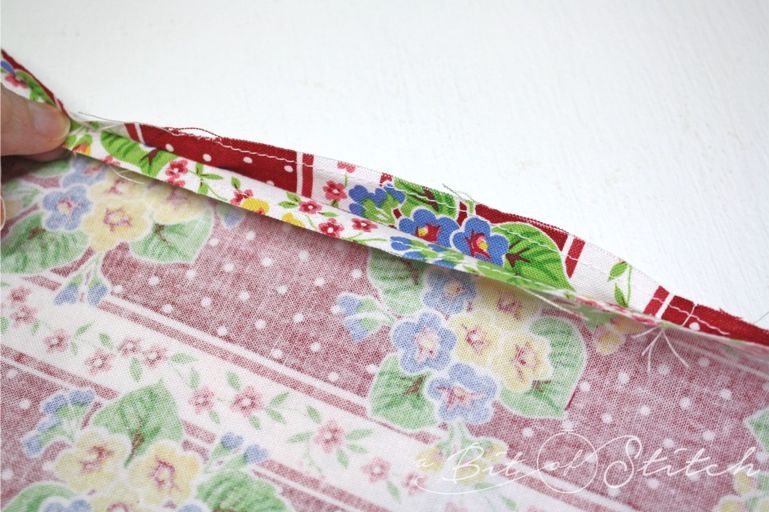
5. Sew two short strips of sashing to the top and bottom of the joined blocks, once again with a 3/8” seam allowance. Press the strips away from the seam on the right side. Sew the remaining two long strips to the left and right of the joined blocks. Press the strips away from the seam on the right sides once again.
6. Measure the finish sashed top. Cut a piece of backing fabric the exact same size. If you wish, add a hanging rod sleeve to the backing fabric before joining it to the pieced top.
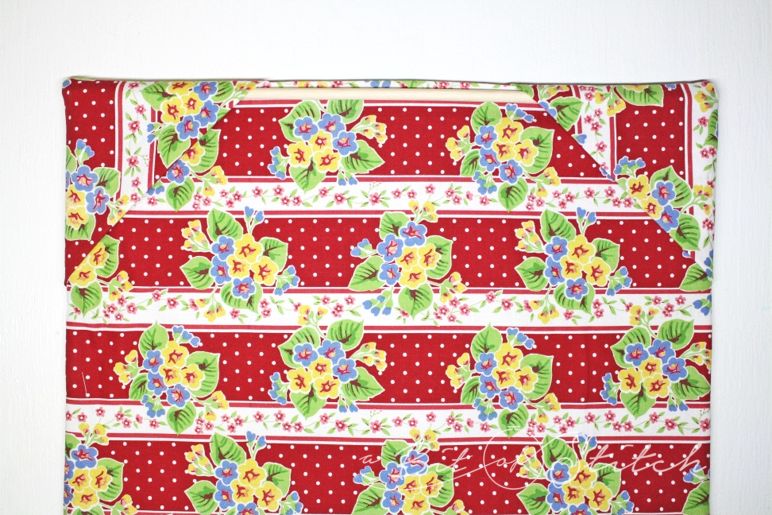
Or make rod pockets instead of a sleeve! To do so, cut squares of fabric (4” squares worked great for this 9.5 x 14 block project) and press in half to form triangles. Place them at the upper corners of the backing fabric with the folded edge facing down/inward as shown in the photo above on the right. (A friend brought this idea to my attention on Instagram; it was originally posted by @elnorac – go check out her photos on IG! So many great ideas!)

7. Place the backing fabric piece and sashed project top right sides together. The pockets will be sandwiched in between as shown above.
8. Sew together from the sashed top side. To do so, align the left side of the presser foot of your machine with the selvage edge of the blocks. (Baby Lock owners: Use your J foot and put the needle in the left position. Other machine owners: Use your regular sewing foot and, if possible, put the needle in the left position. If it is not possible to move the needle to the left, you may need to use a narrower foot.)
9. Sew all around the project, leaving an opening for turning at the bottom edge.
Tip! Instead of pivoting to turn the corner, just sew right off the edge. Then line the foot up again on the next side and sew from the edge straight across the corner and continue the seam as shown above.
10. Stay stitch the opening selvage edges.
11. Clip the corners before turning your wall hanging right side out. Turn right side out, push out the corners gently, and press well. Hand sew or fuse the opening closed with fusible web tape.
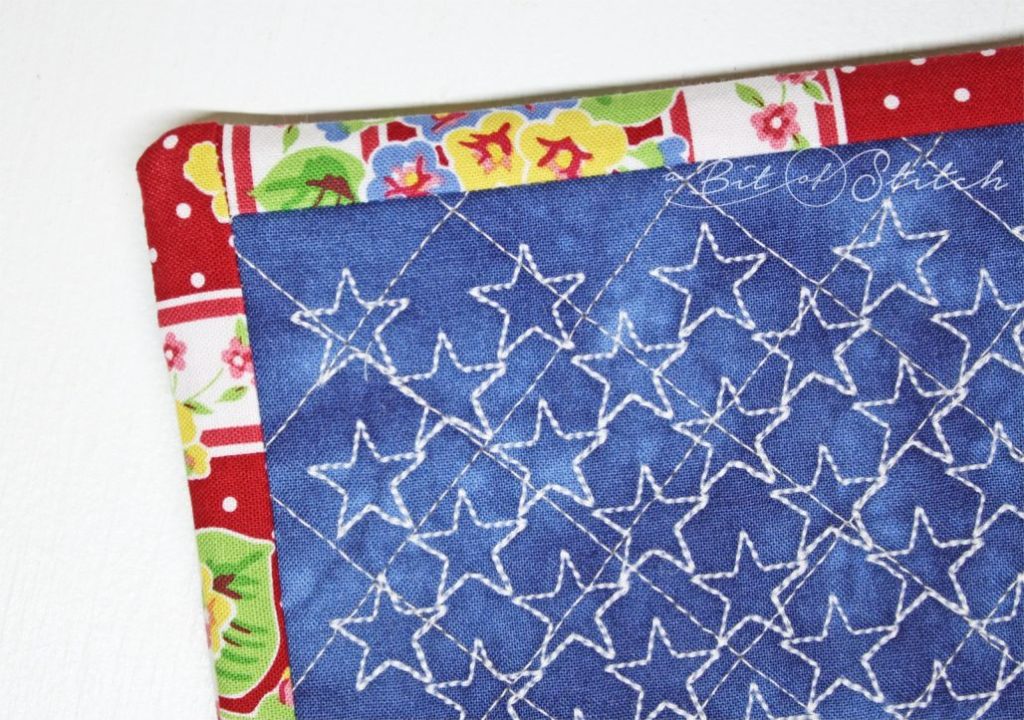
Looks like “real” binding, doesn’t it?! But it sure is easier than folding it over and worrying about getting the corners right!
Cut a wooden dowel to fit the back and insert the ends into the pockets (or into the sleeve). Now you can hang up your wall hanging with a simple push pin or thumbtack in the wall. (Oh, and no need for a saw… you CAN cut a 3/8″ wooden dowel down to size by scoring it with old scissors and snapping it carefully on the score. Then bang the ragged cut end against something hard like concrete, and that will smooth it right up.)
I hope you enjoy this super easy way to finish quilted-in-the-hoop designs into pretty wall hangings!
Thanks for reading!
Evy
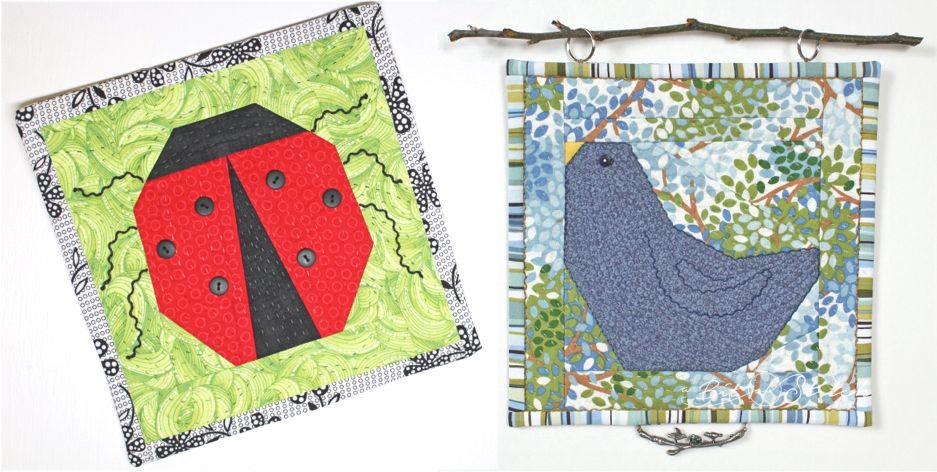
Easy Piece-y blocks finished with this technique. It works for single blocks too! I sewed rings to the top of the birdy block and inserted a twig from my backyard for a hanger. 😊
2 replies on “Whip Up a Wall Hanging!”
Adorable like all you do. Thanks so much for the clever idea. Appreciated.
Thank you! 😀